
Sewing for Halloween: My Little Pony featuring Patterns from Made for Mermaids and New Horizons
/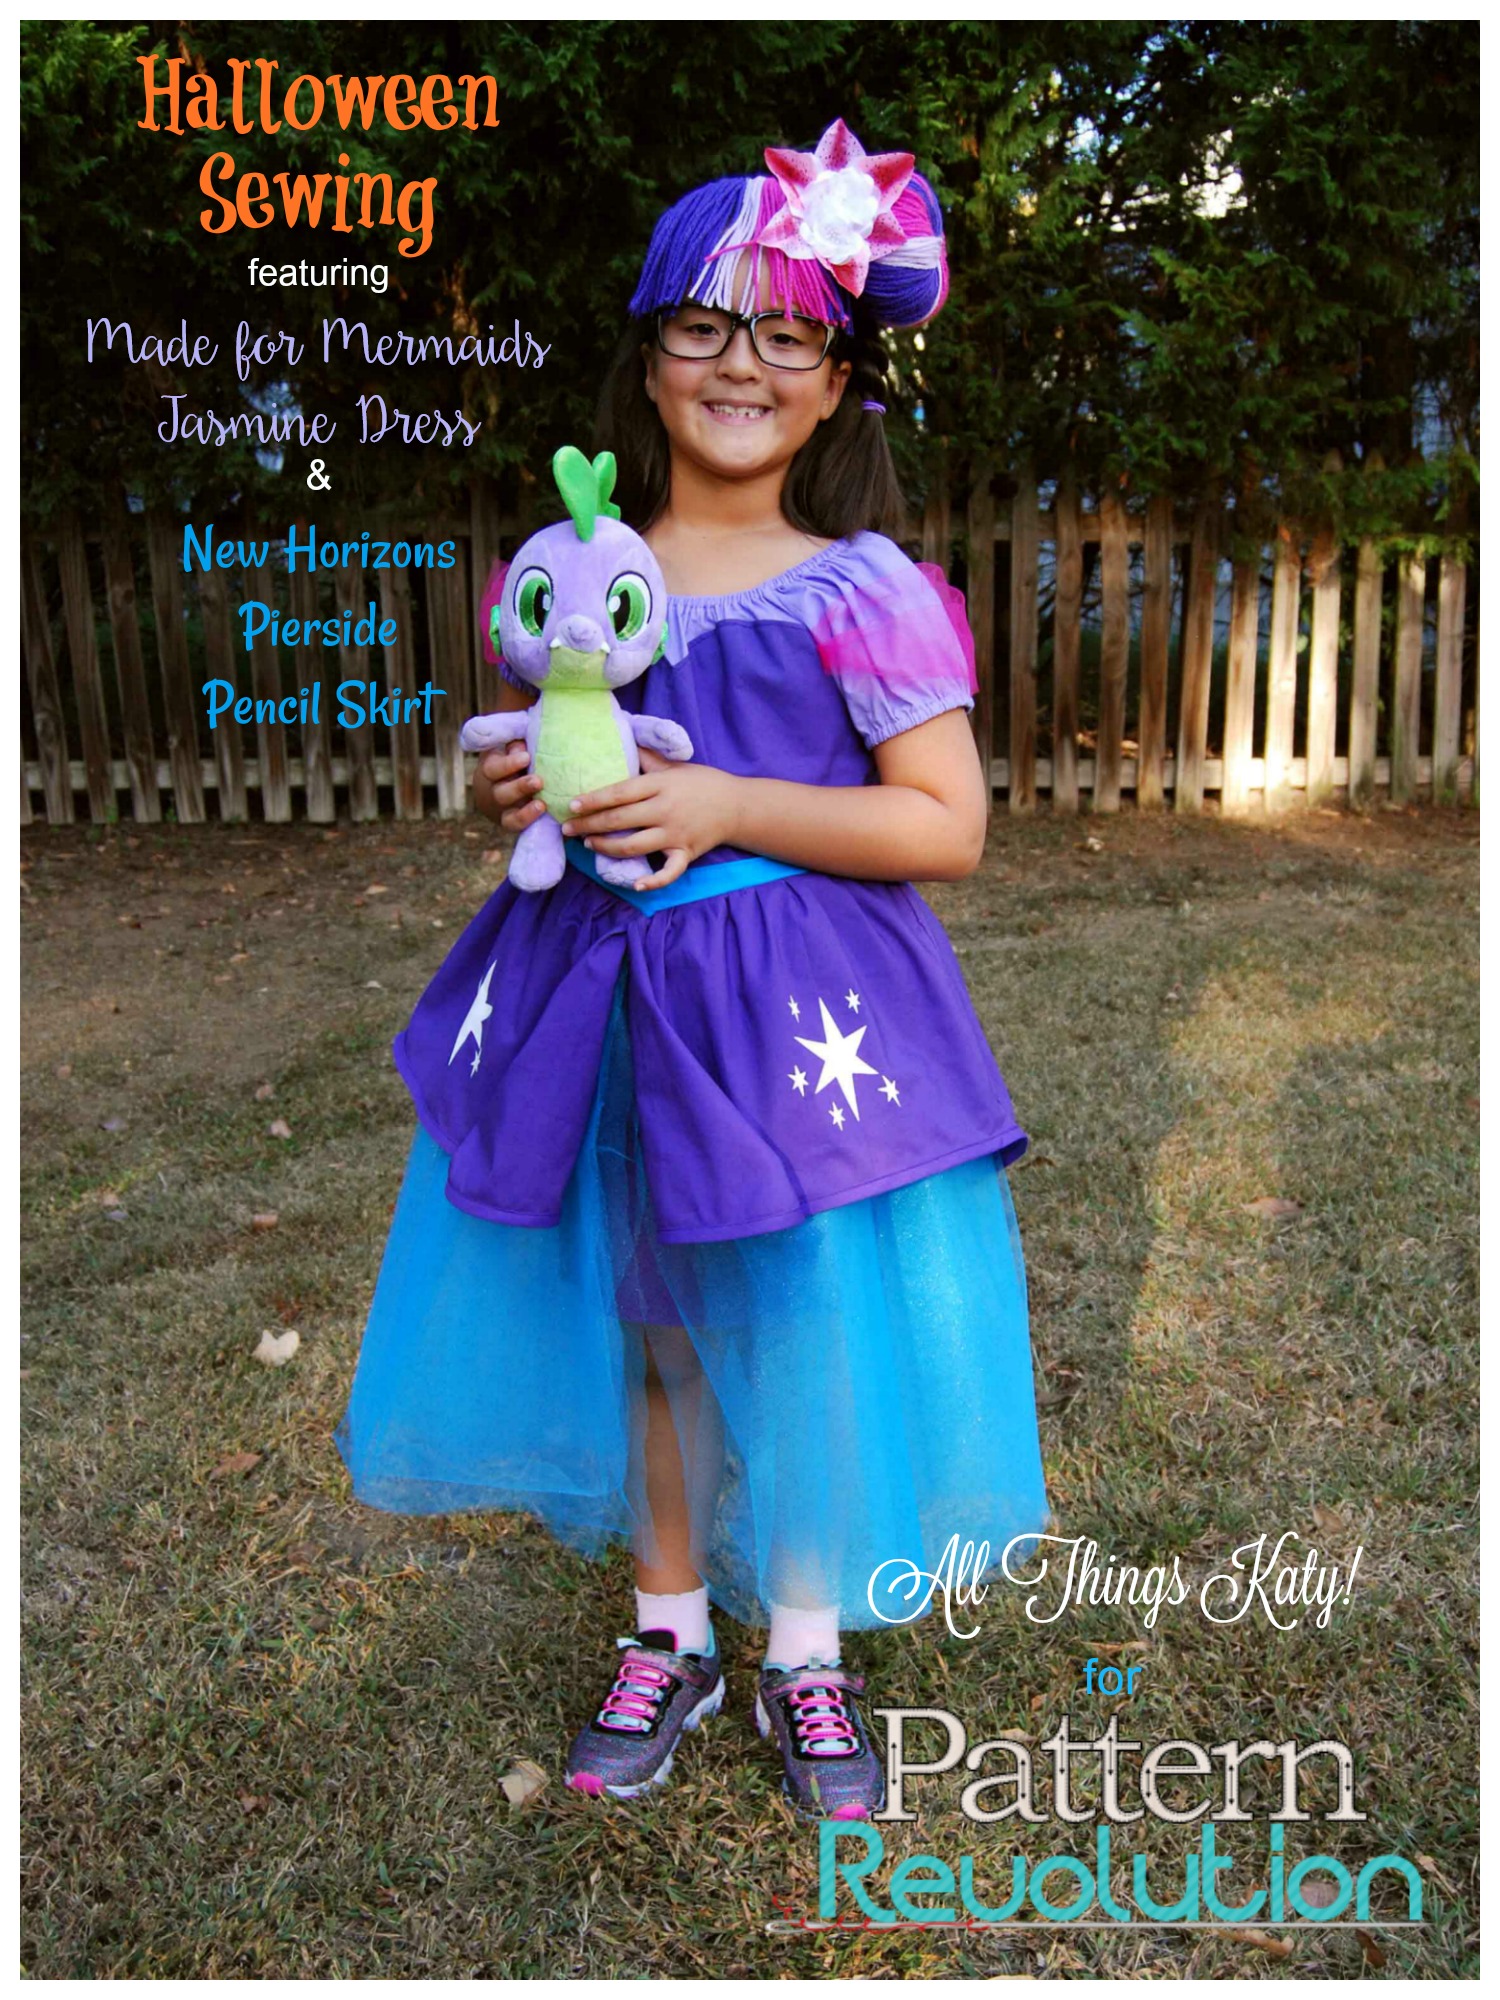
Hello, Heather from All Things Katy!, here! It’s October (already?!) and that means Halloween sewing! Today, I’m excited to share my daughter’s Halloween costume with you… introducing (our version of) Equestria Girls Twilight Sparkle!! My seven (and a half!) year old daughter has been OBSESSED with My Little Ponies, Friendship Is Magic for a very, very, VERY LOOONG time!!! Specifically, the main pony, Twilight Sparkle. Just when I thought the interest was waning, previews of the new, feature-length My Little Pony Movie were released and welp, the rest was history!
Now, my daughter didn’t just want any old Twilight Sparkle costume. No, no! She specifically requested the dress that Twilight Sparkle wears to the the dance at the end of the movie, “Equestria Girls Legend of Everfree.” It’s like a five second scene in the movie. Seriously. We had to watch the movie and then pause it so that I could take “inspiration” pictures. Hahahaha!
For the main part of the costume I used the Made for Mermaids Jasmine PDF sewing pattern. I sewed up the bodice as instructed (full coverage, arm sashes). For the purple overskirt, I used the overlay pattern pieces from the Jasmine pattern and shortened them so that they’d hit just mid-thigh. I also hemmed the overlay pieces with double fold bias tape with wire ribbon sandwiched between (so that the skirt would “poof” and hold when worn). For the aqua tulle portion, I measured my daughter waist to mid calf and cut six layers of tulle. I did cut the tulle “skirt” so that a split would occur center front (opposed to the instructed front and back skirts, attached at the sides).
For the purple mini skirt portion of the pattern, I used the New Horizons Girl’s Pierside Pencil skirt. I did shorten the pattern slightly so that it would hit mid thigh.
Now, how about a little treat? I’ve included instructions below for how I created the coordinating Equestria Girls Twilight Sparkle headband. I knew that a full wig would be too much for my daughter. However, a simple headband with a side bun (just like Twlight’s!) would be perfect for pictures and it does wonders to complete the ensemble!
Missy is over-the-moon happy with the end results and she is so excited to dress up as Equestria Girls Twilight Sparkle on the 31st!
Equestria Girls Twilight Sparkle- Headband Tutorial:
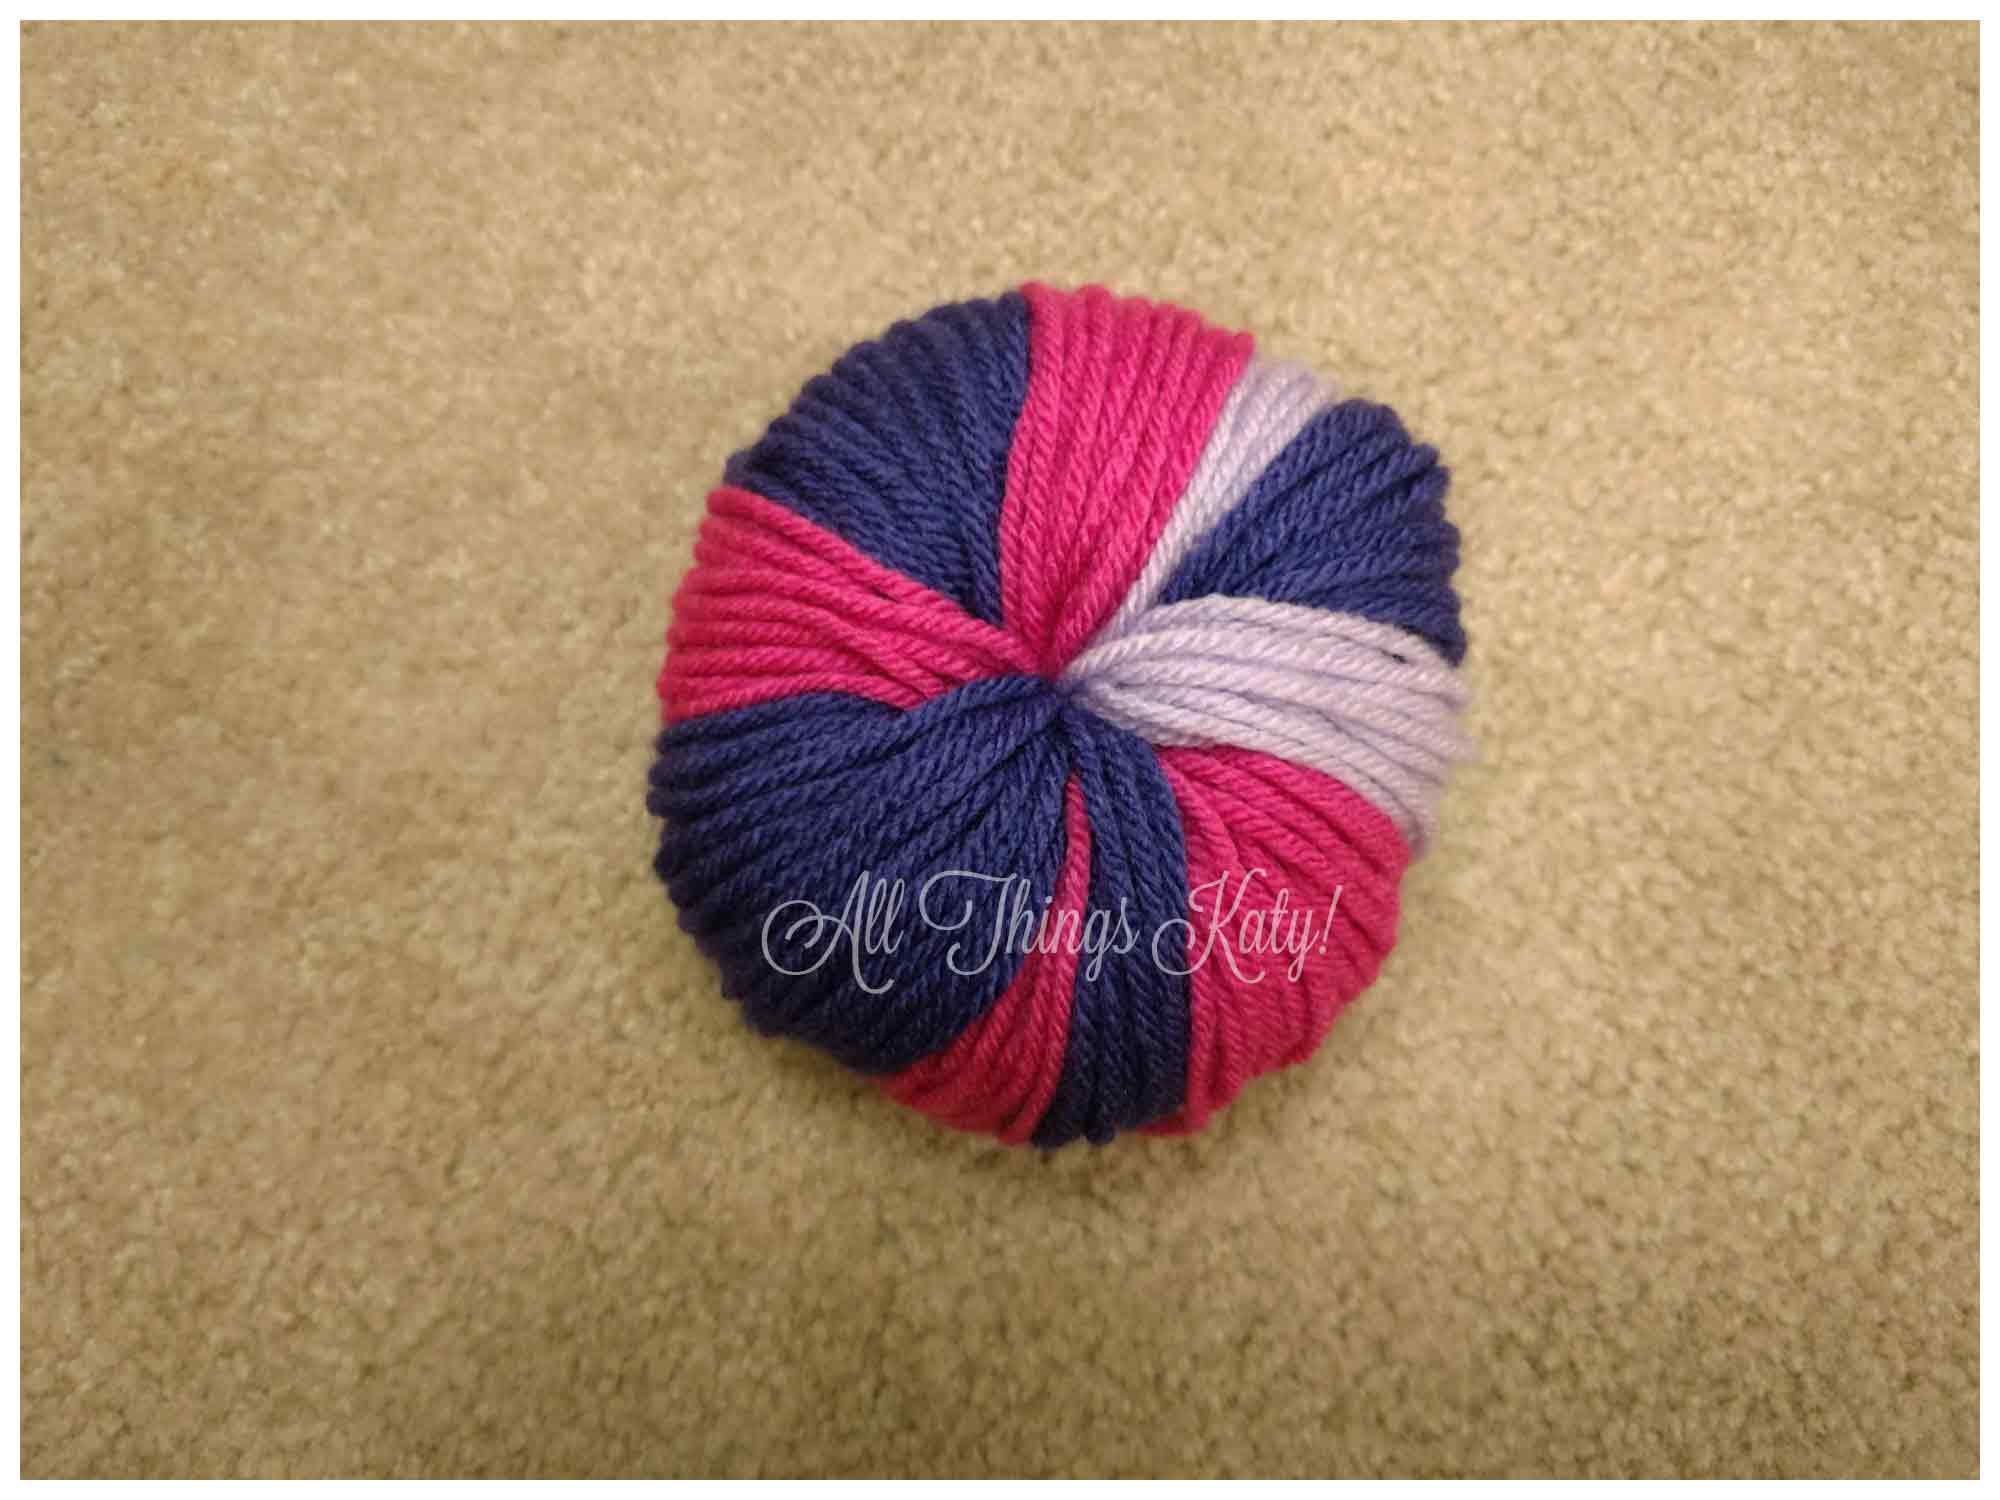
First, gather your supplies- yarn (three different colors), headband, artificial flowers, foam bun “donut” (I purchased mine at the Dollar Tree). You will also need a small circle of cardboard to secure the bun to the headband and a length of ribbon or bias tape (to attach the yarn “bangs” onto and then attach to the headband), glue gun/sticks and your sewing machine.
Next, go ahead and put the plain headband on your child and measure from the headband to where you want the bangs/fringe to hit. For us, it was 4” + 1” to wrap around the headband. This also happens to the be same length that we needed to cut in order to wrap around the bun “donut.”

Now, cut lots and lots and lots of yarn in the length that you determined in the previous step (5” for us). Be sure to cut enough yarn from all three colors. You will need enough yarn for BOTH the “bangs” and the bun.
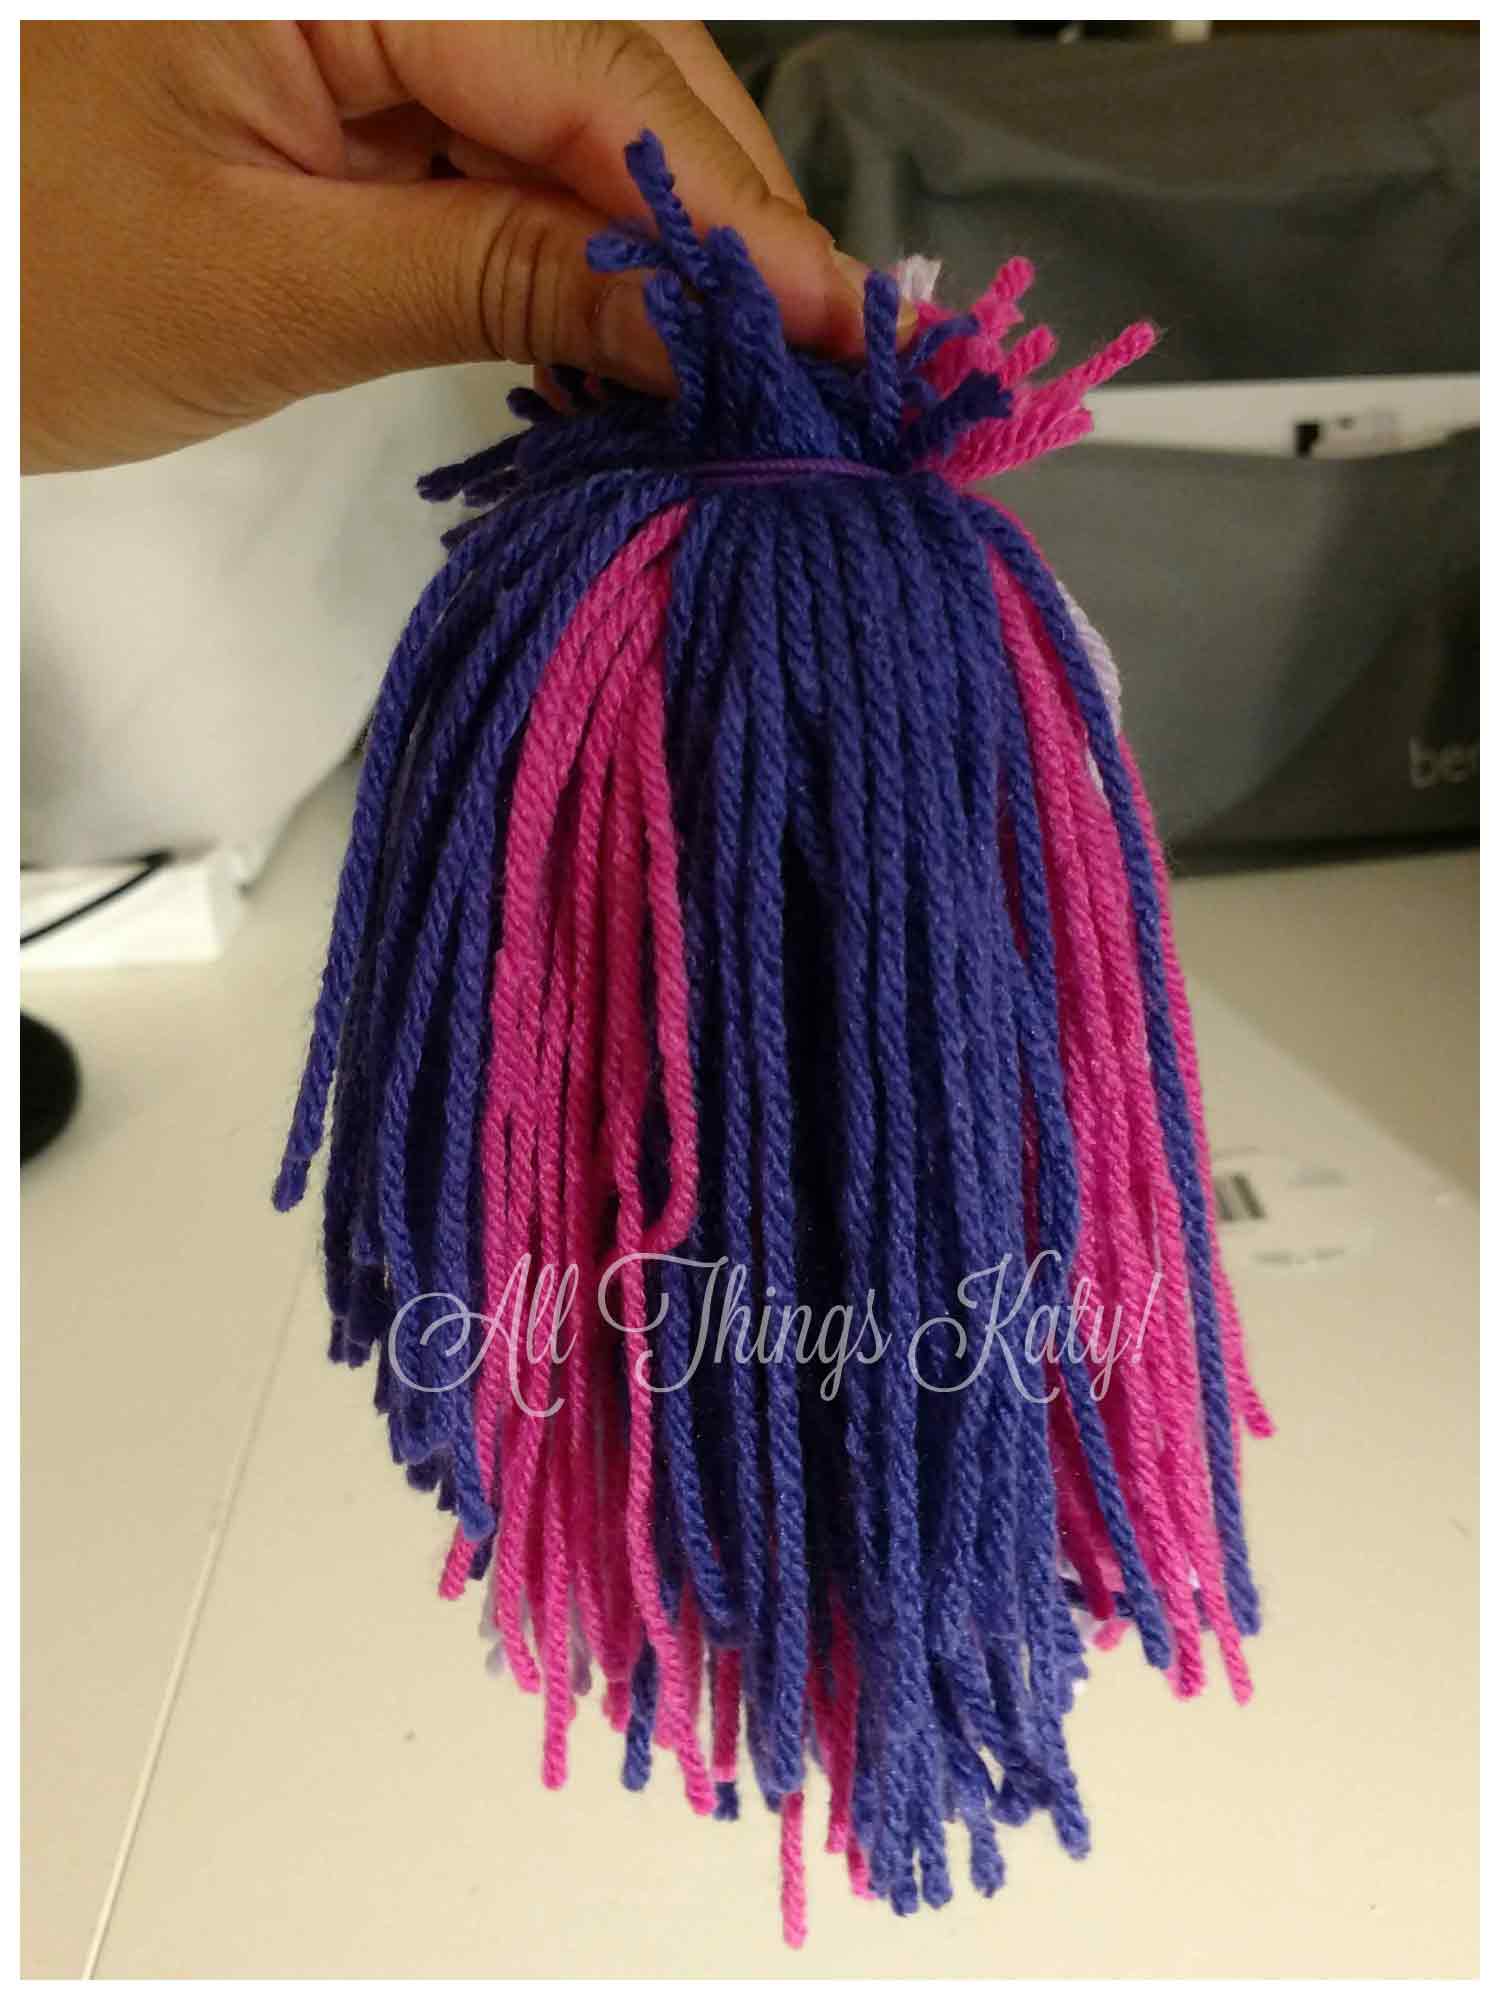

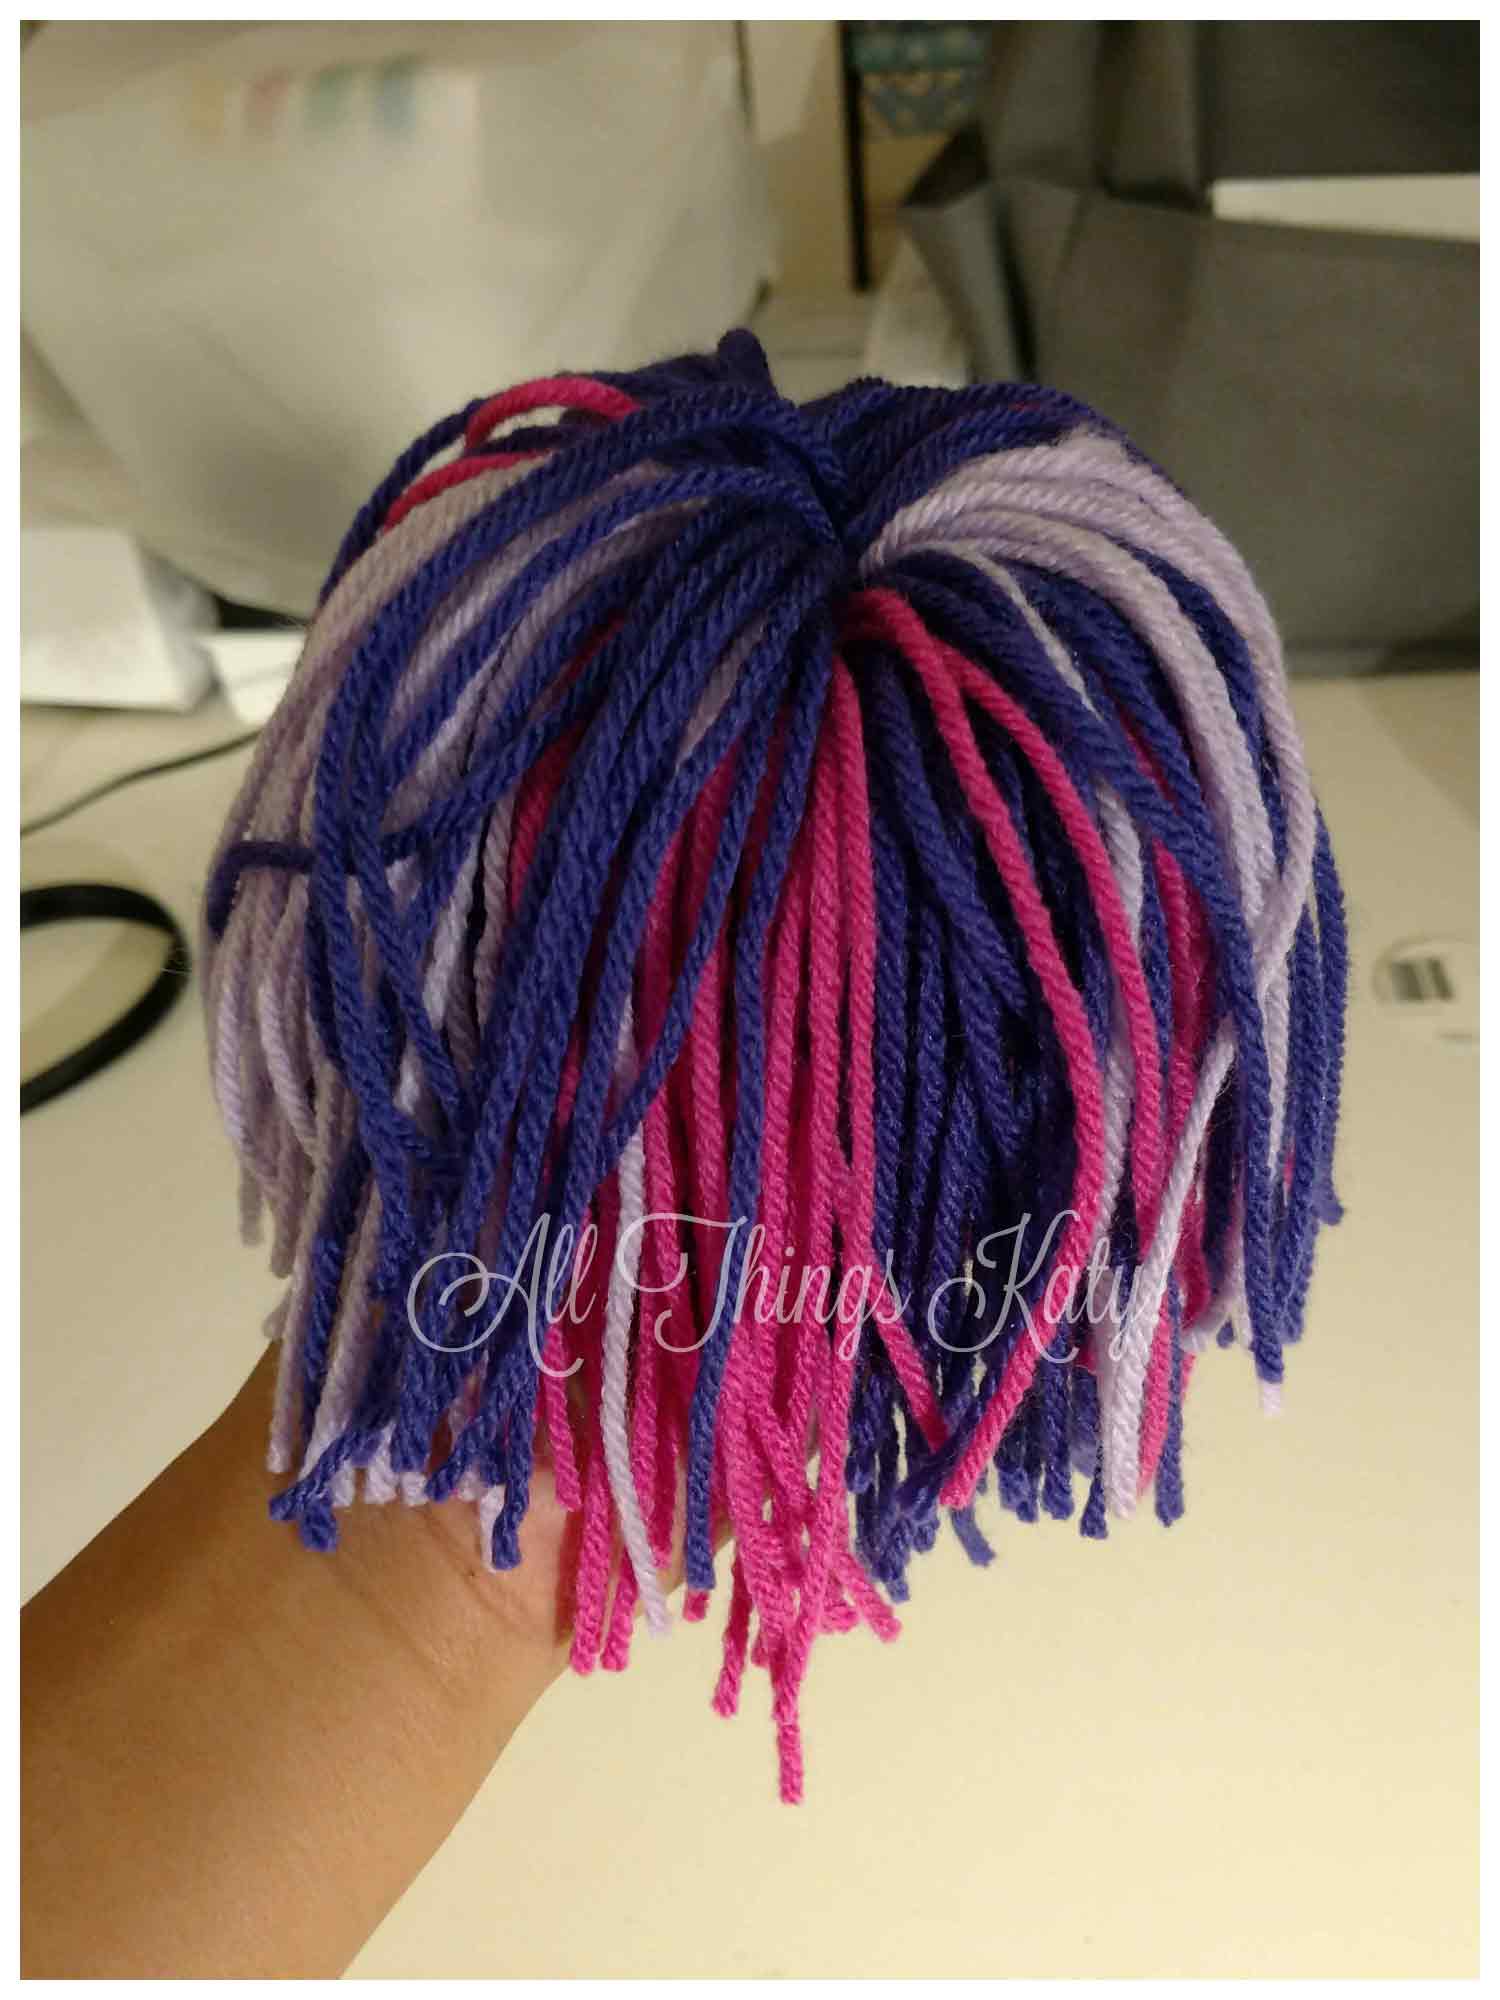
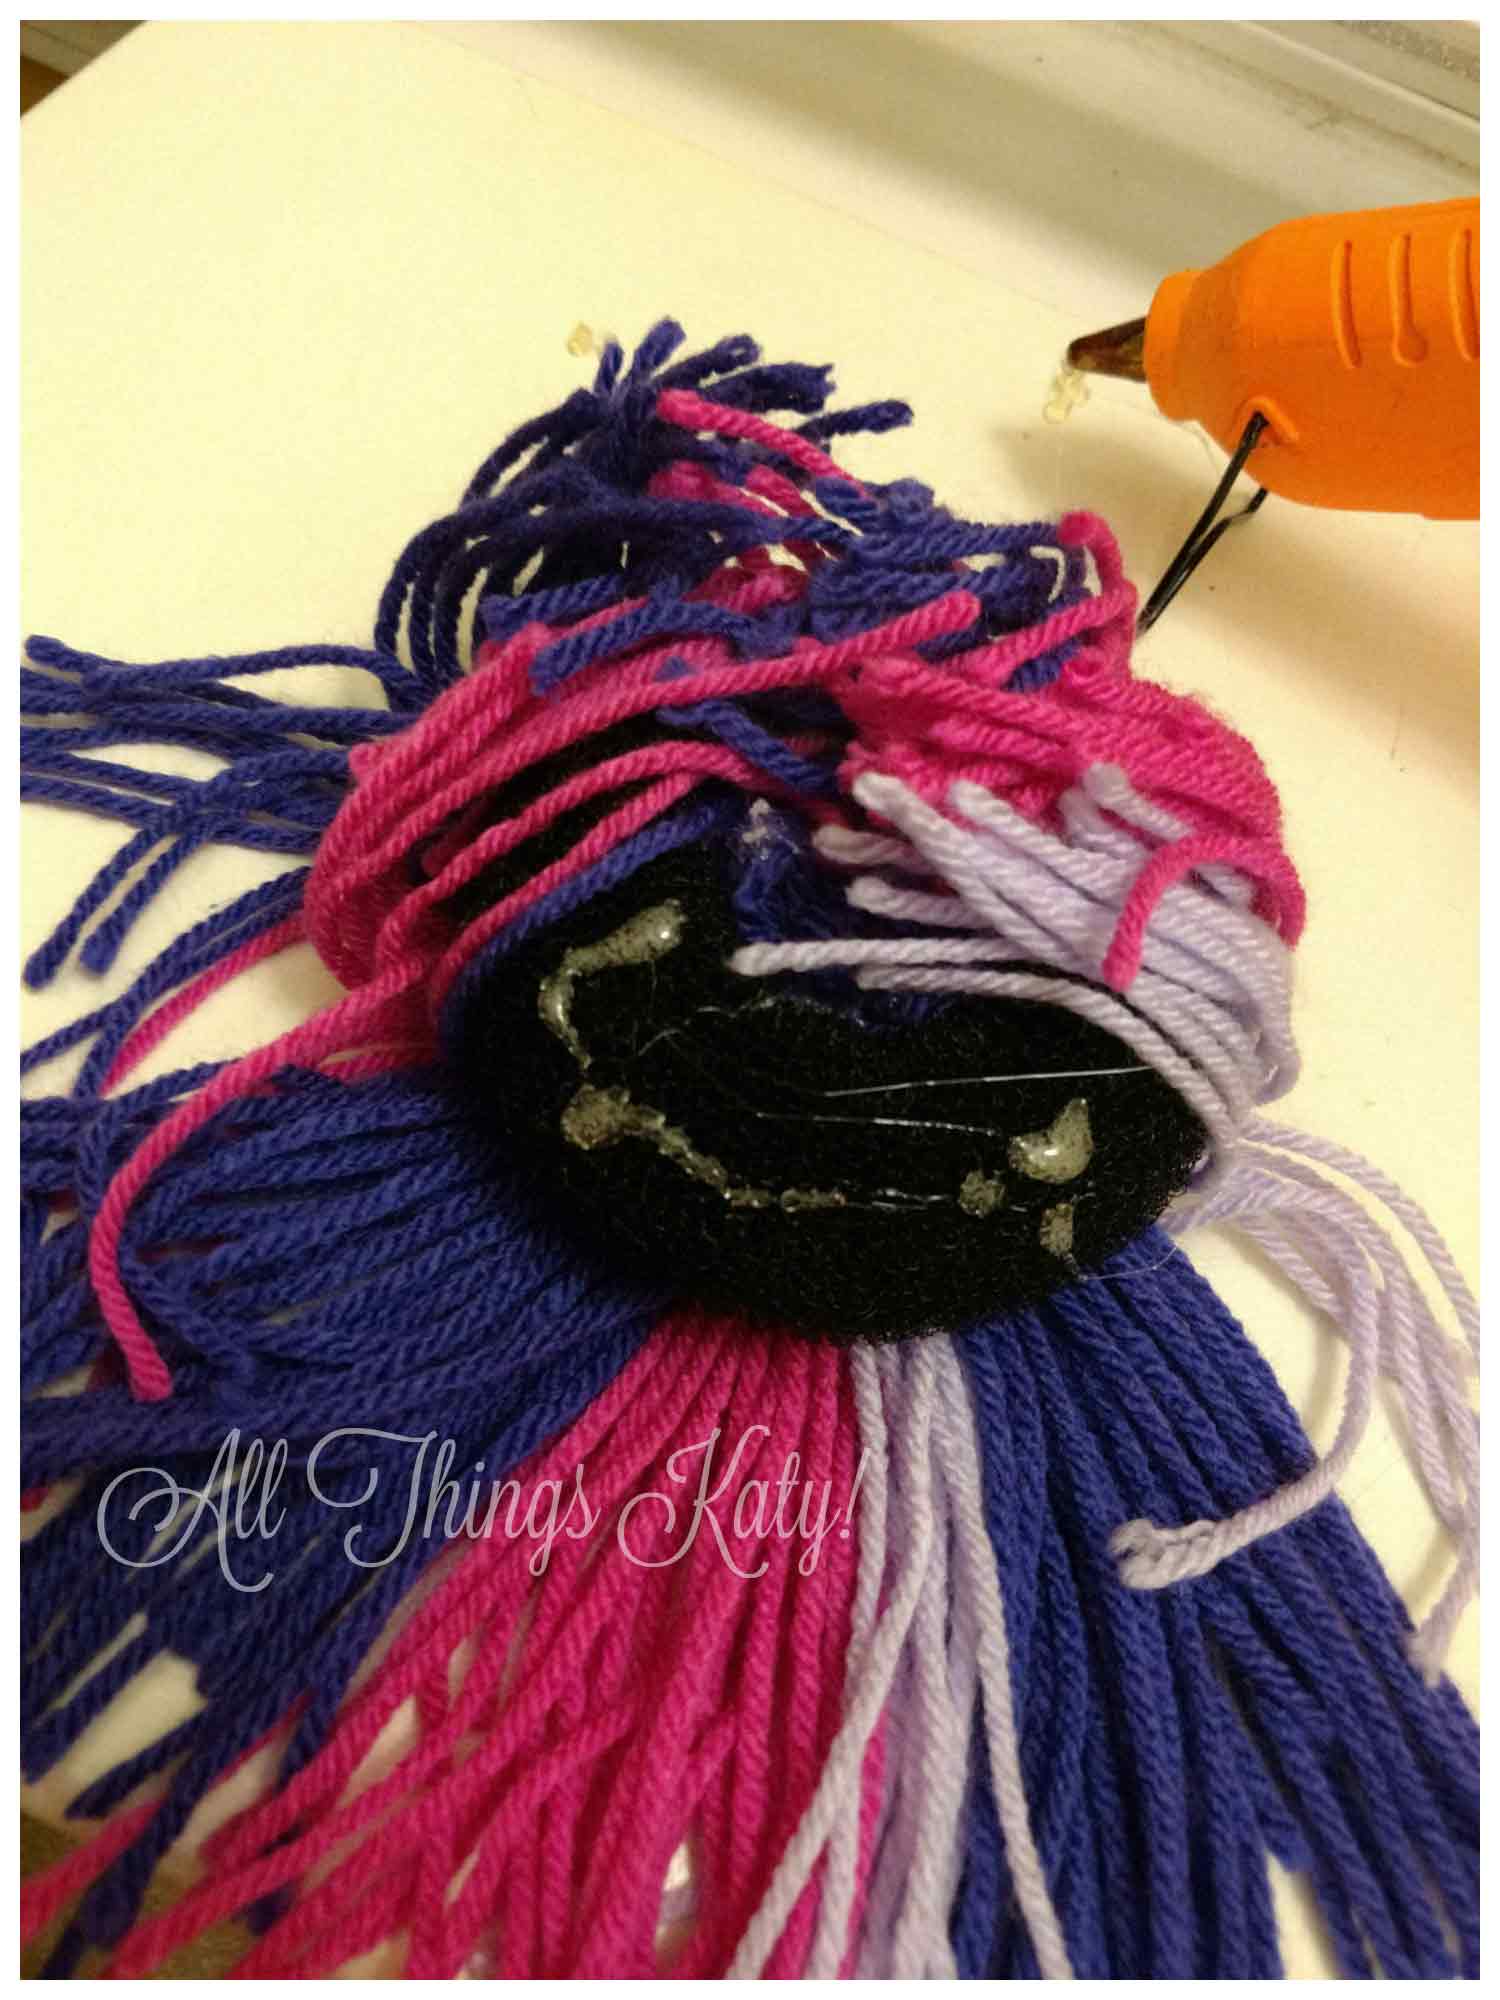
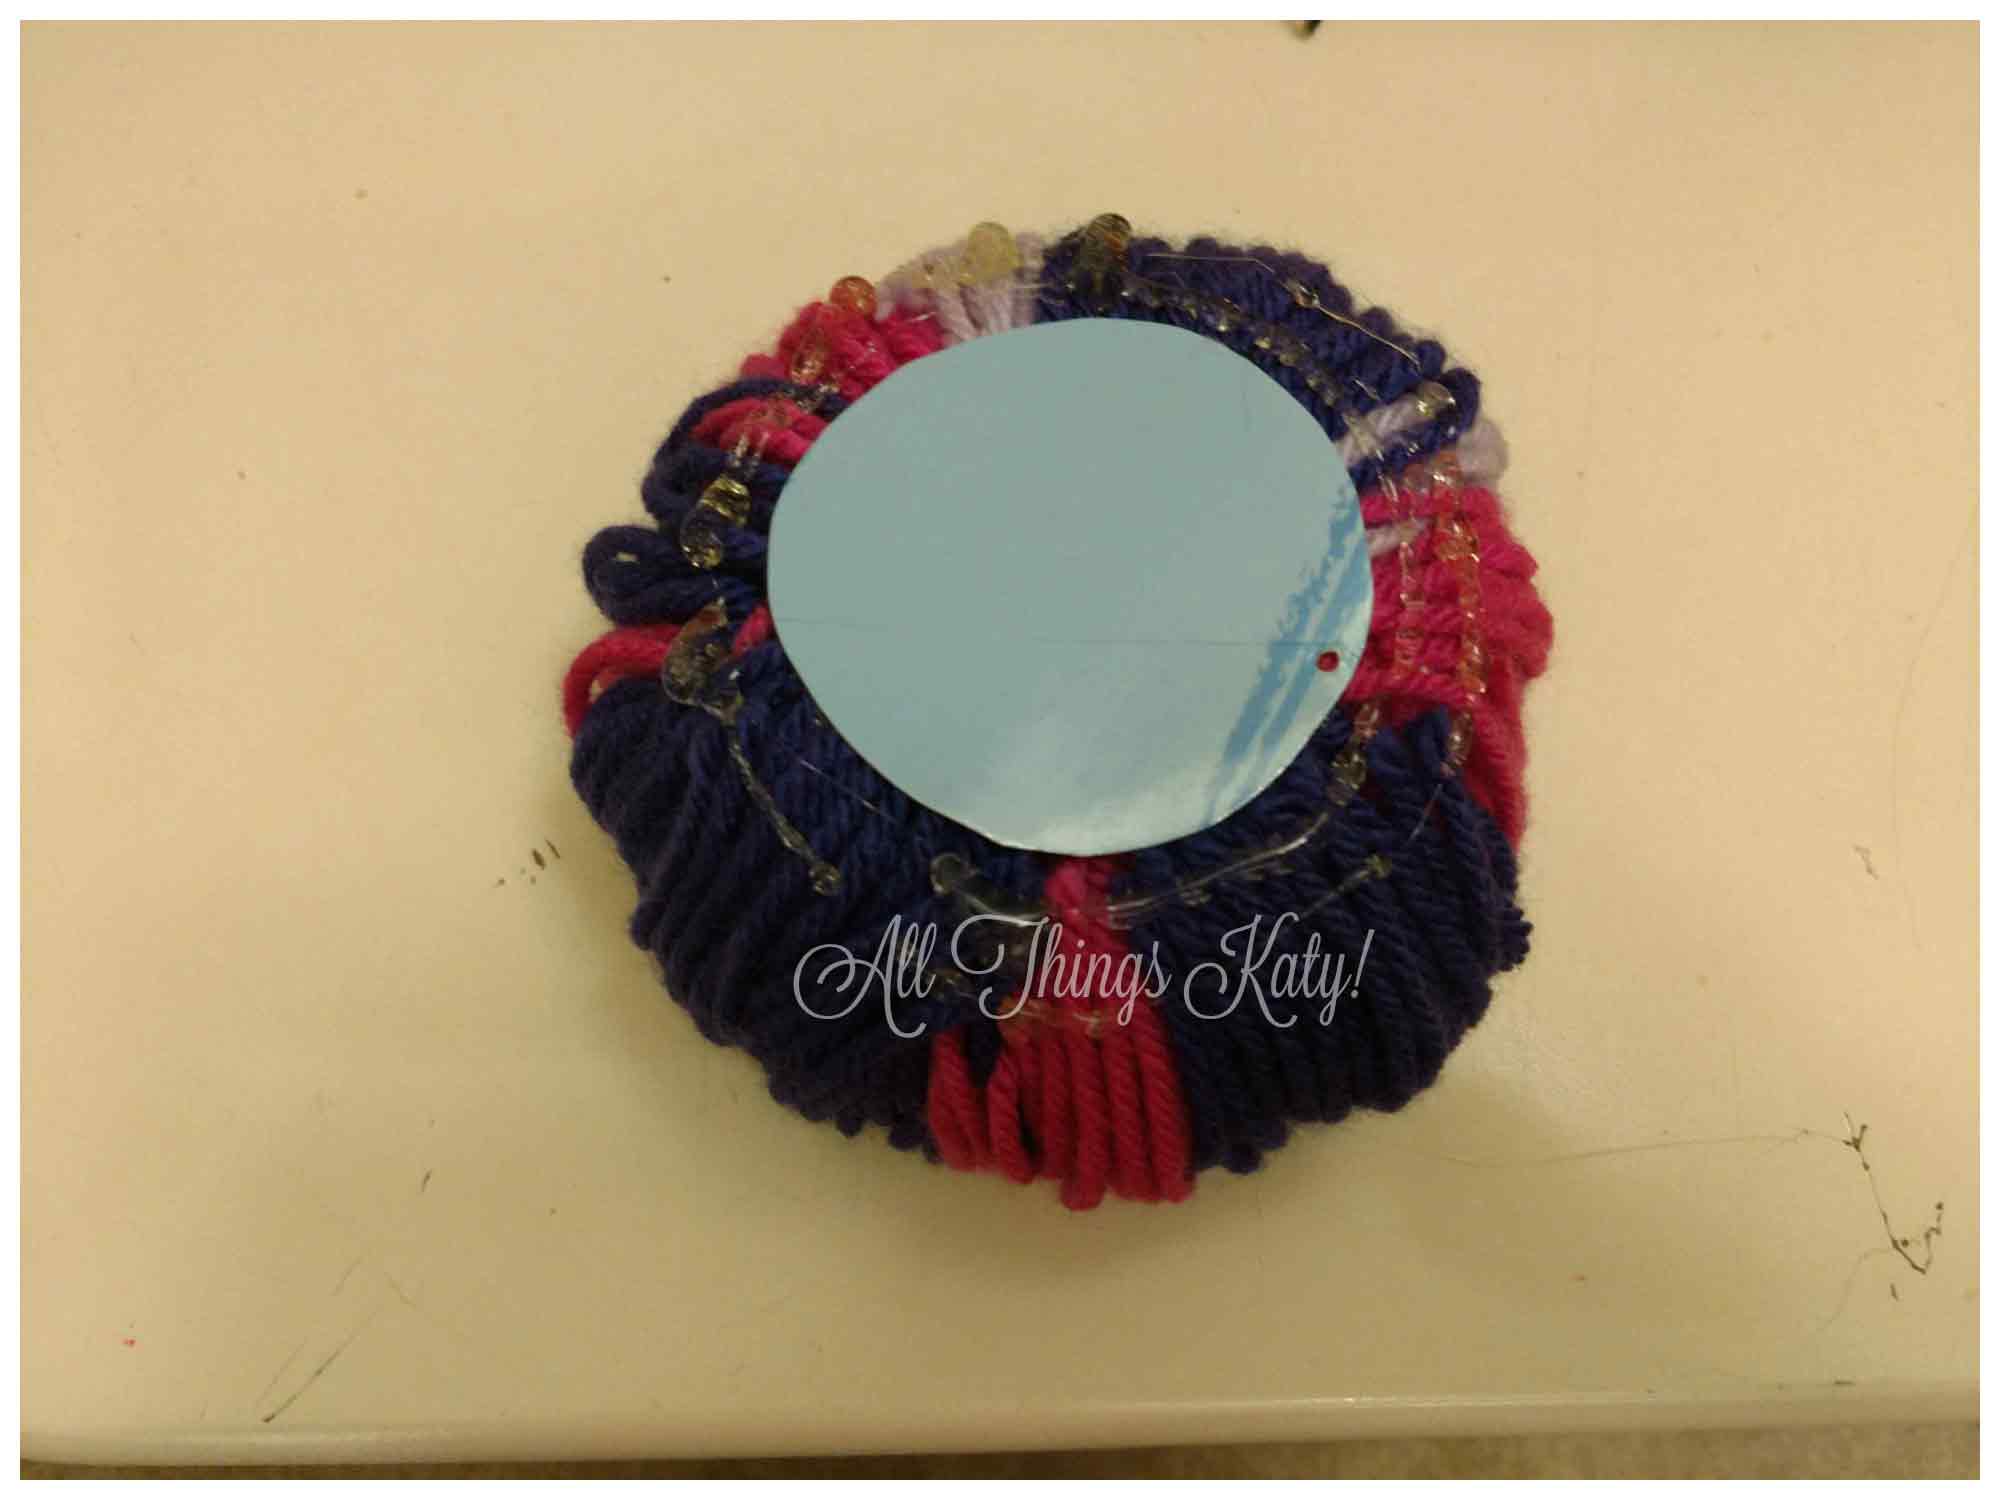
First, let’s talk about the bun. After cutting all of the lengths of yarn, I gathered up the yarn into a ponytail. I used a rubber band to tightly hold the pieces of yarn together. I then generously dabbed the glue gun on the INSIDE circle of the foam bun “donut” and stuck the yarn ponytail inside. The loose ends of the yarn should be coming out from the center of the donut. Position the yarn over the donut and secure ends all the way around the OUTSIDE of the foam bun “donut.” I used a chopstick to help me “flip” and tack down the yarn pieces (so that I didn’t burn my fingers!). I finished off the bun by securing a small circle of cardboard to the underside of the yarn-covered bun.
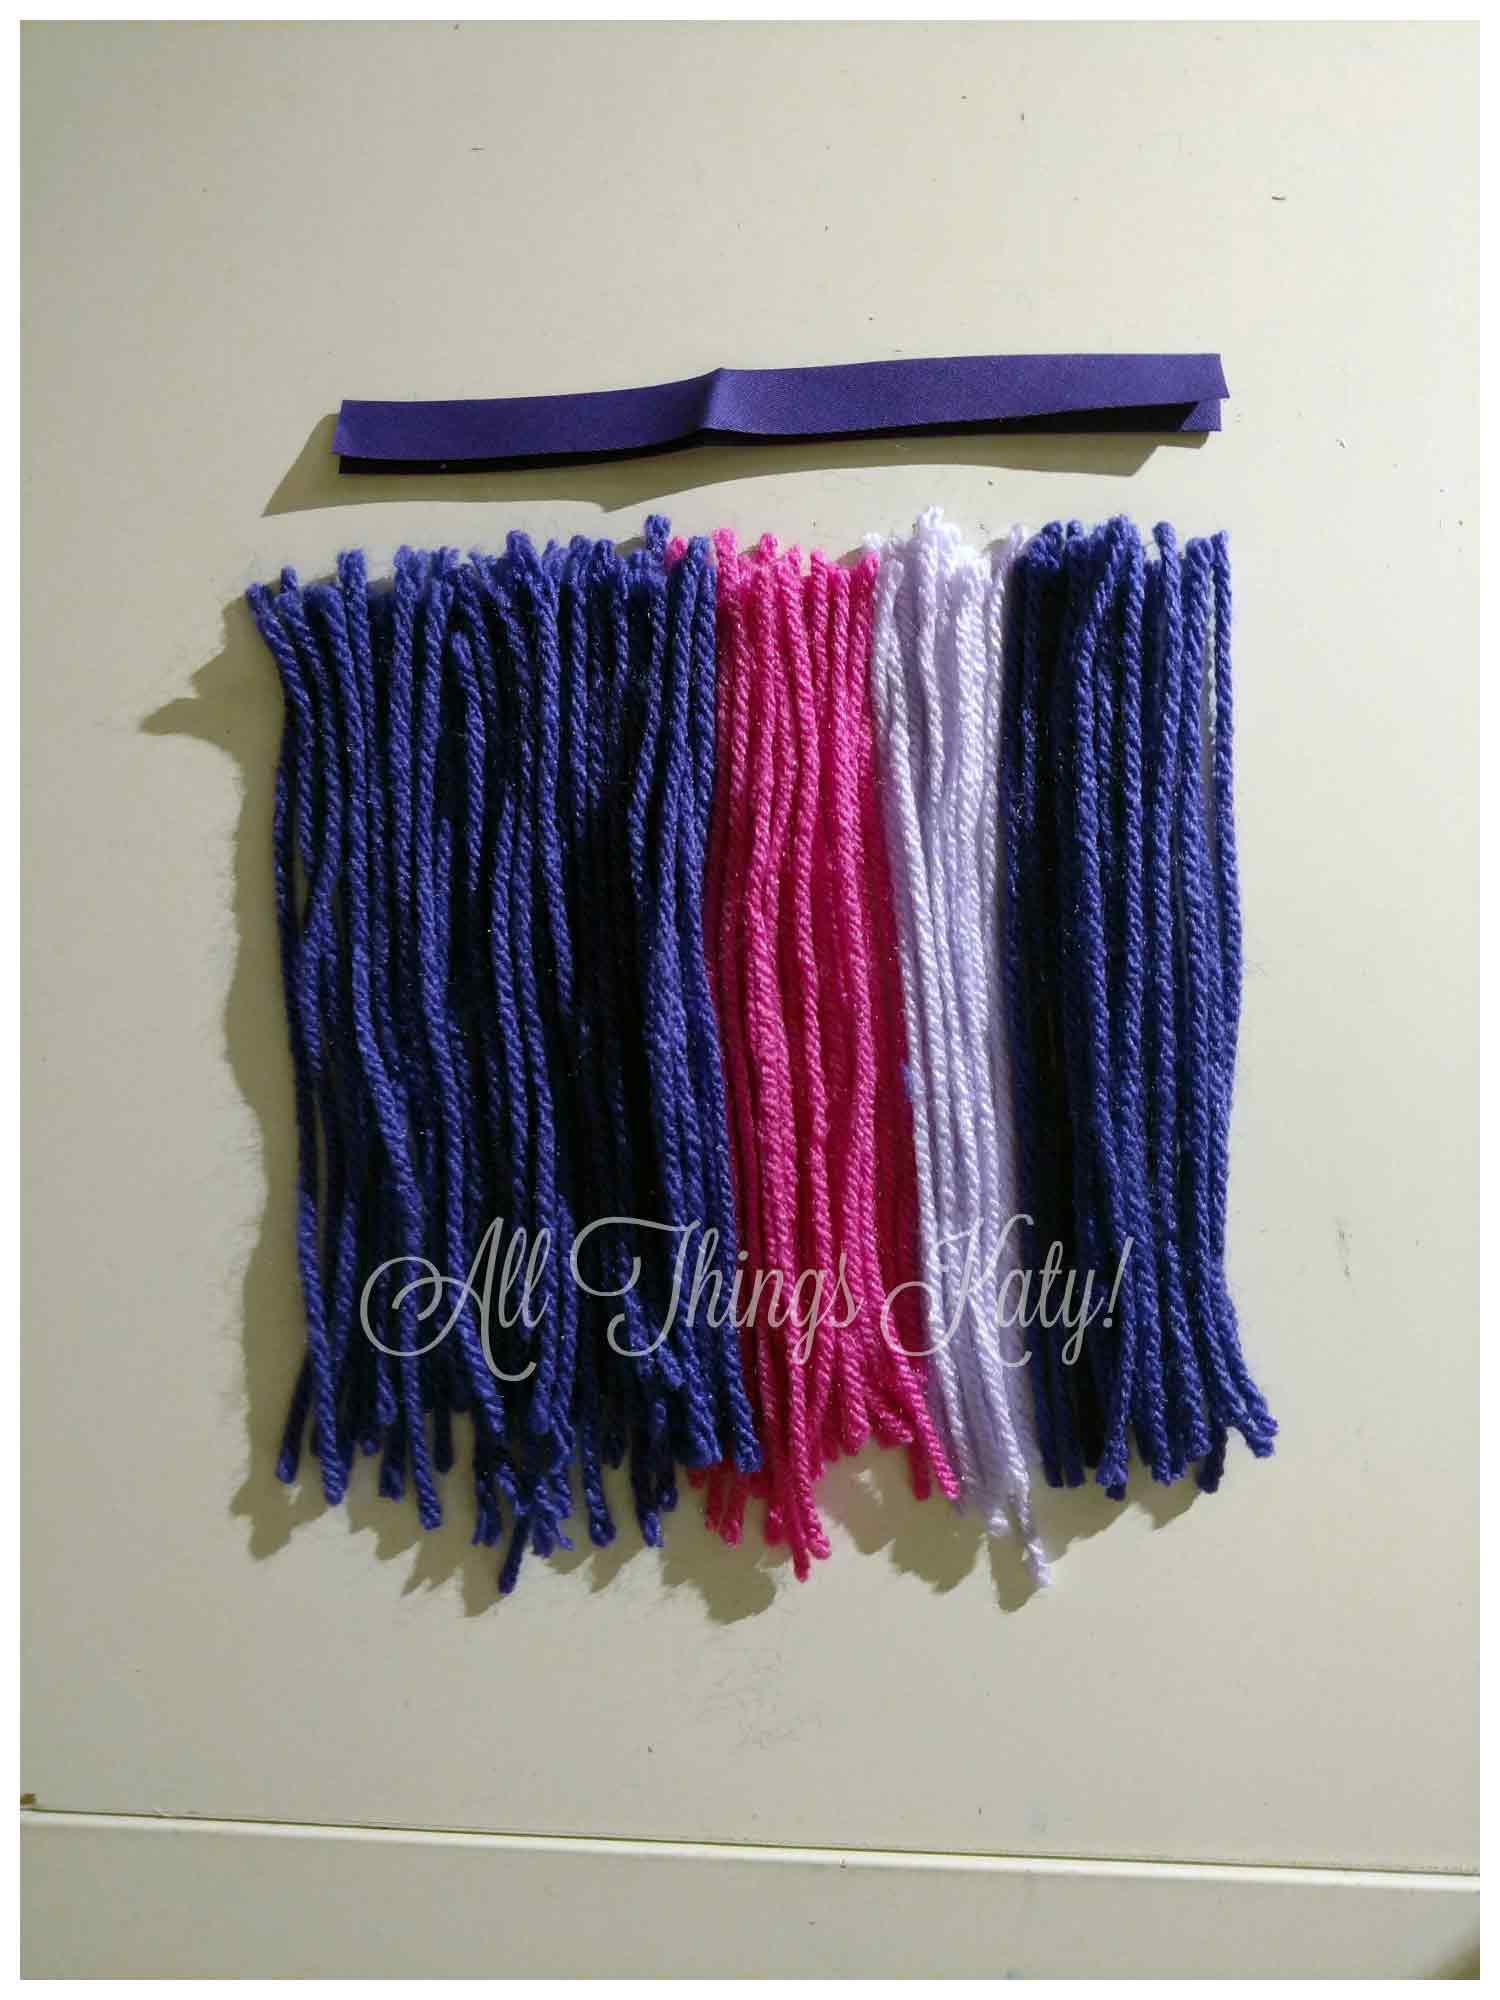
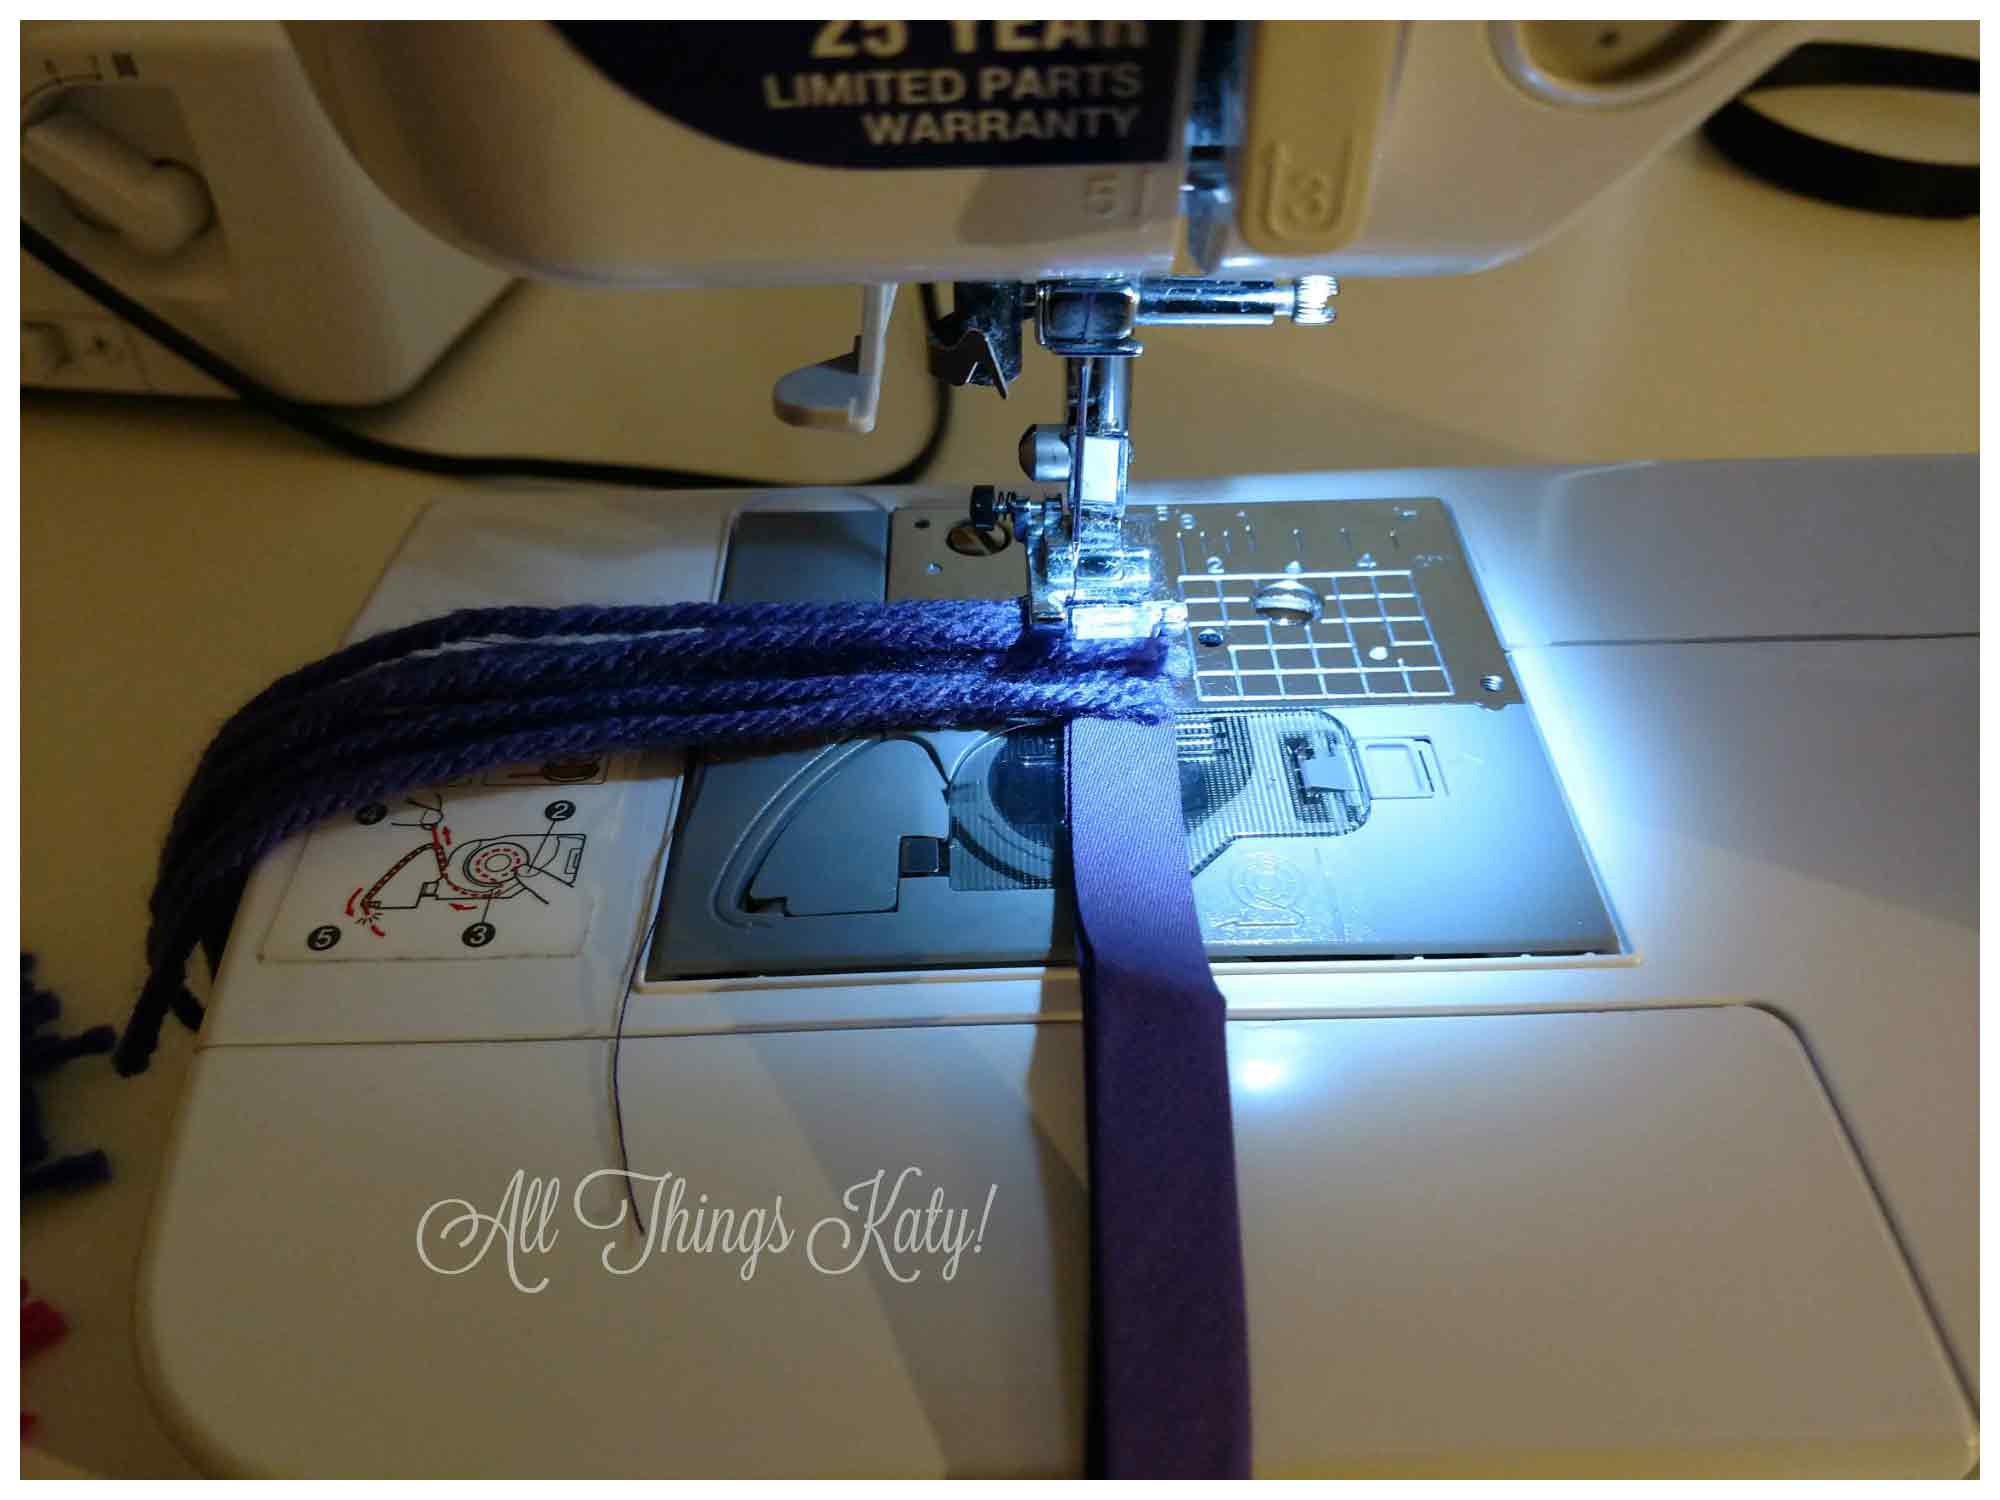
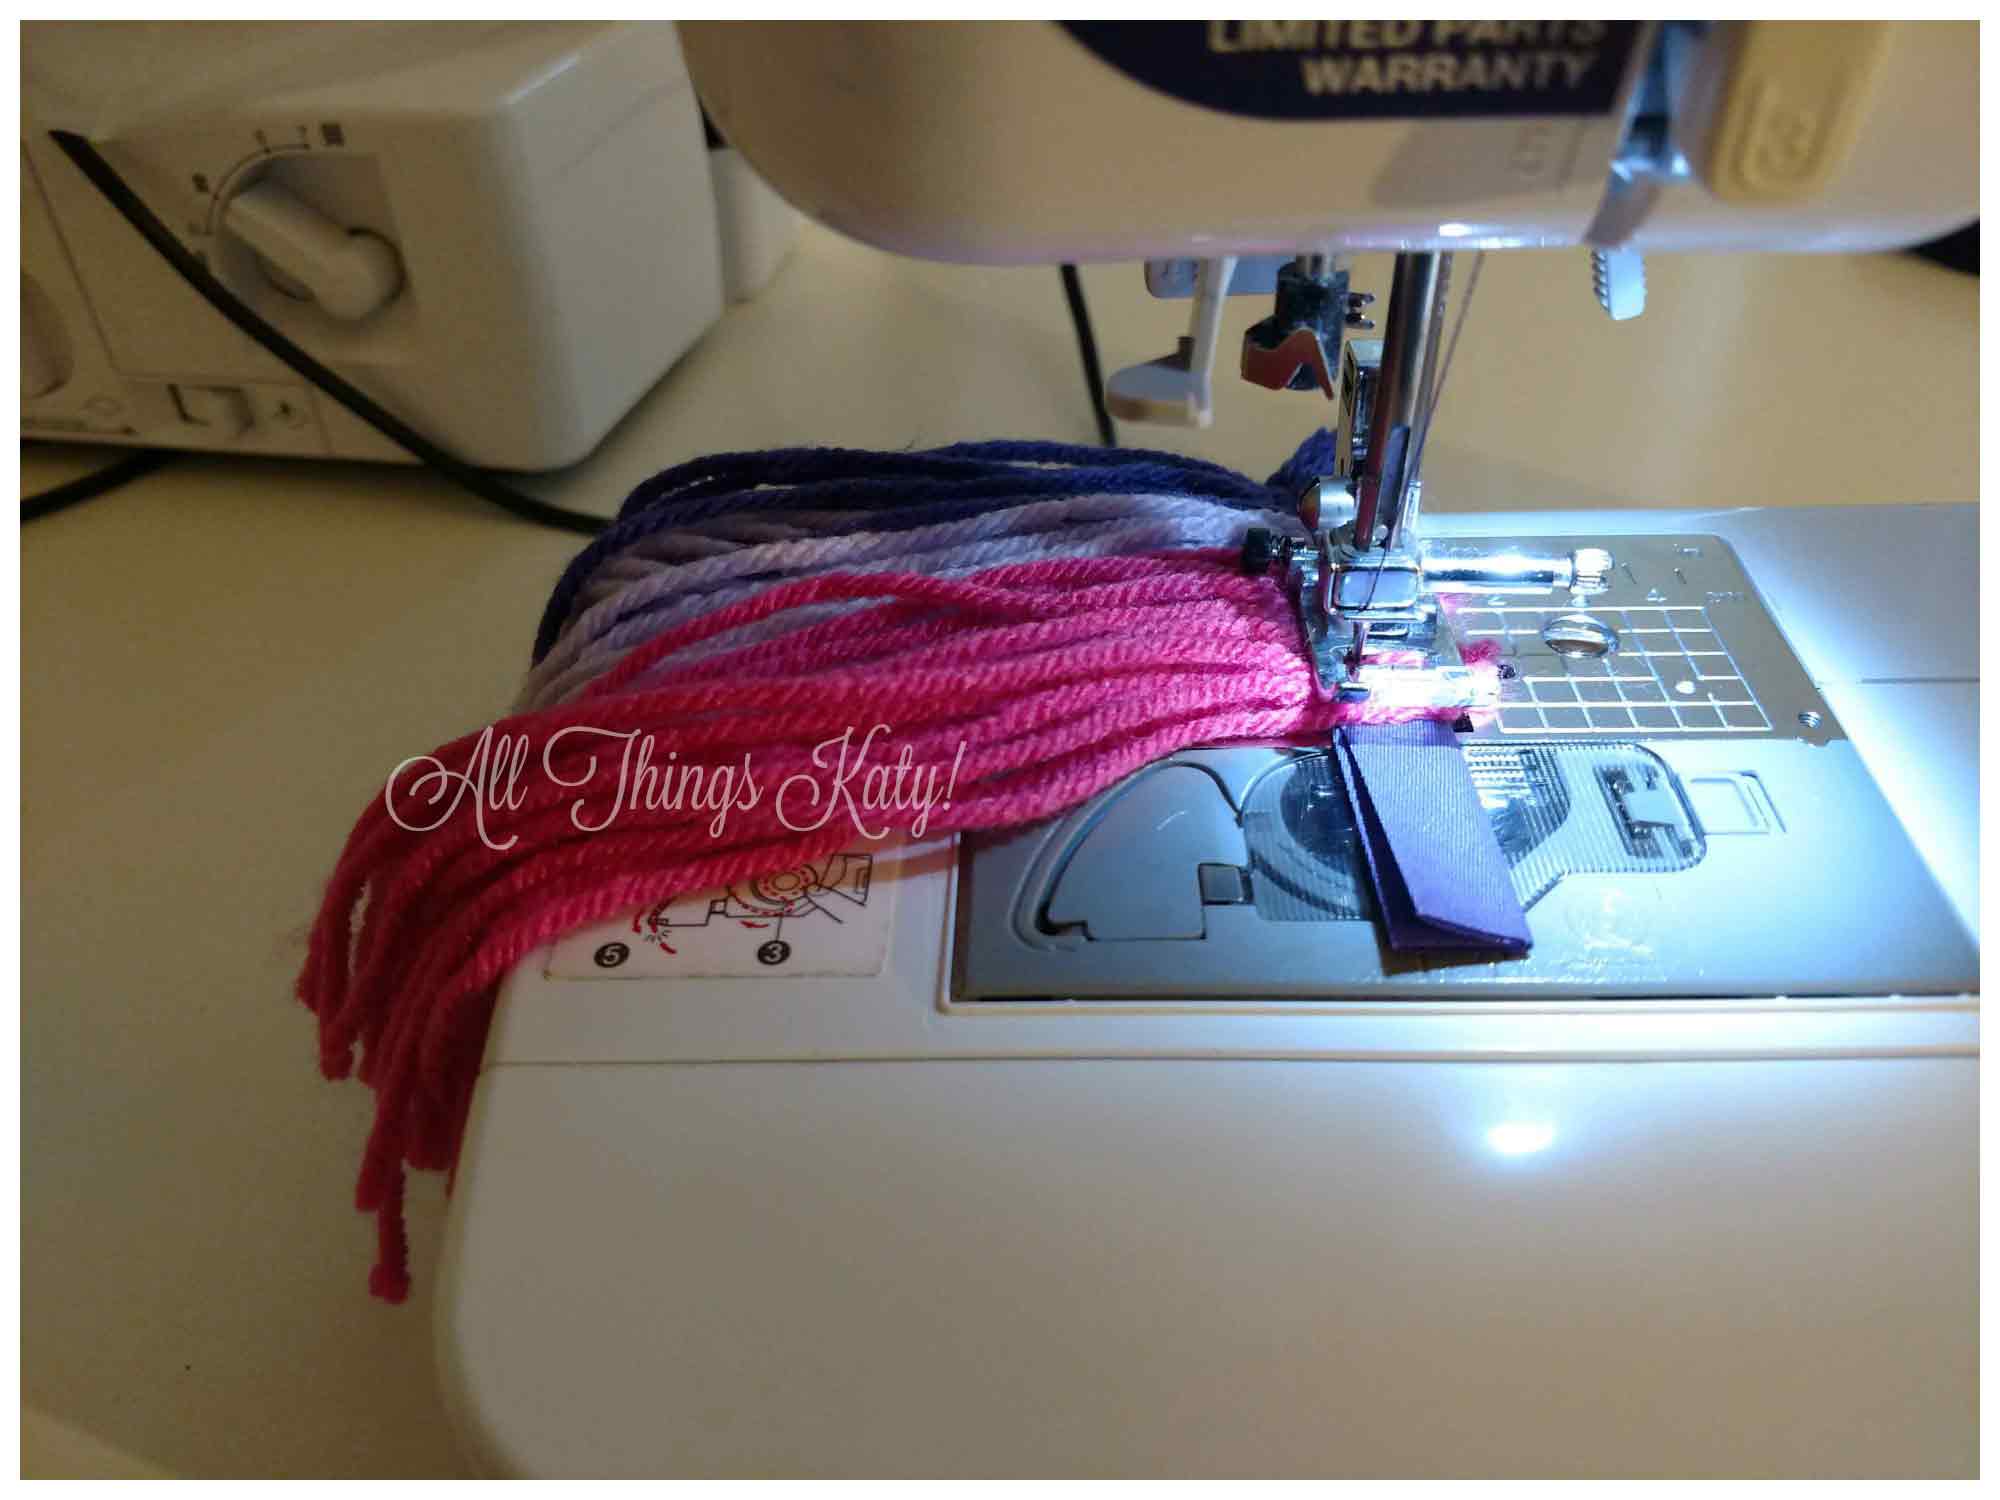
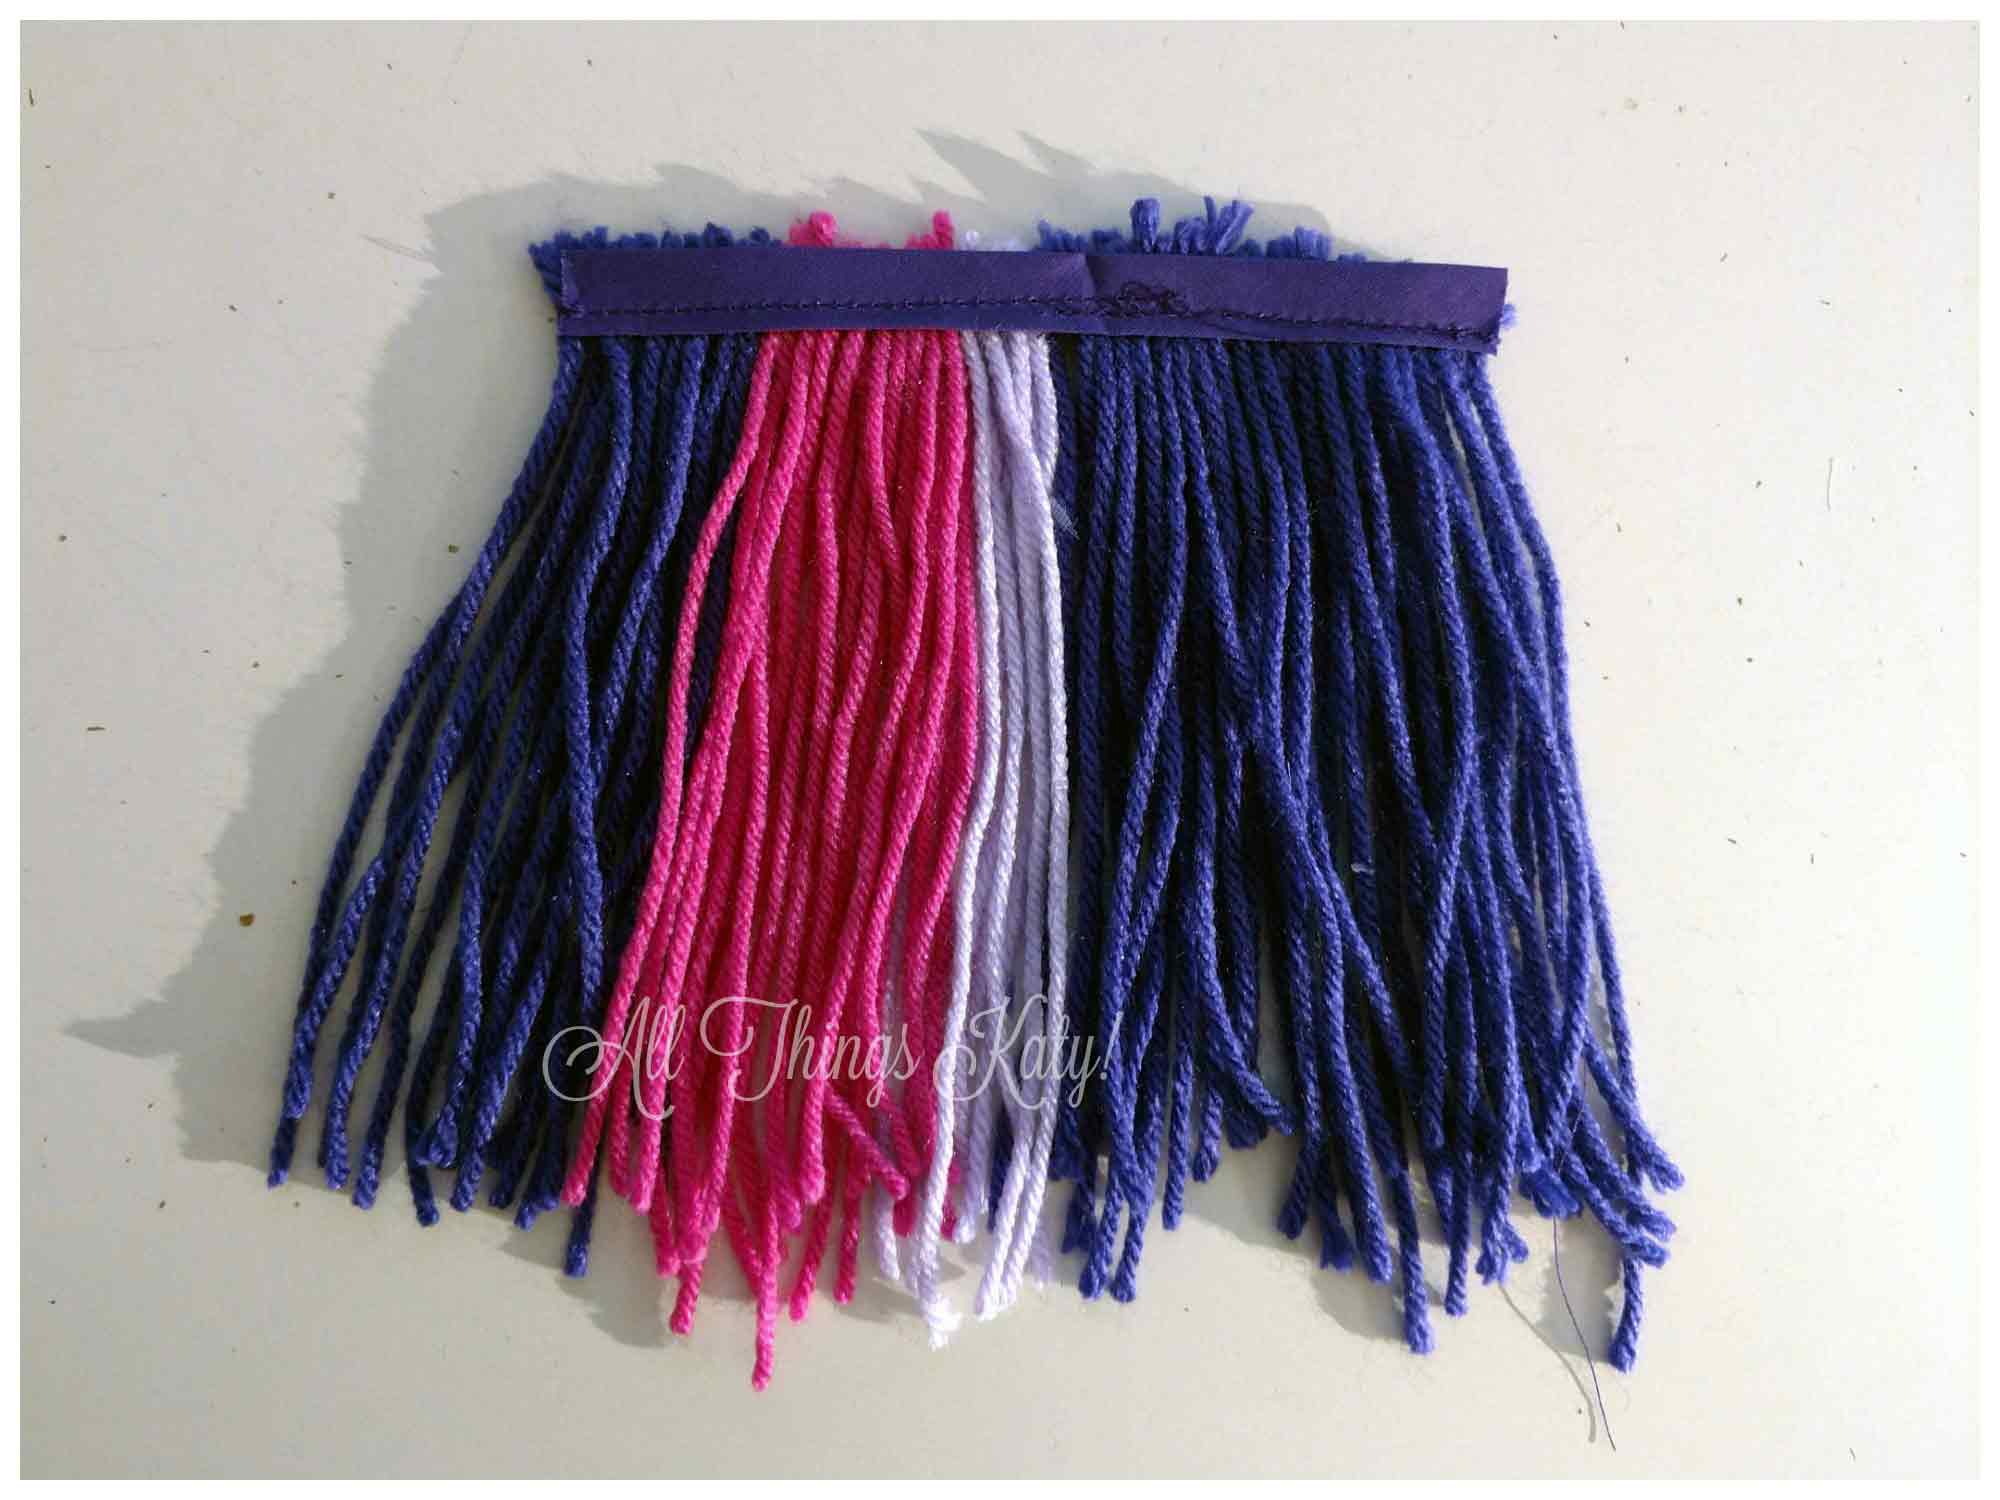

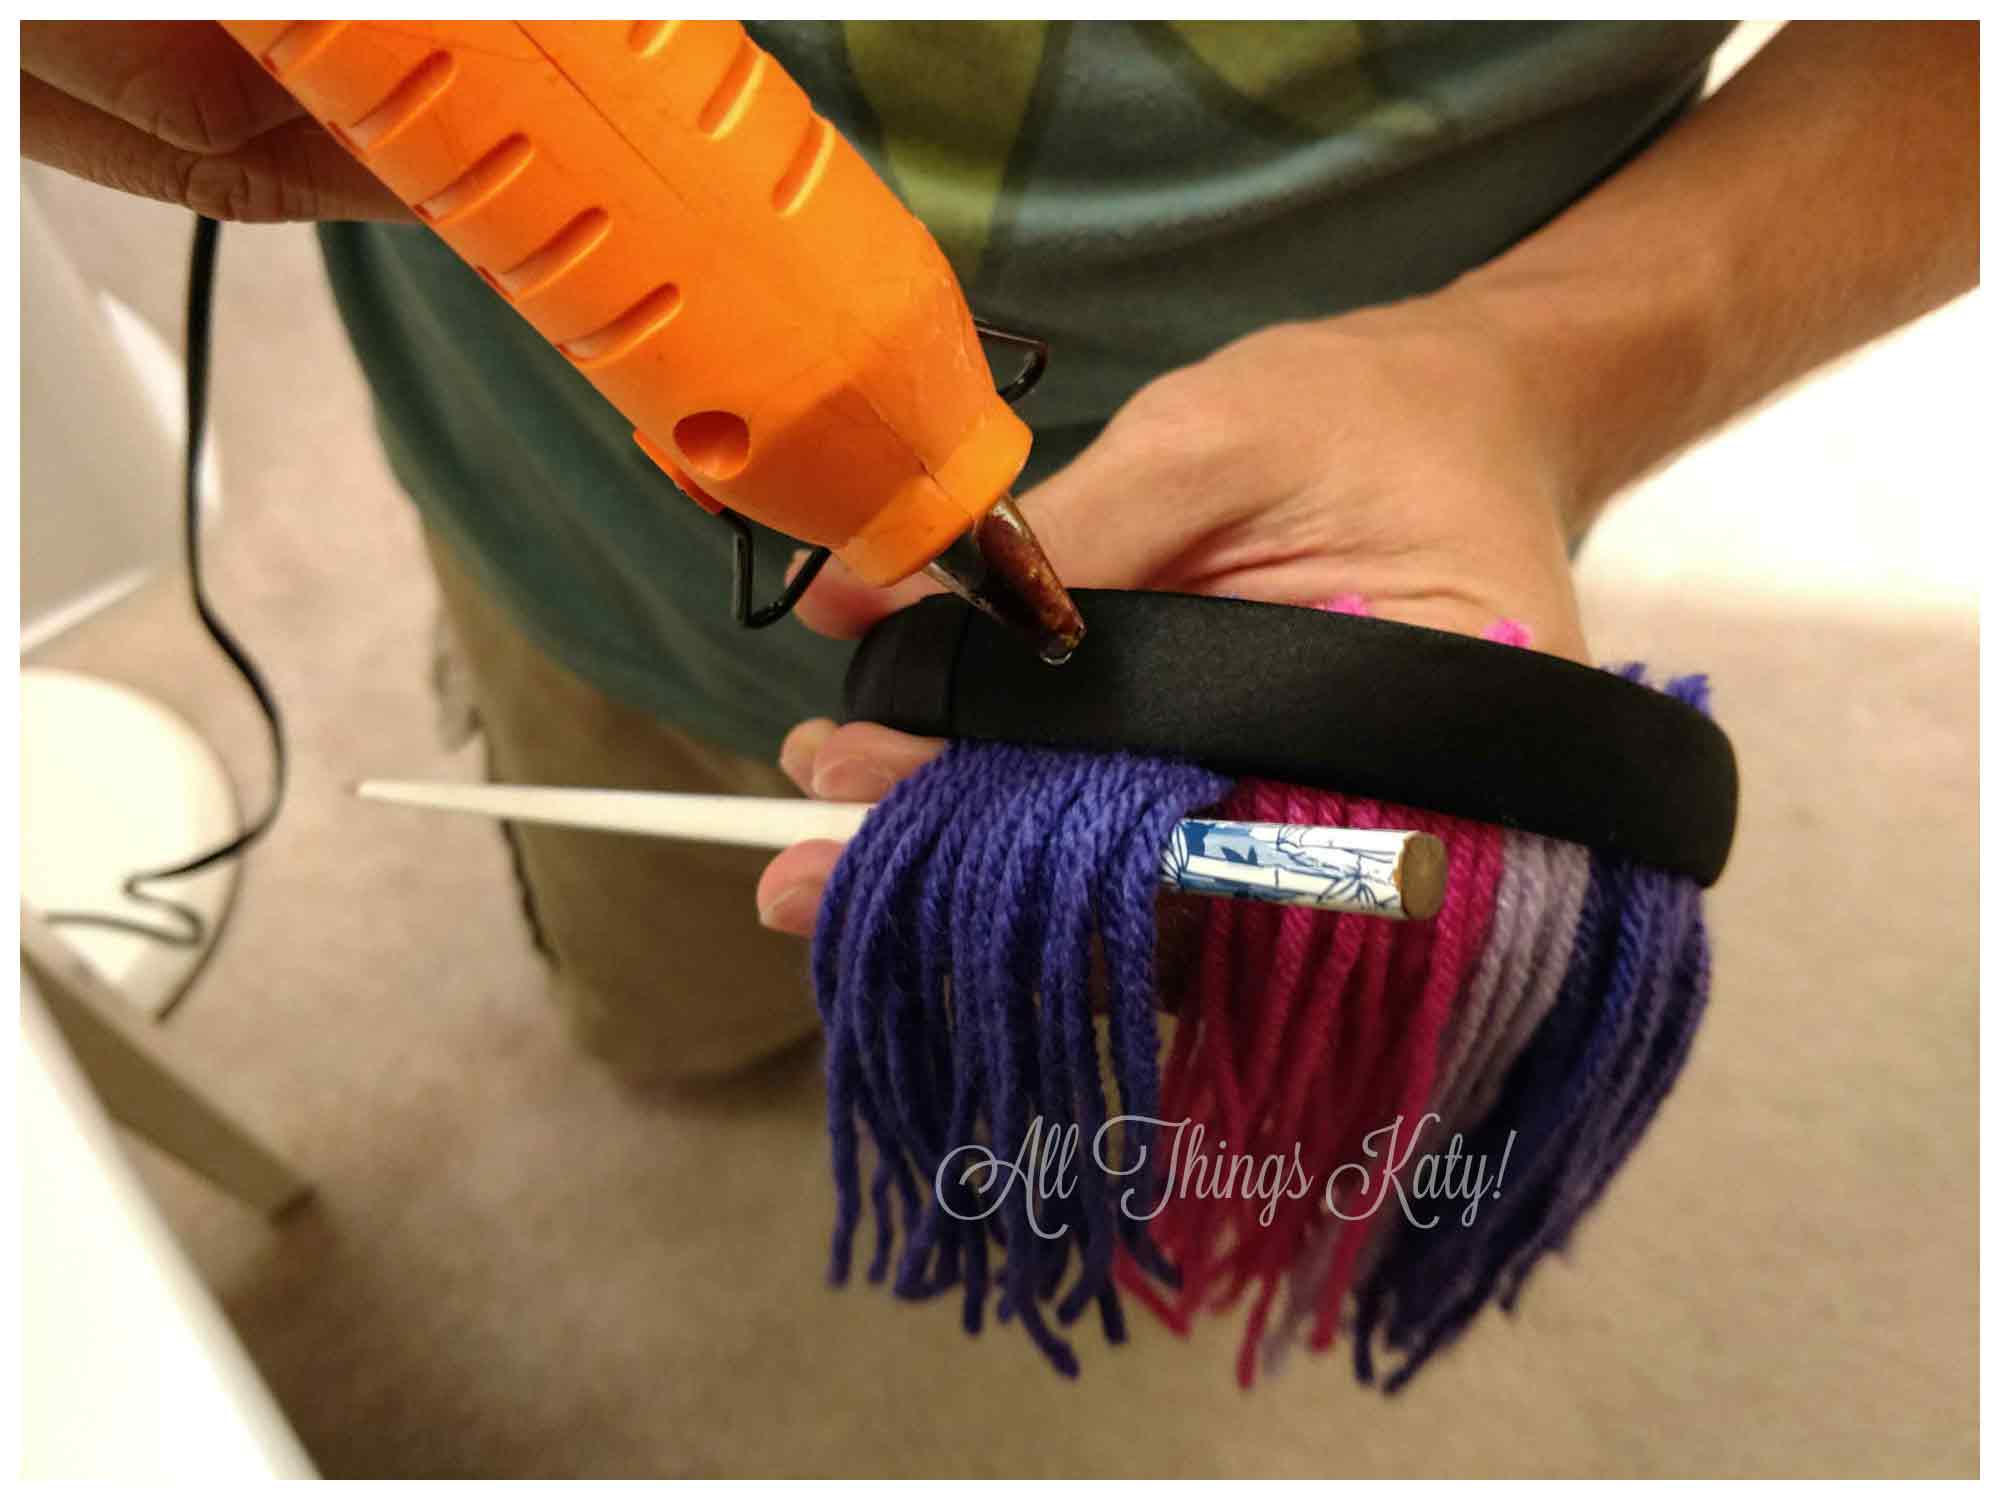
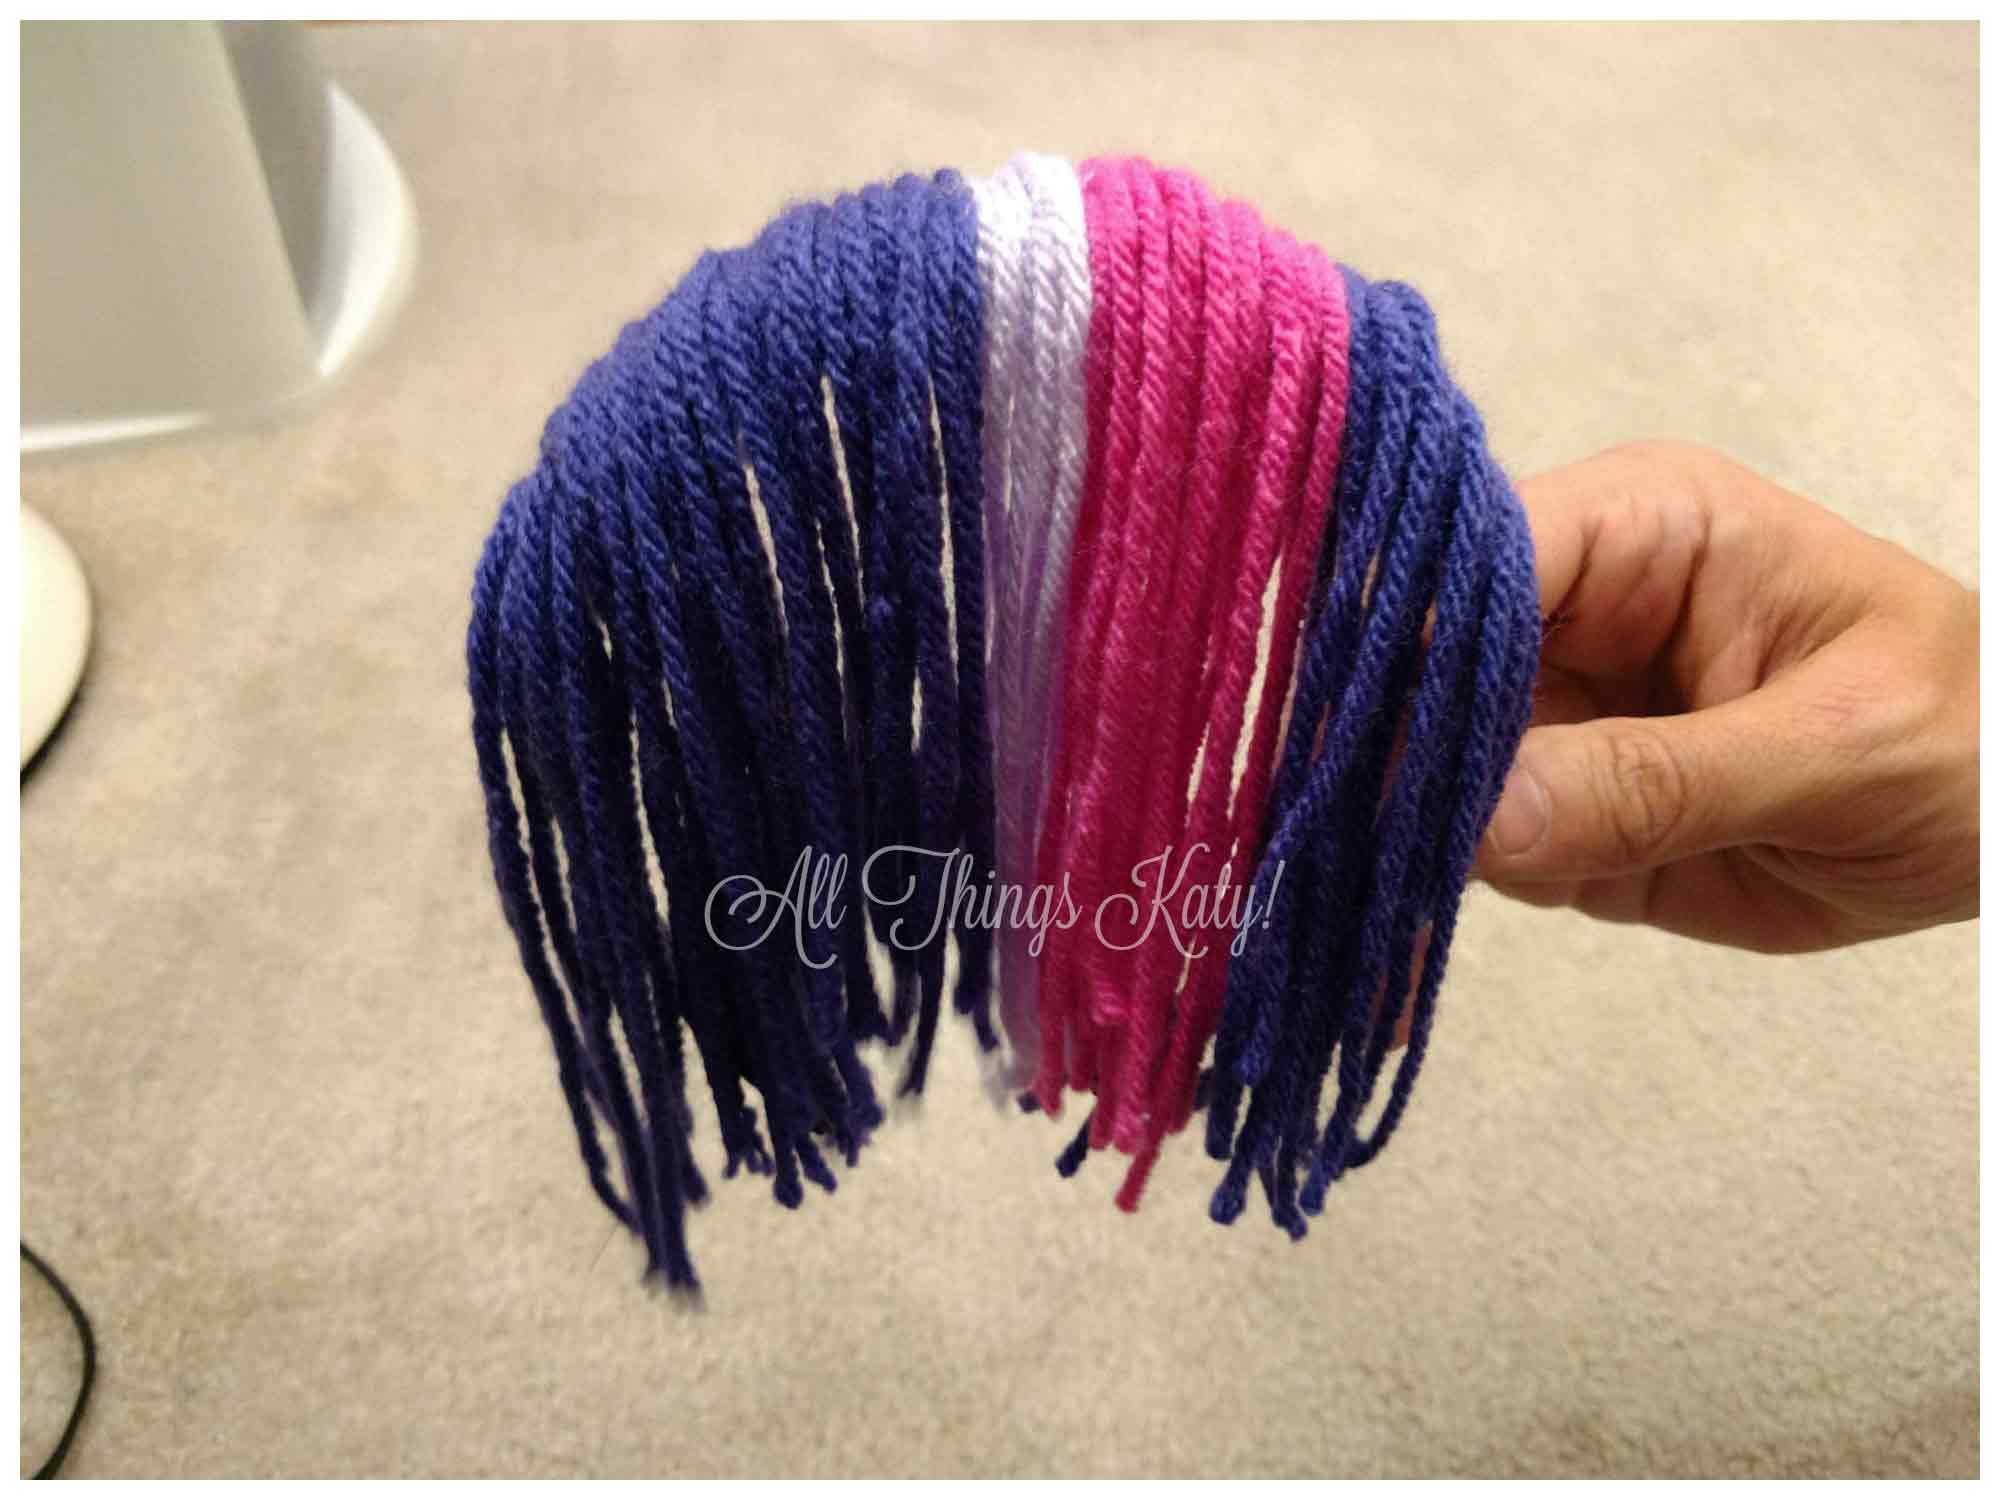
For the bangs, take your cut lengths of yarn and arrange them in the order that you prefer. Next, sew the yarn onto the scrap of bias tape/ribbon. Take your time to carefully add the arn small bunch by small bunch. Only one end of the yarn should be attached to the bias tape/ribbon. Then, glue the bias tape/ribbon (with the yarn attached), onto the headband. The yarn bangs should run from underneath the headband, flipped over the top.
Trim the bangs so that they are even and straight.
Using the glue gun, attach the bun to the side of the headband. Finally, for a finishing touch, add and arrange the artificial flowers.
Ta-da! Equestria Girls Twilight Sparkle is ready for a night of trick-or-treating!


In honor of Halloween and the creativity it brings out, we are featuring a new guest on the blog. Chance explains how he uses patterns, foam and household tools to bring some of your favorite characters to life. Whether costumes or cosplay, his techniques and tips can help you kick your next project up a notch!