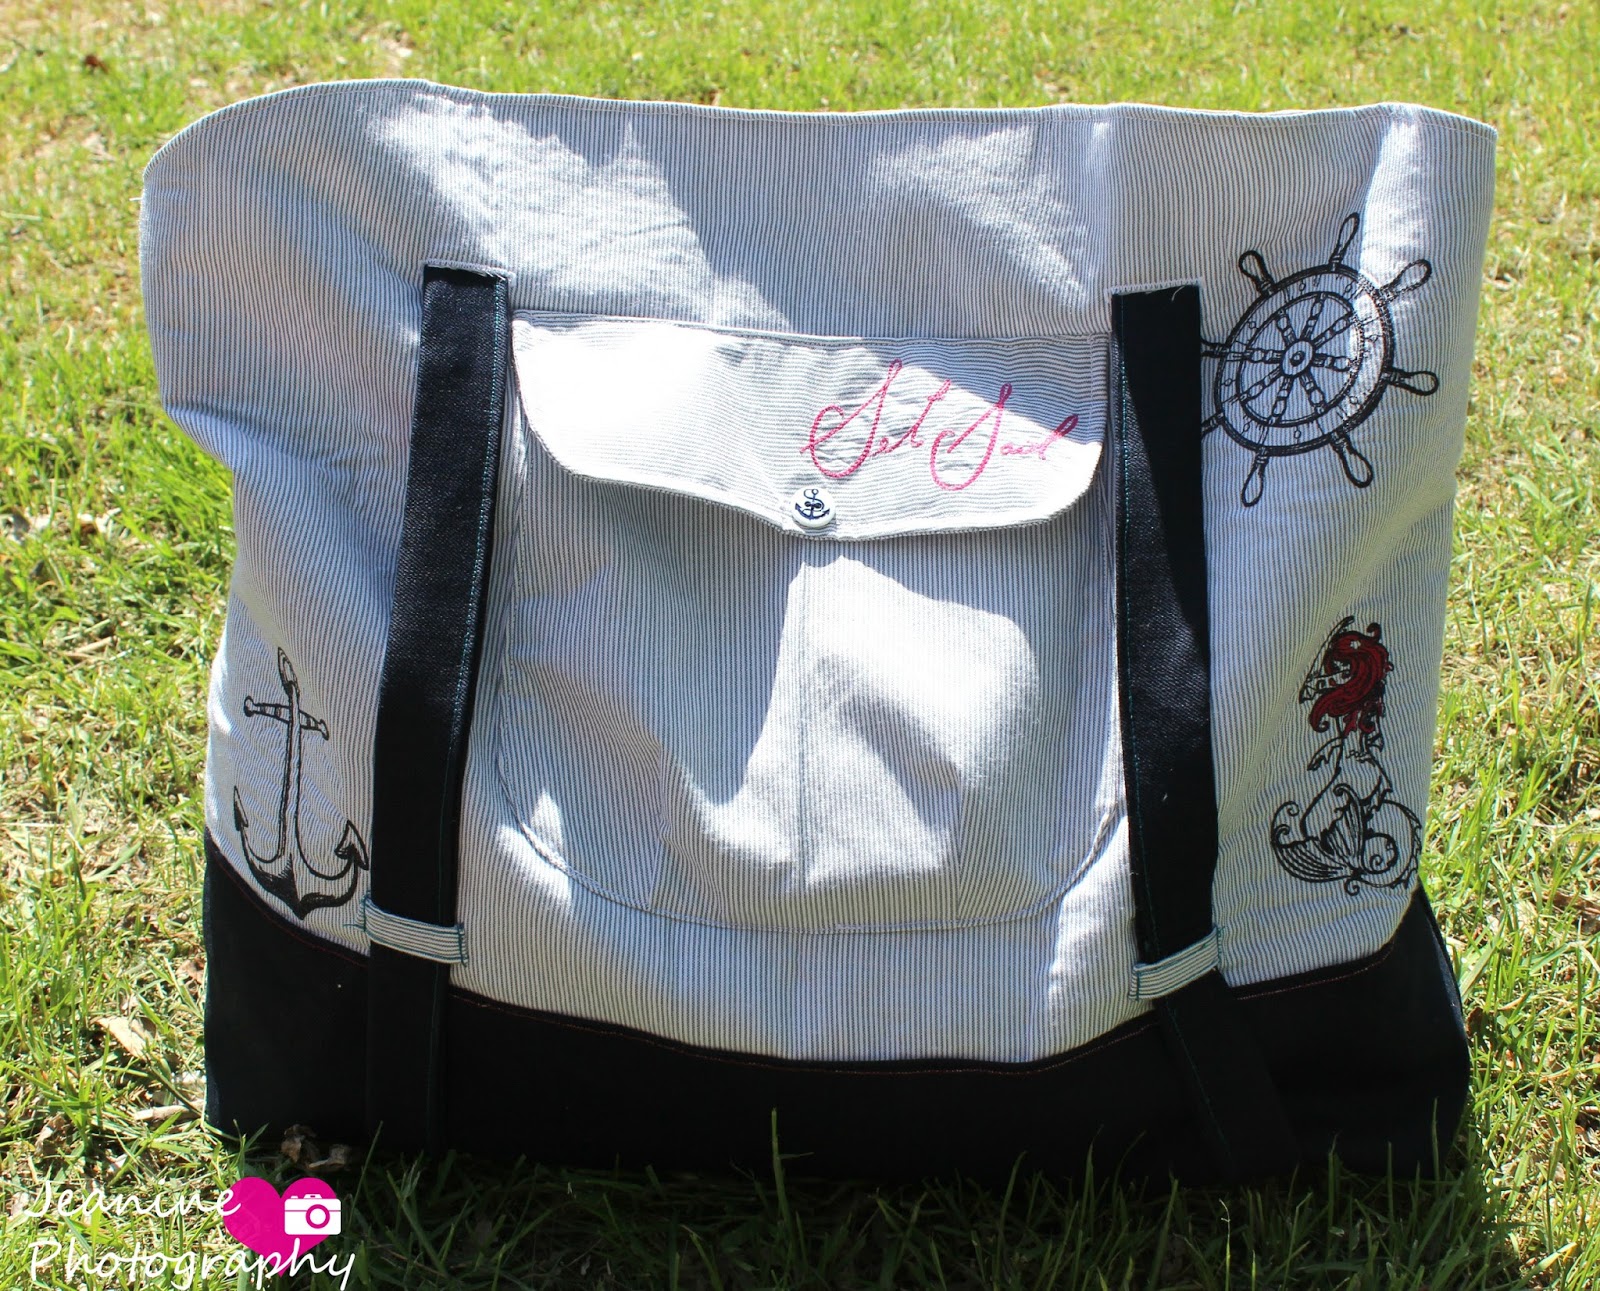
I am soooooo excited I get to review the new Swoon beach tote today,
The Sophia!
I am in LOVE with this bag, like seriously, sing Savage Garden, truly madly deeply in love with this bag!!!
The pattern has great directions, very clear computer illustrated graphics for most steps, you must read the directions though as well of course. There are 9 pages for pattern directions and 10 pages of pattern pieces to print up, all light on ink!
I absolutely adore the front pouch pocket, I chose to do a button on the front pocket since I had the perfect anchor button to go with the nautical embroidery I did (designs from
Urban Threads)
This pattern is for woven fabric and you will need a yard of thicker fabric for the bottom reinforcement and straps, I used a thick twill found at my local fabric store. The outer and lining fabric you can use lighter weight fabrics if you choose. I did a regular weight cotton for both.
The Sophia is not a complicated sew, but you should be aware it does have a zippered pocket inside, magnetic snaps and buttonholes. I would rate it intermediate or adventurous beginner.
None of these things are anything to fear, but if it is your first time doing buttonholes, practice on scrap first, and if it is your first time doing a zippered pocket you MUST watch
this video by AliCat, it is for the Swoon India, but the pocket is the same concept just a different size. You could of course skip the zippered pocket... but personally, I'd keep it as it is the perfect spot to put your cell phone, cash/$card, car keys, etc.
This was my first time doing a magnetic snap and it was very easy, thanks to simple pattern directions and the instructions on the back of the magnetic snap package.
The way the straps are done with the loop and then the buttonholes is GENIUS! You can roll up your beach towel and put it in there!!! AND don't worry about it falling out - when you carry the bag the straps tighten to just right around the towel!
A little tip for your automatic buttonhole foot, assuming they all do up to the same size, open it to the largest setting and you should get the perfect buttonhole size for the straps to go through! (I have an SE400)
I cut all the pieces and interfacing in one lazy evening and then I sewed it the next evening, if you were able to do it in one focused sitting I'd say this is about a 4 hour project.
The hardest part of this project for me was sewing a large bag on my rather crowded sewing desk and, of course, ironing on the fusible fleece to the outer insides. There is a reason my husband does the bulk of the ironing in this household!
This beach tote has PLENTY of space, you could fit in all your beach needs, diaper bag needs and even a small lunchbox in here! This really is a must buy pattern if you plan on going to the beach this summer! At $5.95 regular price it is a steal of a deal for a pattern as well!
Now, for a little bonus, The embroidery and a small how-to with placement :)
I used the free MyEditor software. First you will want to print a copy of your embroidery pattern. In the picture below you can see the settings to leave checked off when you hit print
After you have your designs printed off you can place them on your front piece and get an idea of how and where to place them.
Then you will want to use that little insert that came with your machine so you can be sure your design will be centered in the hoop and stitch out where you want it! Hoop your fabric/stabilizer and stitch!
I hope that helps! I know it takes me a little bit of time to get the fabric and design to not move when I hoop, but doing things carefully really is worth it to get a perfectly placed finished design!
Happy Sewing!
Jeanine


