Design Your Own Pinny by BOO! Designs

Hello Readers, we have a super fun one for you today.  Let me introduce you to the 'Design Your Own Pinny' by BOO! Designs.  Design your own???  I'm sure many of you are scratching your head and thinking, this is too hard for me.... BUT WAIT!!!  It isn't too hard at all, and is the perfect stepping stone if you have always wanted to be able to adjust a pattern into exactly what you want.  Today we have three reviewers sharing their unique takes on this awesome little pattern.  We hope you are inspired, we hope you are getting excited, because we want to see what YOU can turn this little number into.  On Monday we will start a two week challenge with PRIZES... Robin will have more information soon... so start off by picking up your own copy of the pattern for a great discount: 20% off with the Code: REVOLUTION.  And check out the reviews below to start getting ideas!!!

    • This review was completed by a 3rd party objective reviewer who received a complimentary copy of the pattern in order to complete the review. Neither Pattern Revolution nor the reviewer received any additional compensation for this review.


--------------------------- 

Hi, I'm Katie, and I am mommy to a 6 year old boy and 4 year old boy/girl twins. When they aren't keeping me busy (refereeing fights is like a full time job right now; good ol' summer break!), I’m behind my sewing machine, creating lots of cuteness for my shop, Leave You In Stitches.

When I was told I would be reviewing the Design Your Own Pinafore, by BOO! Designs, I was ecstatic! An adorable wardrobe staple all on its own, I love the idea of tailoring it to your (or your child’s) own taste. Then I got a teensy bit nervous, because I went to the BOO! Designs Facebook page and saw all the adorable versions of this pattern that have already been sewn. It took willpower not to head straight to the fabric store for inspiration (I need a 12 step program for my fabric obsession). I found my inspiration in a bundle of soft and ultra feminine floral cottons, calling to me from my fabric closet.


This was my first time sewing a BOO! pattern, and I was super excited to see there were no pattern pieces to cut. I know it’s unavoidable with a lot of patterns, but I am always happy when I don’t have to print, cut and tape. The first custom option is the bodice. The pattern provides step by step instructions for a basic bodice, a beautiful lattice bodice, and a fun bow bodice. This is the most eye-catching part of the dress, you can do anything in your sewing repertoire here to make it pop. It would also be a good place to put embroidery – I think I’ll do that on my next pinafore. I opted for three rows of girly ruffles (I tend to add ruffles to everything, it seems). The instructions for the bodice assembly were very clear and easy to understand. I really liked the binding method used to trim the bodice; it gave me beautifully professional looking results.


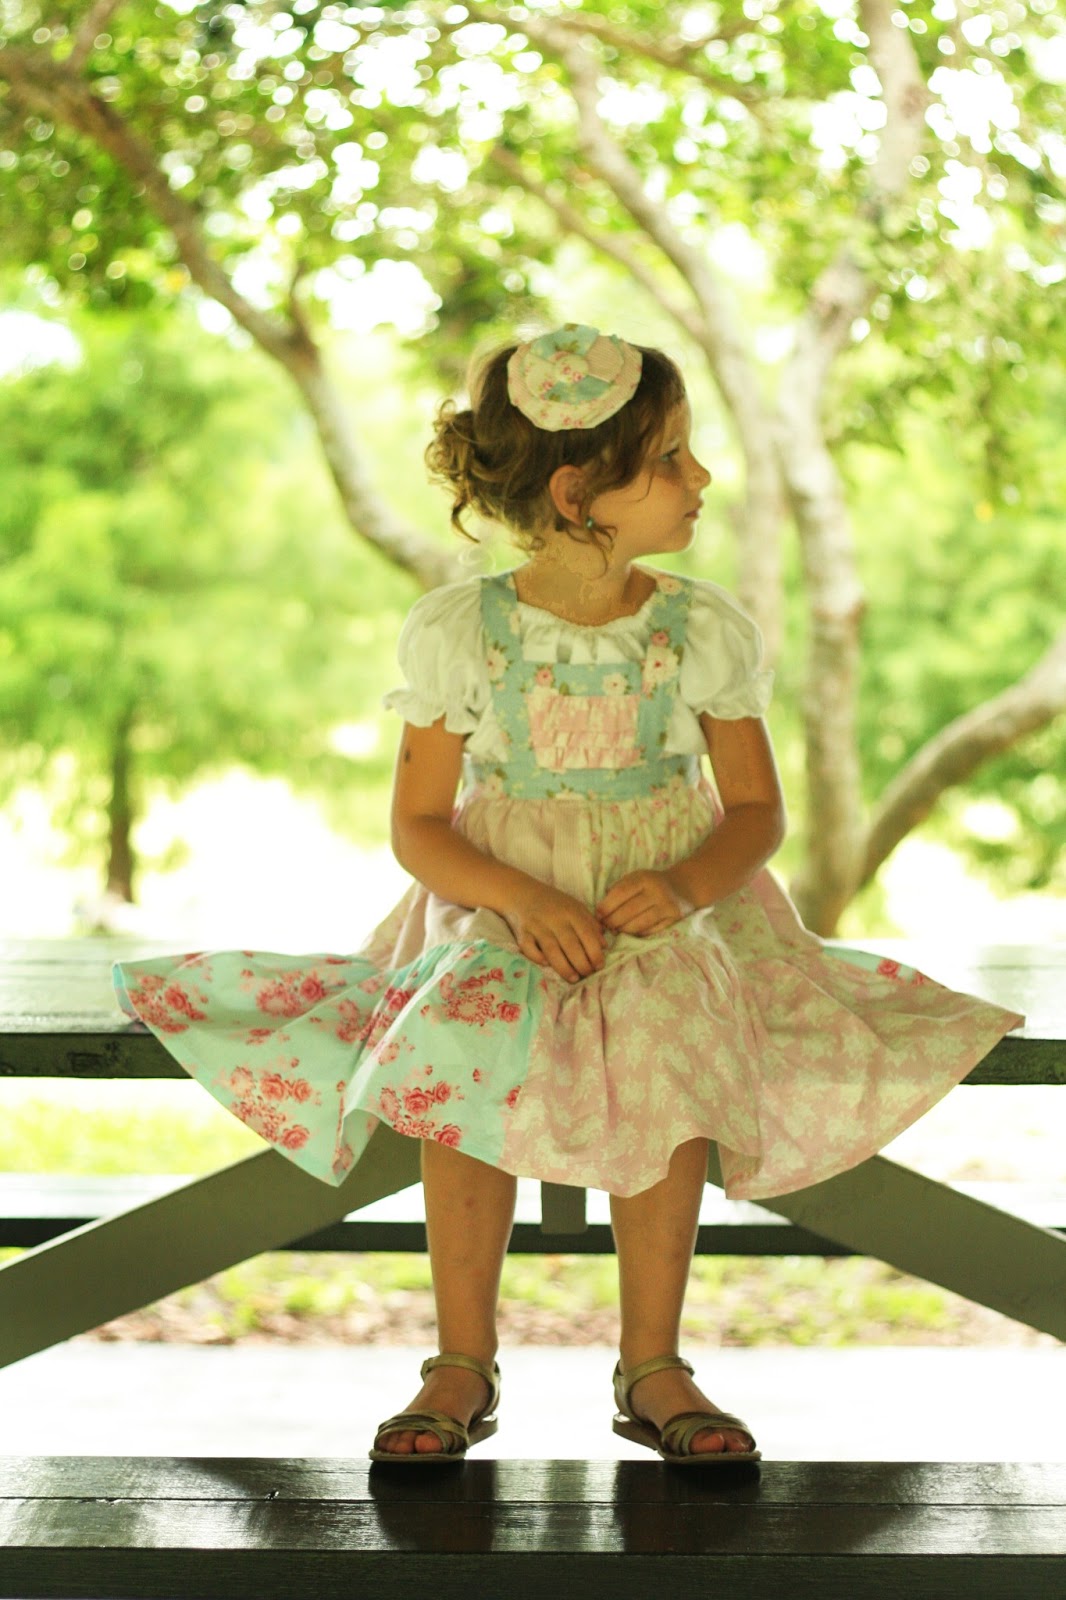
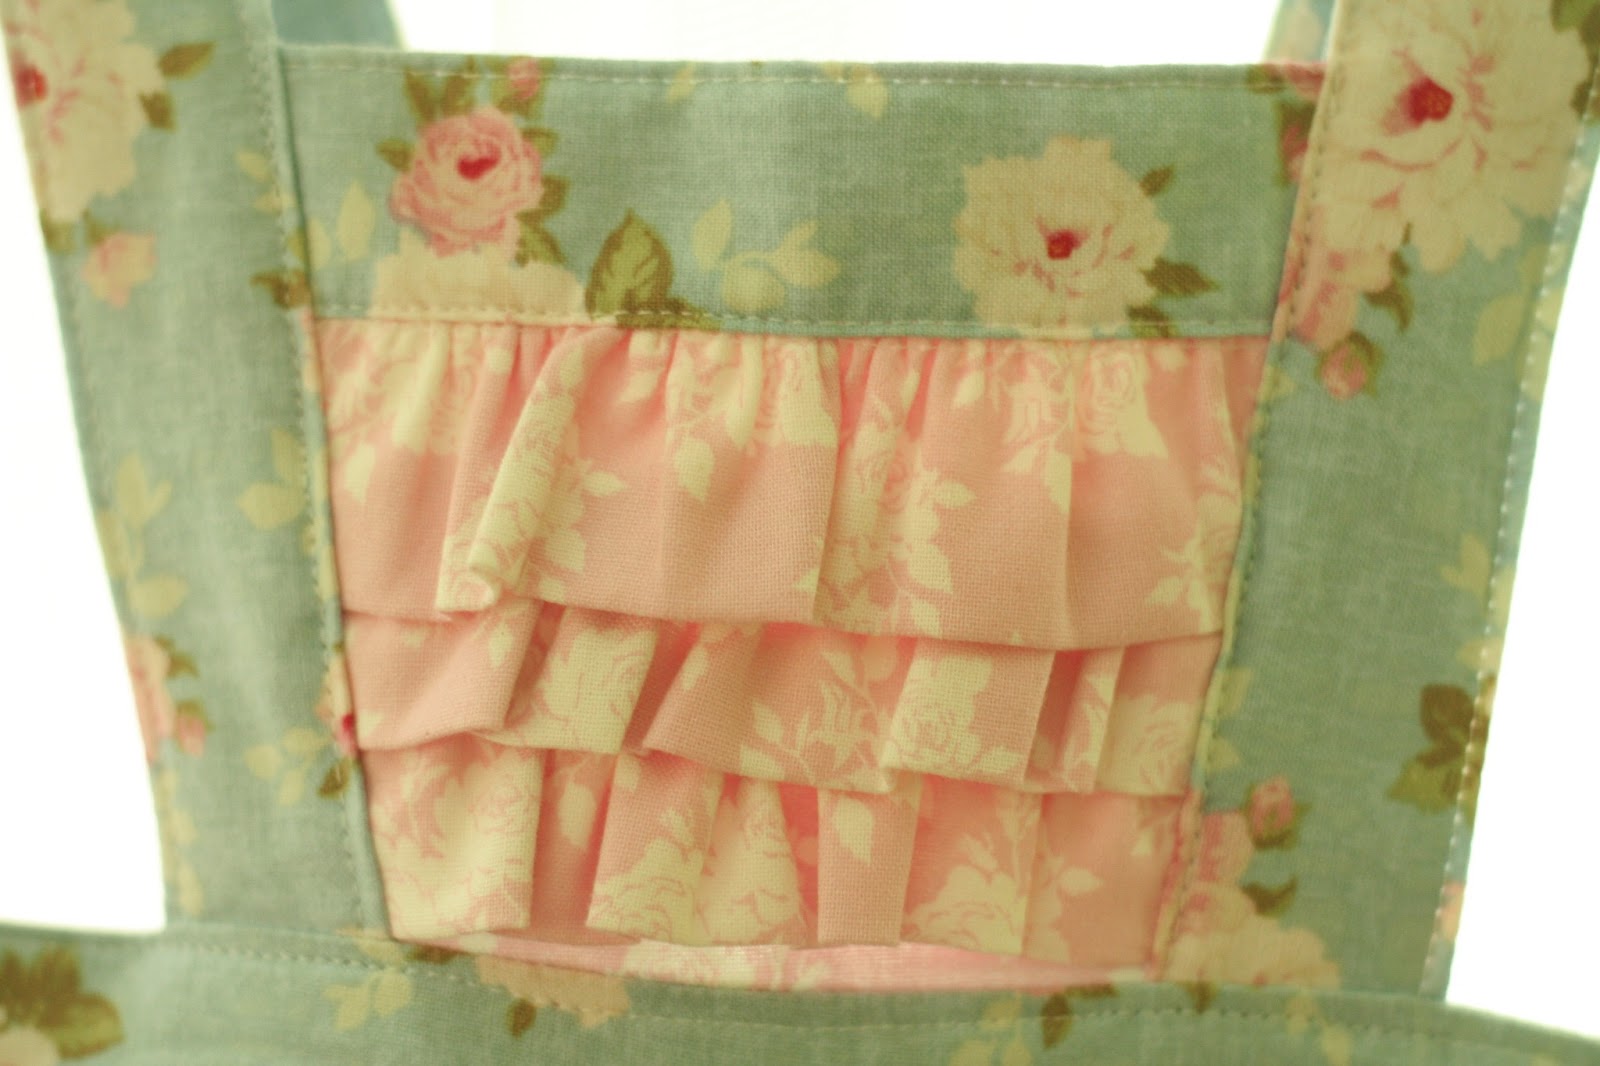
Gorgeous!!!  And I love that Katie also chose the patchwork option for the skirt... what a great way to mix fabrics or use up things in your stash!!! 

------------------------------------------------ 

Hi everyone!  I'm Kara and I blog over at http://leighleecollection.blogspot.com.  I've just started blogging and pattern review and am so BEYOND excited to get to review Design Your Own Pinny for you today!  I've been sewing for close to 20 years and have recently opened up my own shop on Facebook at https://www.facebook.com/leighleebykara.  I have 3 cute kids and a super sweet husband.  Well, enough about me, here we go....

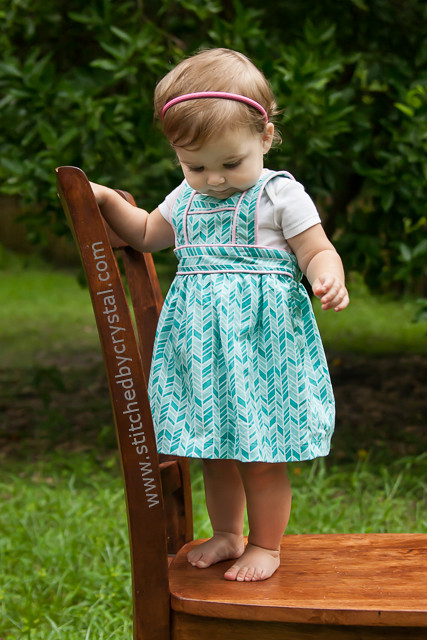
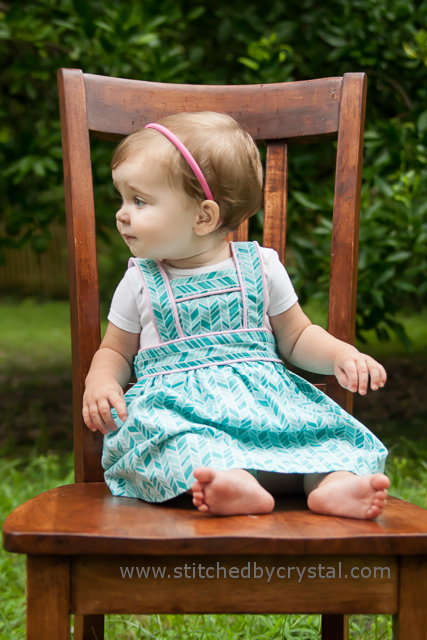
I am so super excited I get to review this pattern!  I've had my eye on it for a while, wondering how I would "Design My Own Pinny".  I wanted to stay super simple but add just a few touches that would make it my own and set apart.  I stuck with a fairly monochromatic color palette and just added a couple of extras.


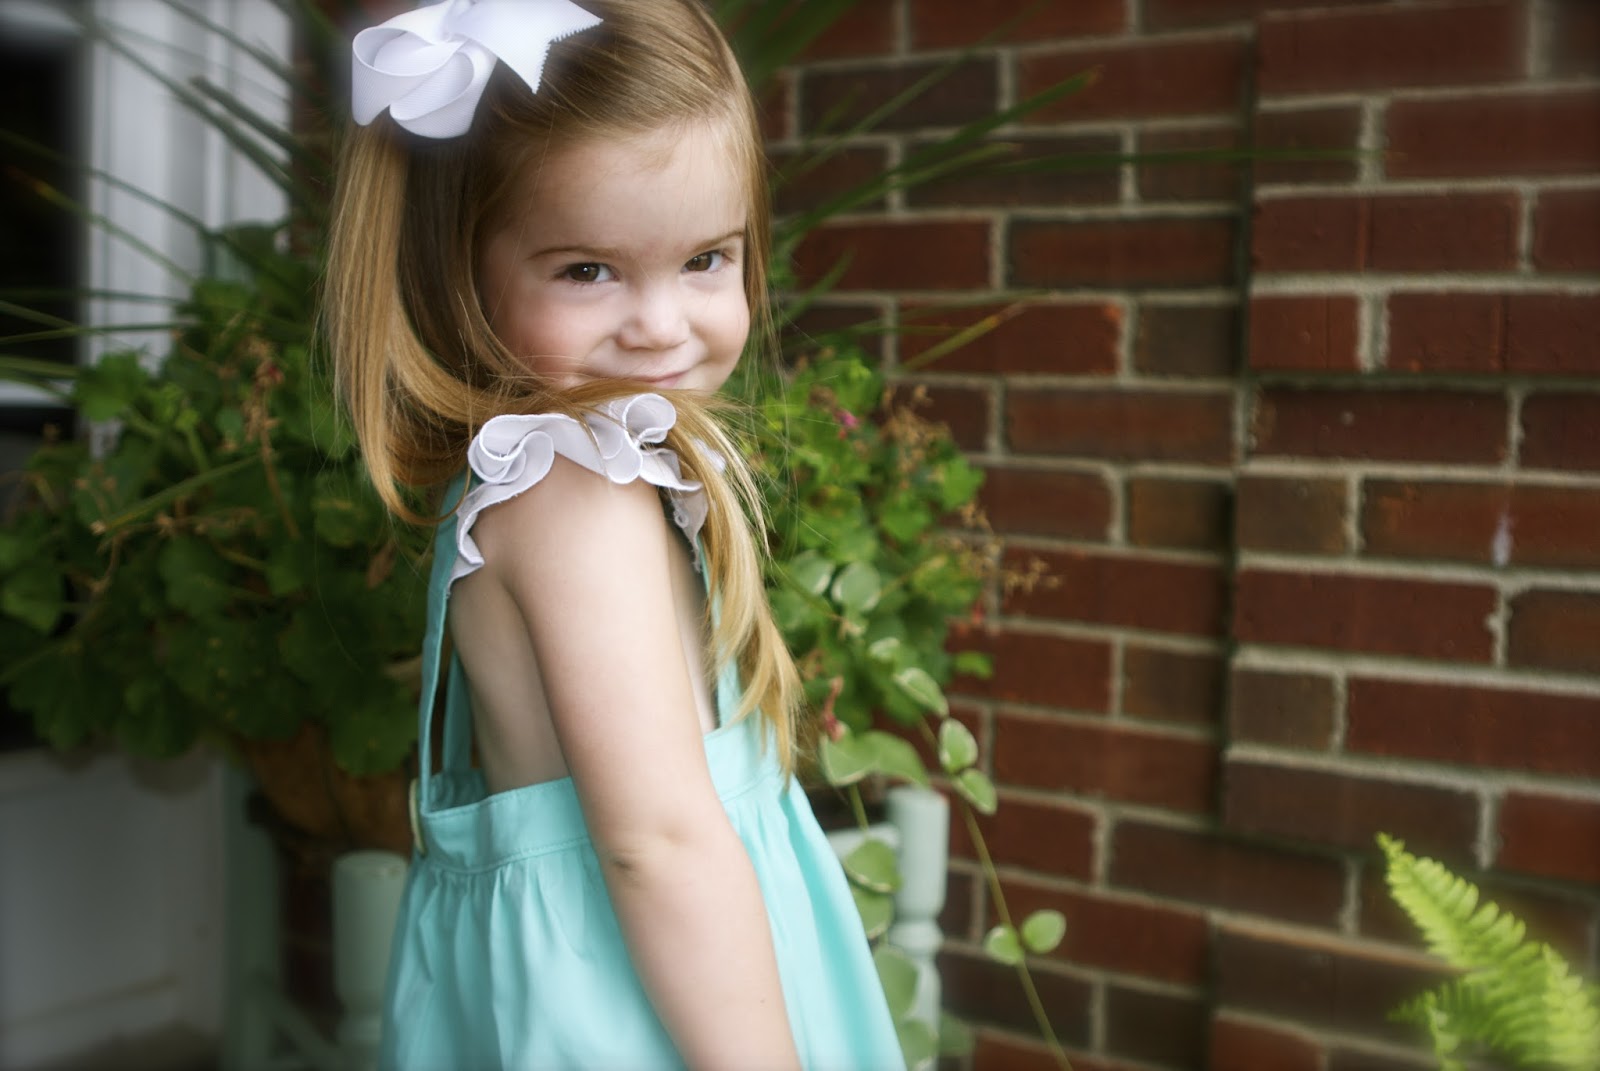
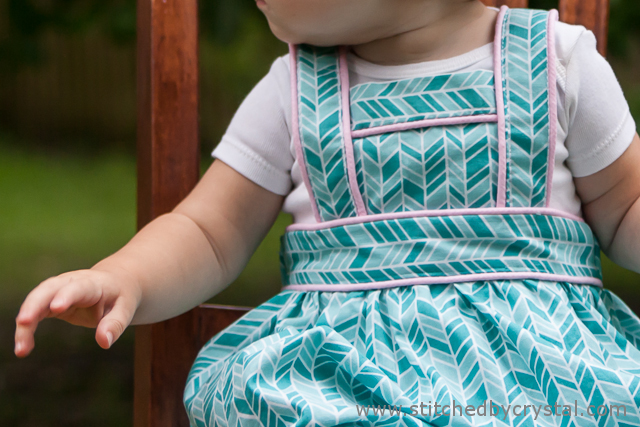
The instructions for this dress are so good I would say this is a beginner plus pattern.  It allows a beginner to feel confident in sewing the pattern, but more advanced elements can be added.  I just can't get over the simplicity of the look of this dress!  Perfect!


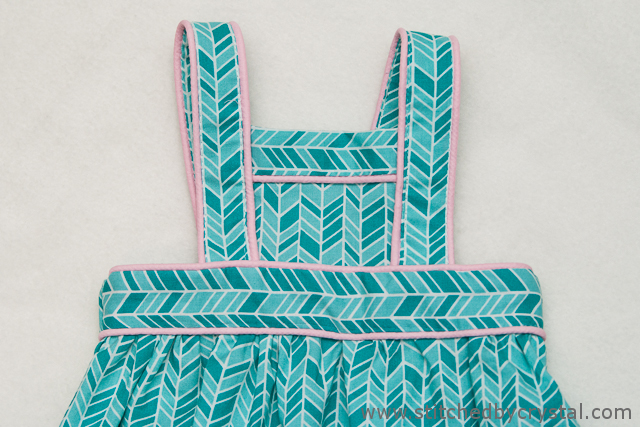
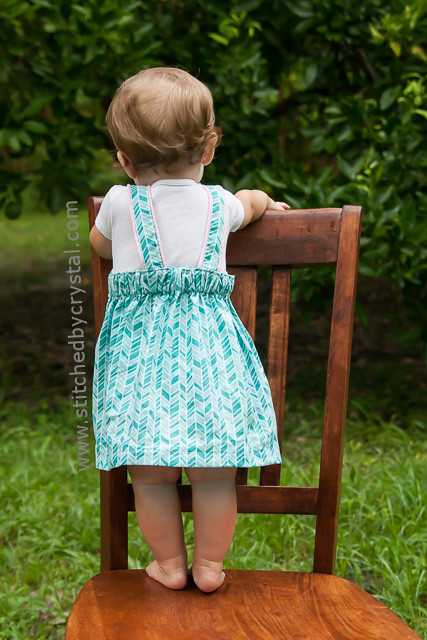
The possibilities of this dress are endless.  The bodice can be changed up to create a totally different look - I went with a tuxedo ruffle with coordinating buttons.  Even just using patterned fabric would change the look of the dress so much that you may not recognize it as the same pattern.  In the future, I really want to try the "bow" option for the bodice of this, I think it would be beyond adorable!!!


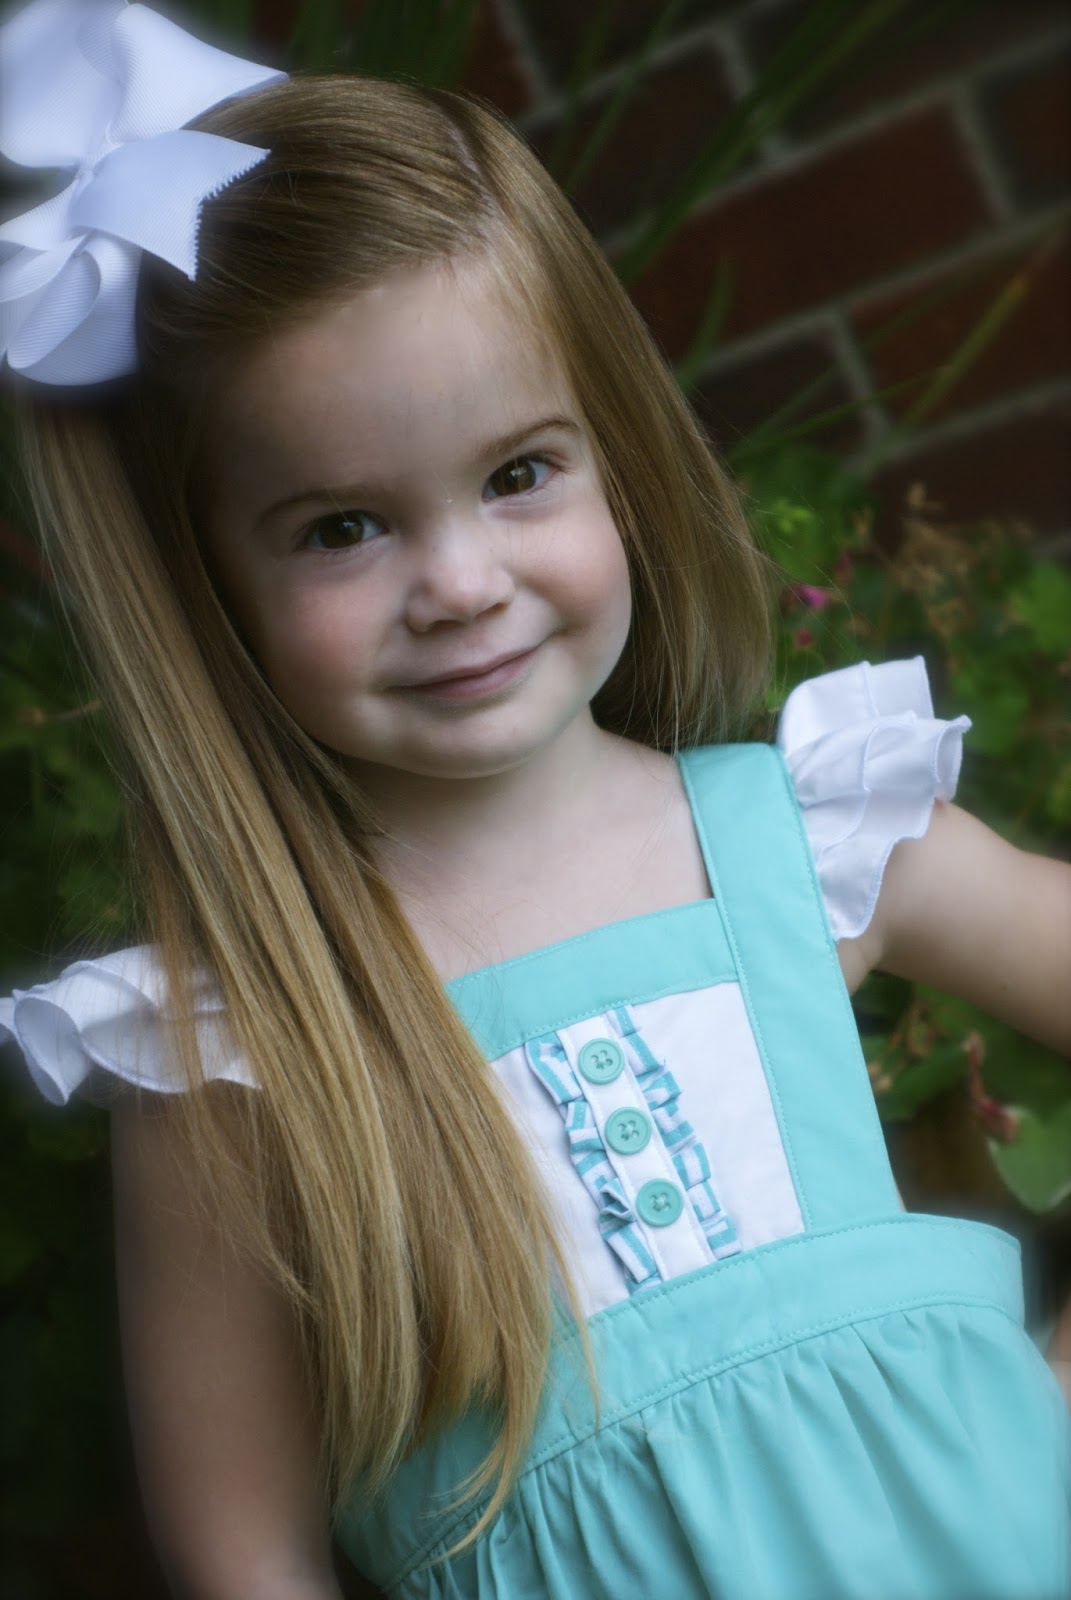
There are no pattern pieces for this dress, just measurements of rectangles.  I really like sparing the printer and paper and just measuring for myself, this also allows me to make any changes that I want.  The measurements are given in inches and centimeters, in case you prefer one over another.  I'm a good ole "inches" kind of girl.  Oh, I forgot, I also added a little ruffle at the bottom with 3 inches of white fabric (I just did a rolled hem) and an additional ruffle across the top.

So adorable, check out Kara's blog for a full tutorial on adding the double flutter sleeve!

----------------------------------------- 

Hi! I am Crystal from Stitched by Crystal.  I am mommy to a one year old girl and two year old boy who keep me busy!  I have been sewing as long as I can remember.  My mom taught me to sew when I was little and I have loved it ever since. I was asked to review the Design Your Own Pinny by BOO! Designs and I jumped at the chance! My little one needs some more dresses for the summer.  One thing I like about the Design Your Own Pinny is not only does it cute over a tank top or tee for summer but she will be able to wear it this fall and winter layered with long sleeves and leggings.
This little pinafore sewed up quick, it took me just under 2 hours from start to finish, and that includes cutting my fabric and making the piping. The instructions are clear and easy to follow, and the pictures in the pattern are clear and helpful as well.
The fit is pretty good, the straps are a little long on my girl, but she is on the small end of the size measurements of the size chart in the pattern.
This pattern doesn't have any pattern pieces, just a chart with measurements for rectangular pieces.  The designer recommends a rotary cutter and mat and I second that recommendation, I think it would be a pain to cut out all those rectangles with out it!
There is also a yardage chart in the pattern.  The chart was pretty accurate for the outer fabric, but I ended up with a lot of extra of the facing fabric, I could have gotten away with just half of what the pattern called for.
I think this is a pattern a beginner can sew, but an advanced seamstress can have fun with this too putting their own spin on it.  The pattern comes with instructions for a bow bodice, lattice bodice, or plain bodice.  It also has two different lengths and an option for an elastic or a zipper back.  I went with the longer length and elastic back to give more growing room for my little one who is growing like a weed!
I made a few modifications to add in the piping, and honestly the piping was kind of a pain because of the large seam allowances in some places, but it was worth the frustration, I love how it turned out!

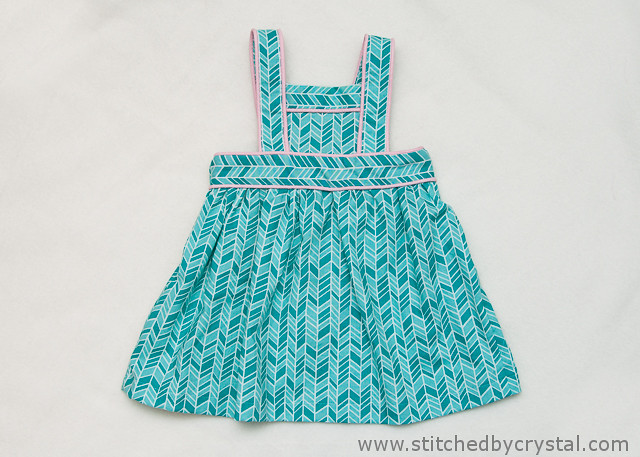
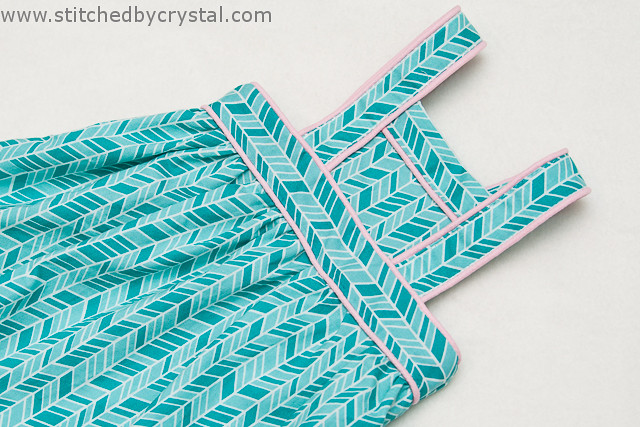
I love the simplicity and clean modern lines of this one - and the piping, SWOON!

So are you excited... are you ready to design YOUR own pinny?  Head over to get your pattern and don't miss out on the 20% discount by using code REVOLUTION.