
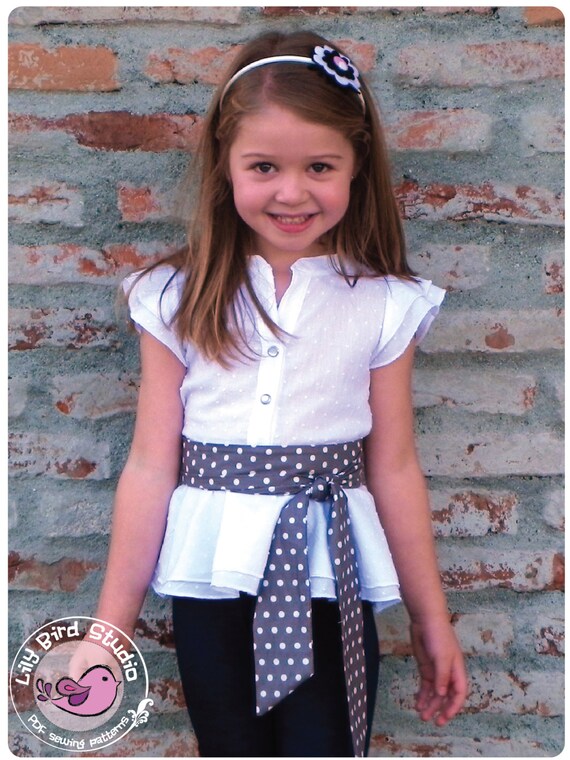
The Laura Dress by Lily Bird Studio
/Do you remember learning the phrase “Don’t judge a book by its cover?” Well, the same goes for patterns, though my ending is seriously sweet because I found a little gem hidden inside the beautiful collared Laura Dress by Lily Bird Studios.
As soon as I got the greenlight to sew up a Valentine’s look, I quickly asked for the Laura dress. I have often stared at Lily Bird Studio on Etsy and loved the high, rolled collar, center pleat and clean-lined look of the Laura dress. The structure and fabric print used in the main pattern photo conjured up scenes of one of my favorite movies: Memoirs Of A Geisha, and I needed to recreate it.
What I wasn’t expecting to find in the Laura pattern, that it ranges in size from 12month to size 10, is the extra gem hidden on page 3. Not only do you get the pattern pieces to create the rolled collar, you also receive pattern pieces to create the dress with a Peter Pan collar. The light went on and I knew I just had to showcase this little surprise.
Since Valentine’s Day is just ONE day of the year; I try to create garments that befit the celebration, yet could be worn for any other special occasion. I knew that I wanted my fabrics to hint at LOVE, but not specifically speak only for that day. If one of the reasons YOU sew is because you realize your fabric hoarding addiction is getting out of hand, then you will appreciate the pain I went through while cutting into Priscilla in Pink, my All Time Favorite Jennifer Paganelli print from Crazy Love, that I have been hoarding since I discovered the Sis Boom brand. However, it was all happy tears as I knew the Laura dress was the perfect pattern to showcase the large print while adding the center pleat to give it a bit of dimension.
Speaking of the center pleat, a few things I want to address here. When using a large print (and I learned this after seam ripping out my original pleat), double and triple check your fabric placement when folding the front bodice in half (step 1, page 10) to create the pleat. Line up your fabric very carefully so you will end up with a continuous fabric design once you’ve sewn your center seam.
My original was about ¼ inch off and it was enough to drive me bananas. If you are able, and have the fabric to spare-repeat the same with the back, lining up the fabric and cutting both pieces in a mirror image. I also ended up letting out my pleat a bit after my original fit test. The pleat as is, is lovely; but my almost 6-year-old Hobbes still has her round ‘baby’ belly. To avoid the pleat-split sitting on top of her belly, I shortened my pleat seam down to just under 3 inches. I wished I made her this pattern as a toddler, boy did I like showing off all her ‘baby’ curves.
Hidden Hook and Eye closure
Lastly, I learned a lesson during my model fitting. Based on her chest measurements and the length I wanted, I blended two sizes to create this look. Hobbes is petite and I always blend sizes for her. In my version, I found that the dress bunched a bit under the arms and I realized that I should have blended the arm cycle in the next size up. I ended up using a Hook & Eye to close the back of the dress-in hopes that the additional ½ inch will help reduce the underarm pull. Sew and Learn, right?
Till next time! Happy Sewing! ~Merav @ Baby Hobbes Design


Merav shares her version of the Laura Dress by Lily Bird Studios.