Pocketful of Sunshine Dress by Duchess & Hare:
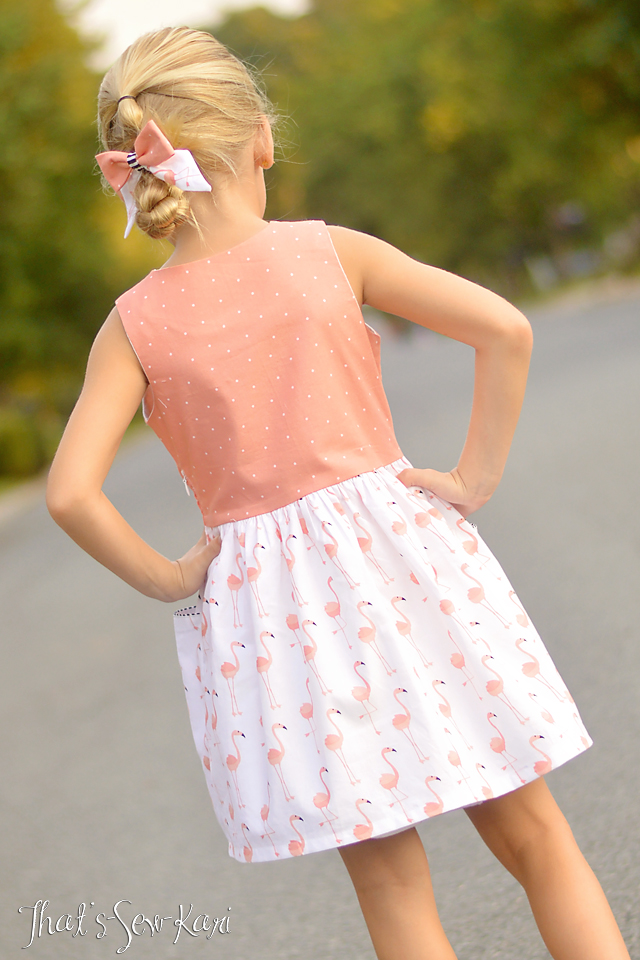
/Hi there! It’s Kari from That’s-Sew-Kari, here with a review of Pocketful of Sunshine by Duchess & Hare. The Pocketful of Sunshine is a vintage-inspired sailor dress with optional sleeves and collar. It has a long double-breasted bodice with side zip. The bodice is partially lined with facings for a lightweight, yet professional finish. The size range covers Girls 2 - 12 and offers layered printing along with both pattern pieces and/or a cutting chart for the skirts (depending on your preference).
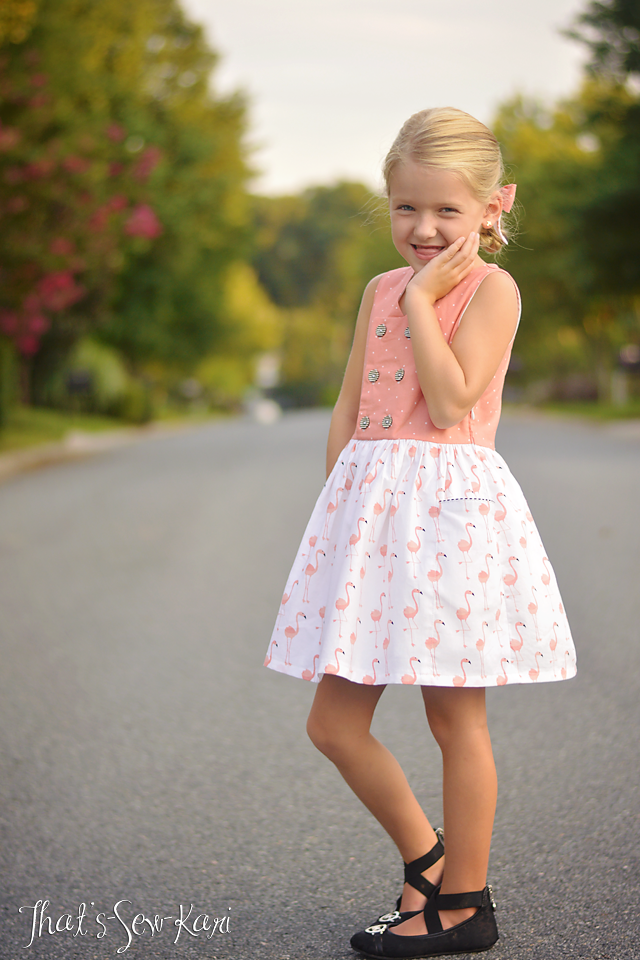
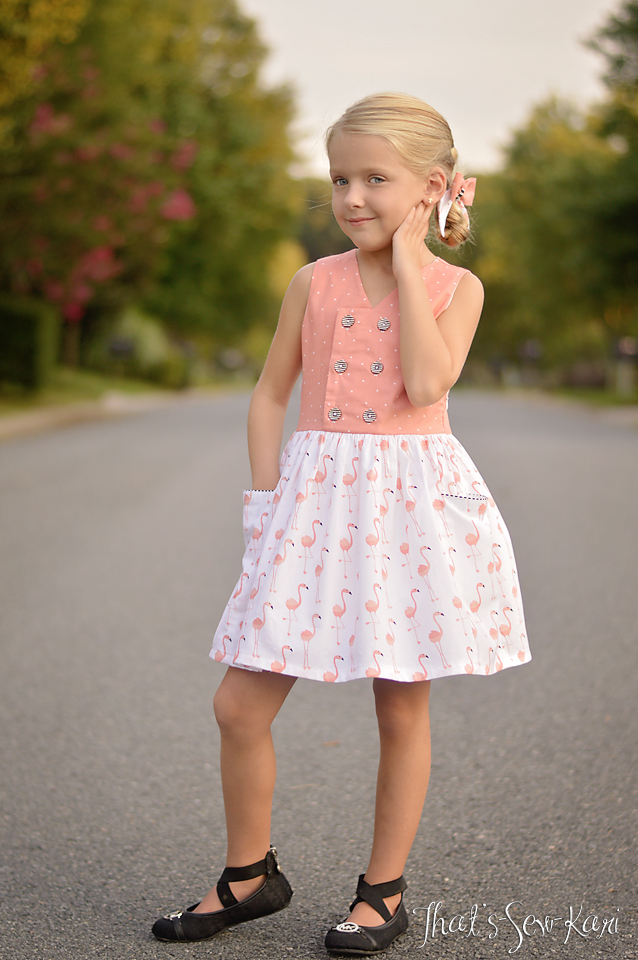
I am desperately trying to hold on to the last bit of summer so when I found a partial yard of the flamingo fabric hiding in my stash, I grabbed it! I also gathered the coordinating peach/white dots and a small scrap of black/white stripes (all from Hobby Lobby) and got to work. This is my first sew of Duchess & Hare so I made sure to follow along each step. I decided to leave the collar and sleeves off, although I think the collar would have looked super cute in a white.
I was really happy to see both layered printing and pattern pieces for the skirt. While I could have chosen to cut the skirt from the cutting chart, I prefer a pattern to make sure I am super straight and cutting properly. I also find it easier to line up my print against an actual piece too.
I also was thankful for the notches on the pattern piece marking the zipper and pocket placement. I did wish that there was one additional notch marking the bodice overlap, but I used the bodice facing as my guide.
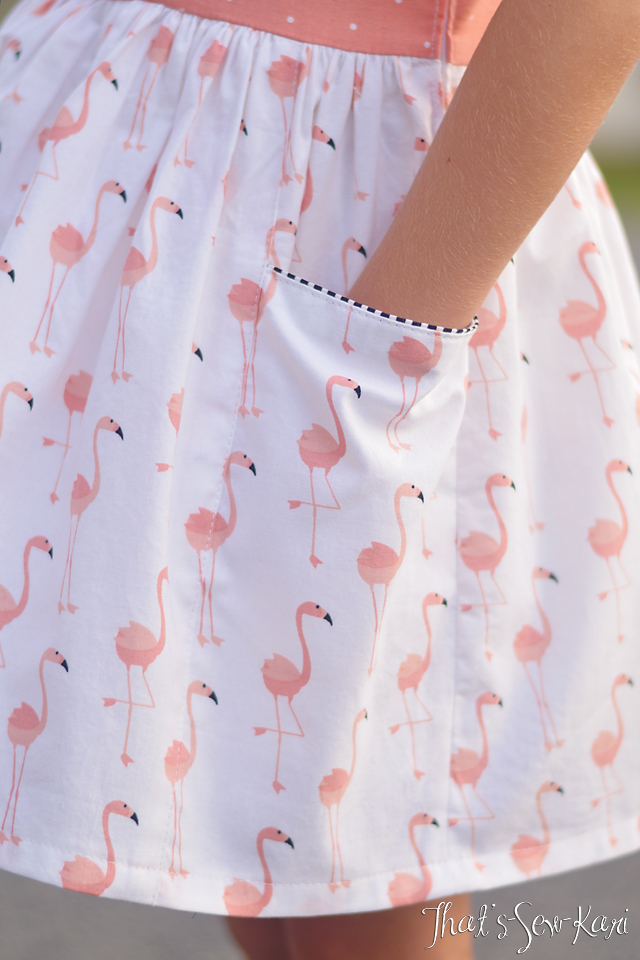
The front skirt is made up of a center panel and two pocket panels, allowing you to mix and match fabric or you can choose to sew it all in one fabric like I did. I gave myself the challenge of lining up my flamingos across the seams … it makes my OCD heart so happy! HA!
This dress was a big hit with my 6 year old. She felt very fancy! (Full disclosure: I did add a pettiskirt for photographs). The pattern and instructions are easy to follow along, but I would classify it as an intermediate pattern due to the 6 buttons/buttonholes and side zipper. I think the next time I sew it, however, I will make two small changes to the order of the steps: I will add the sleeve facing on prior to sewing the side seams (sewing just the shoulder of the facing at this time) because I found ironing them inside a tad tricky when I installed them after the side seams were sewn. I will also sew the side with the zipper first so I can have my dress lying flat when I install the zipper, making it easier to maneuver under my presser foot. Of course, you may prefer the steps in the order written -- that’s the beauty of a pattern. You can tailor it to what works best for you! If you don’t already read through a pattern before starting, I highly recommend it!
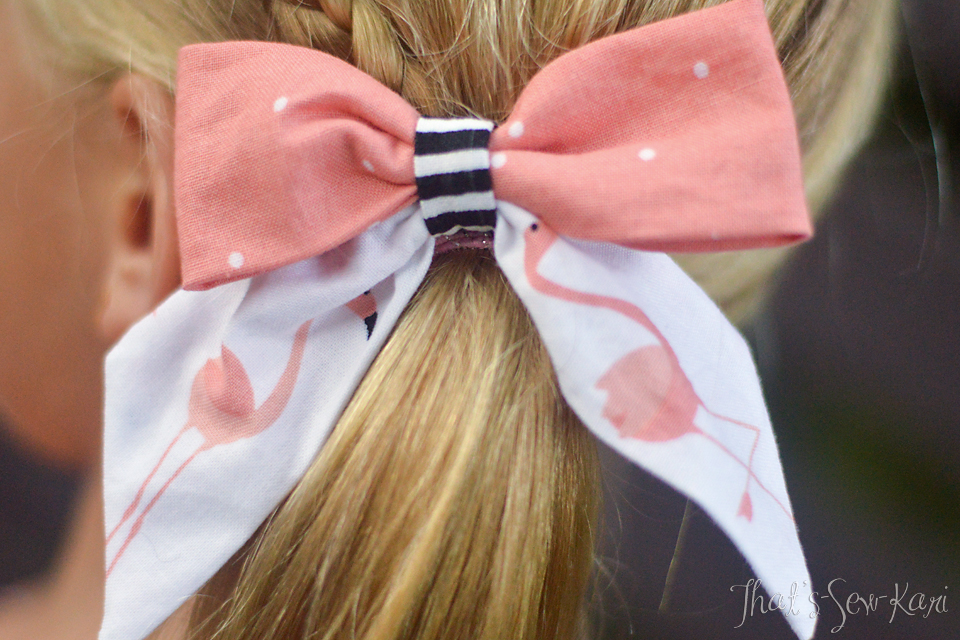
I couldn’t resist sewing up a coordinating hair bow - FREE - on the Duchess & Hare website. They come in 2 sizes and the tails are optional. I sewed the larger size in all 3 fabrics I used on her dress, fussy cutting the flamingos and attached it to a hair tie. (Although I will need to switch it to an alligator clip now -- she just chopped off all her hair!) This pattern is super cute and soooo quick!!