The Night Before Christmas Day 7: Christmas Movies & Princess Jammies
/Well, it is here folks - the final day of our fun series, The Night Before Christmas. I hope that you have been having a great time reading all the holiday traditions and seeing all the wonderful Pajama options that exist out there - and there are so many more, but you can only fit so much into one week!
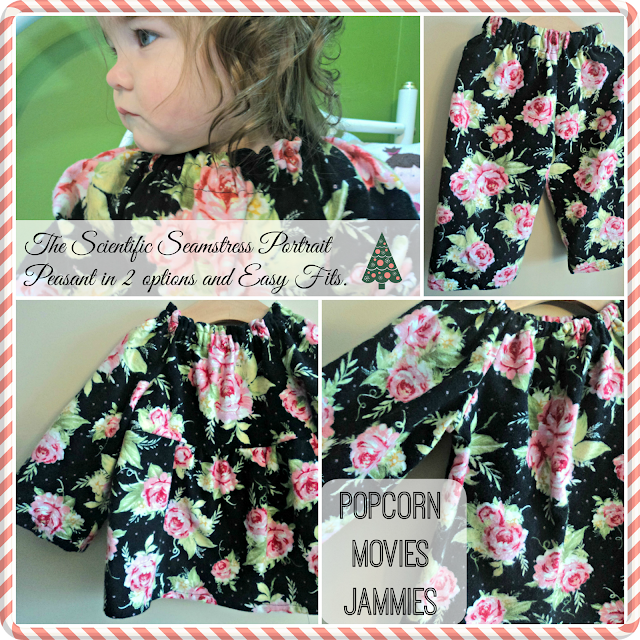
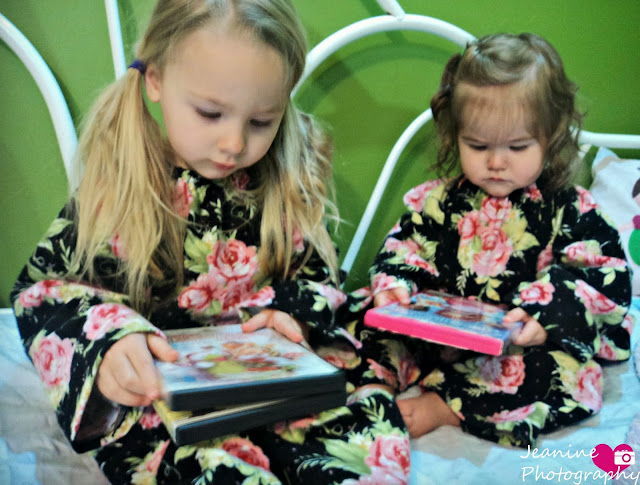
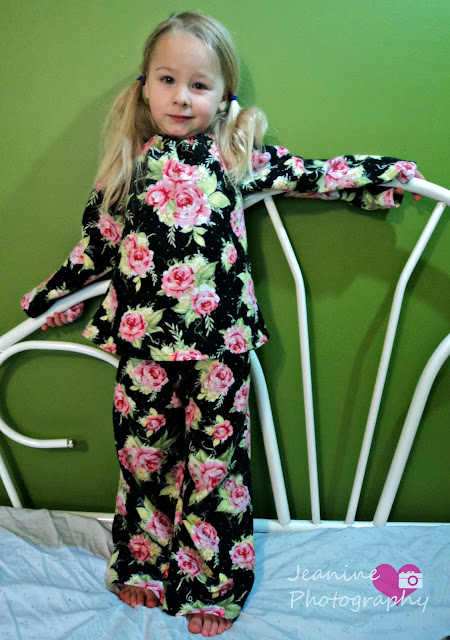
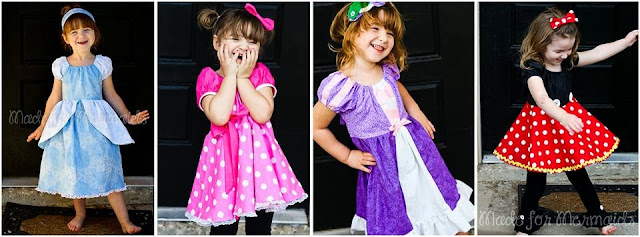
Today we have the pleasure of seeing some wonderful options from the Scientific Seamstress as well as some princess nightgowns made from Made For Mermaids Patterns (these are another great option for our friends in warmer climates!). I hope today, like so much of our series, inspires you to make something special for the littels in your life and to treasure the memories and traditions that are made in the process!
*As a Special for our readers - the Portrait Peasant is marked down to $5 HERE!!!
Now here are Jeanine and Nicole.... Oh wait, didn't I say something about prizes??? Well, just read on down to the bottom to find out all about it!
--------------------------------------
Christmas!! Such a magical time and season. I love this month so much! All the fun traditions new and old, stockings, music, hot cocoa, sledding, snow, lights. Its truly is the time were everyone puts away their differences and truly come together.
The Sunday after Thanksgiving we quickly put up our tree and decorate the house with the sounds and scents of Christmas. I love walking into the house and smelling the warm cinnamon and citrus scents mixed with a little Christmas tree woodsy scent. Doesn't that just not make you feel all warm and cozy! Each year my two daughters Isabella (3.5yrs old) and Clara Mae (2 yrs old) get to pick new special Christmas tree ornament.
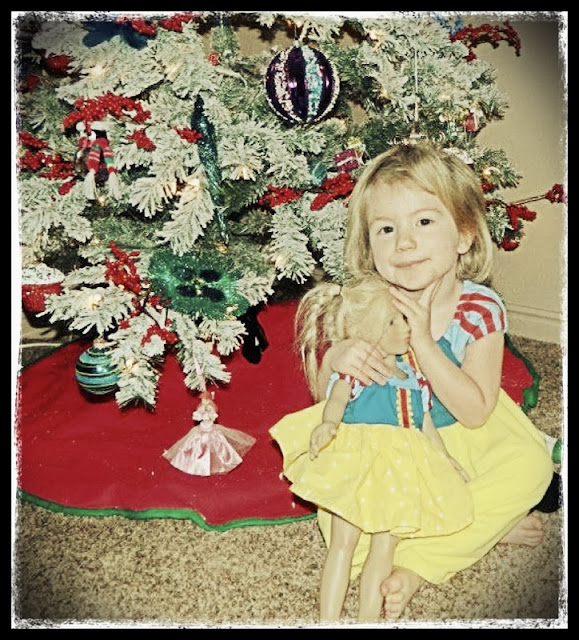
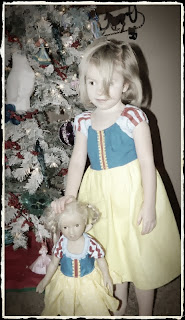
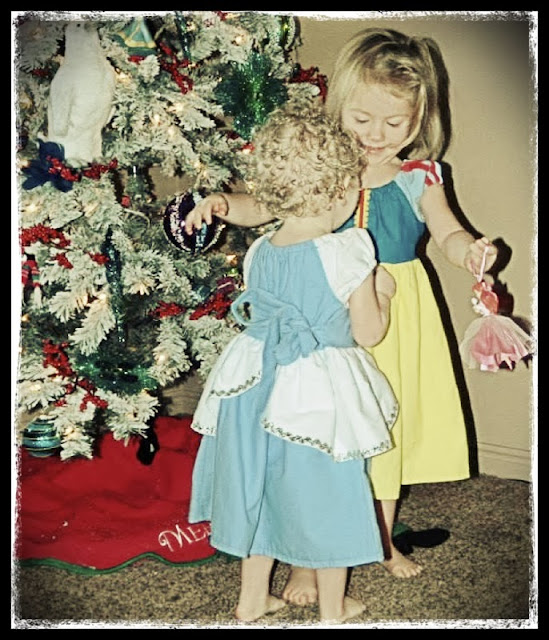
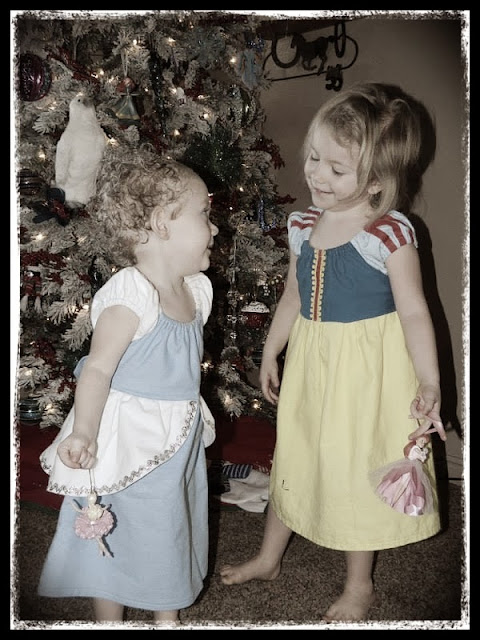
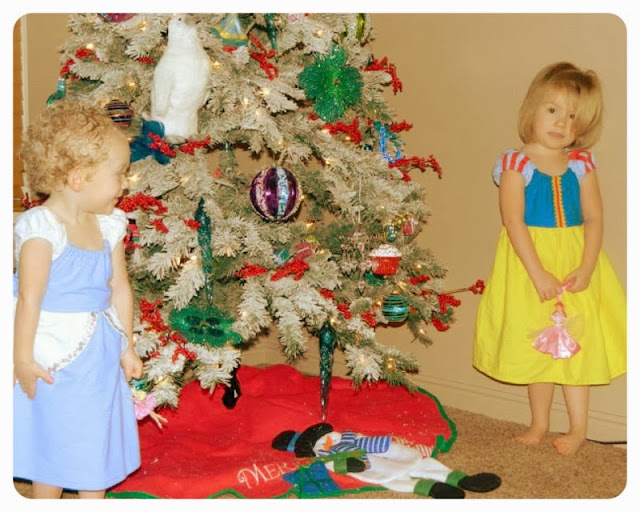
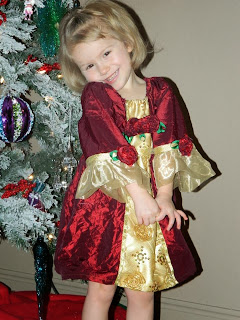
(My daughter is wearing Made for Mermaids dress pattern here too: I used the Snow White pattern added a sash and extended the length. Even in a non-princess theme it is still stunning!)
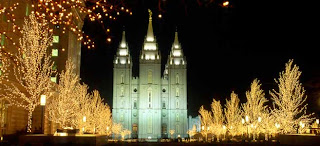
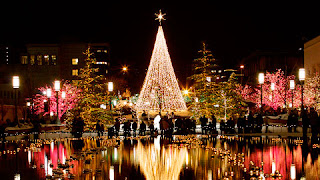
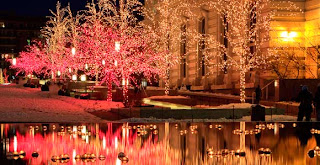
My family does something very special we travel up to Salt Lake City, UT and we walk Temple Square that is all decorate with the most stunning lights you have ever seen. It truly is so magical and I hope everyone of you can experience that Christmas magic and spirit.There is such a feeling of peace while you are up there walking around. We dress in many many layers and spend a good hour or so looking at all the lights, listening to the sounds, and spending time in wonder.
We also like to bake Santa some nice yummy treats! So I'm going to share my recipe for my Sugar Cookies.Who doesn't love a good Sugar Cookie recipe???
Delicious Sugar Cookie Recipe:
Ingredients:
1 cup butter I used unsalted (Room temp)
3/4 cup veg oil
1 cup white sugar
1/4 packed brown sugar
1 cup powder sugar
2 Tablespoons water
2 whole eggs
1/2 teaspoon baking soda
1/2 teaspoon cream of tarter
1 teaspoon salt
1 teaspoon of vanilla
5 1/2 cup cake flour (if you don't want to spend the extra $$ on cake you can use all purpose flour! The cake makes the cookies fluffier.)
You will bake at 350 for 10 minutes
Cream your vanilla, sugars, soften butter, veg oil, water, and eggs. Mix until smooth, then slowly start to add your dry ingredients. Mix until everything is combined. Your dough should be a little crumbly but, not sticky. Please don't over mix they won't fluffy and they will get a little hard during the baking process.
Once mixed I put into a ziplock bag and let the dough rest in the fridge for a few hours or overnight. Whichever you choose an hour or so or making it the night before, pull the bag out and let it come to room temp.
Roll the doll into golf ball size making a perfect circle with your hands. This step my girls love to do! Once they are roll put onto your pan I use foil then spray it with my pam stray but, you can use silmats, parachement if you'd like.
Next step also my girls favorite taking a small bowl pouring white sugar and a few shakes of cinnamon and mixing the cinnamon sugar up. Next grab a cup and get the bottom wet with water or your pam spray. Put the cup into the sugar mix then press it into the center of your dough ball. You want your dough to spill over the sides of the glass. Make sure you are pressing it as evenly as possible. I sprinkle a little extra cinnamon sugar on the cookies before they go into the oven.
Now the yummy cookies go into the oven again 350 for 10 minutes. Take them out and let them rest on the foil off the pan for 10 minutes. Then repeat the process until they are all baked!!
Frosting I used my sour cream frosting but, if you don't like sour cream you can do a butter cream, cream cheese.
Sour Cream Frosting Recipe:
1/2 cup butter room temp
3/4 cup sour cream
1 2lb pkg powder sugar
1 teaspoon salt
1/4 cup milk you might not use it all so use a little at a time.
food coloring any color of your choice.
Start by creaming butter, sour cream, and salt. Slowly add the powder sugar when it get so thick its not frosting you'll then add the milk. Then add your drops of food coloring.
Then frost your cookies and enjoy!
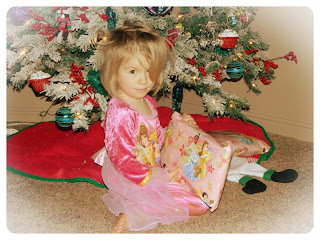
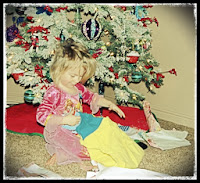
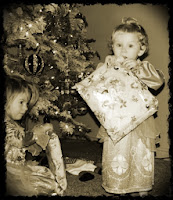
My absolute favorite tradition is opening up the first Christmas Eve gift, and the first gift is ALWAYS new jammies. We open up the packages when they first wake up, so you'll see some lovely bedhead :)
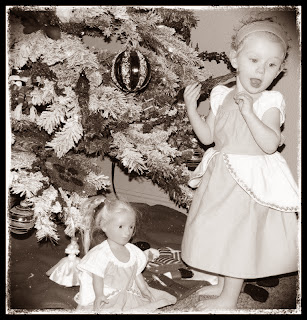
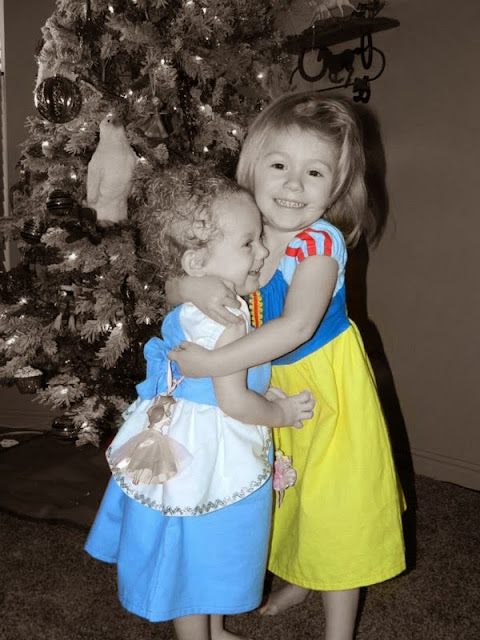
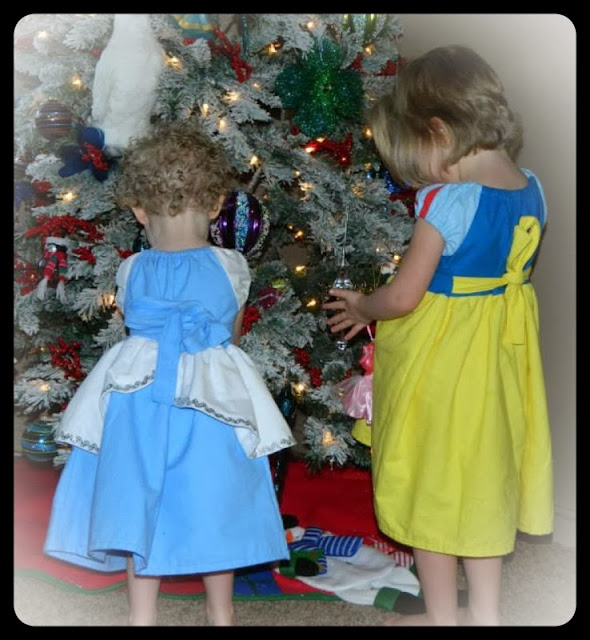
This year I decided that Princess Nightgowns fit the bill, and what little girl would not love to open up a package to find a one of a kind, carefully detailed nightgown of their favorite princess. I used Made for Mermaids patterns, I love them so much that I have the whole collection thus far. She offers a size range of 6 months to 8 youth she also has dolly patterns available to do a Dolly and Me look.
These patterns are perfect for any level of seamstress. Detailed instructions guide you every step of the way. She also explains different ways to put the dresses together and fun new tricks and tips with each pattern. There are also Headbands included as an optional accessory, but I didn't add them to the nightgowns this time.
You can check out Megan and Made for Mermaids patterns on Etsy and on Craftsy.
I hope you enjoyed a taste in my traditions and will travel to Utah one day to see the beauty on Temple Square. I hope you enjoyed my Princess Nightgowns as much as my girls and I do.
~Nicole
------------------------------------
Thank you for being with us through this whole series! We appreciate all of our designers and team who spent time making this possible. And since it is a season of giving... we want to give a little something to you.
Here are our Prizes:

