
Camera Bag Conversion
/Today we have a lovely tutorial for you from our regular contributor, Sarah. I'm sending out a huge thank you to Sarah for all her hard work on this post and to our sponsor Zipper Shop (formerly K&C) and our affiliate Swoon Sewing Patterns for providing the zippers and pattern for this project. We hope you enjoy this tutorial and send our sponsors some love for making it possible!

Hello Everyone! This is Sarah :) and I am here today to talk about the Swoon Eleanor Slouchy Hobo Bag.
I, like a lot of you, love photography and have been known to carry my camera along with me pretty much everywhere. I recently upgraded my camera body and have been on the lookout for a bag that will fit my larger camera body, while being functional and stylish at the same time.
Well, my search was not very successful. My options seemed to be the boring black universal bags and backpacks or some really nice (and REALLY pricey) designer ones. Not much in the middle.
Then one afternoon I was browsing the Swoon Patterns Facebook Group and saw a picture of the Eleanor Slouchy Hobo Bag. I immediately knew it was what I was looking for, and this is why...

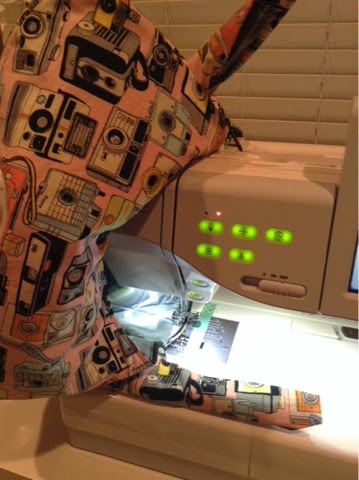
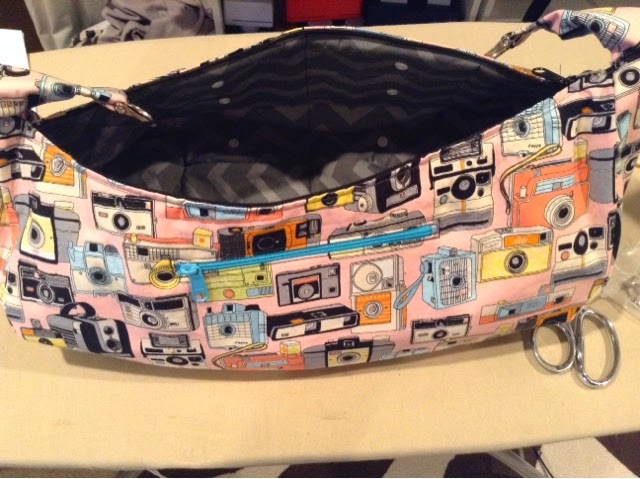
First off, look how cute it is! I could choose any fabric I wanted to make it, so no more boring black! I chose to make mine with some gorgeous Riley Blake Geekly retro camera fabric.
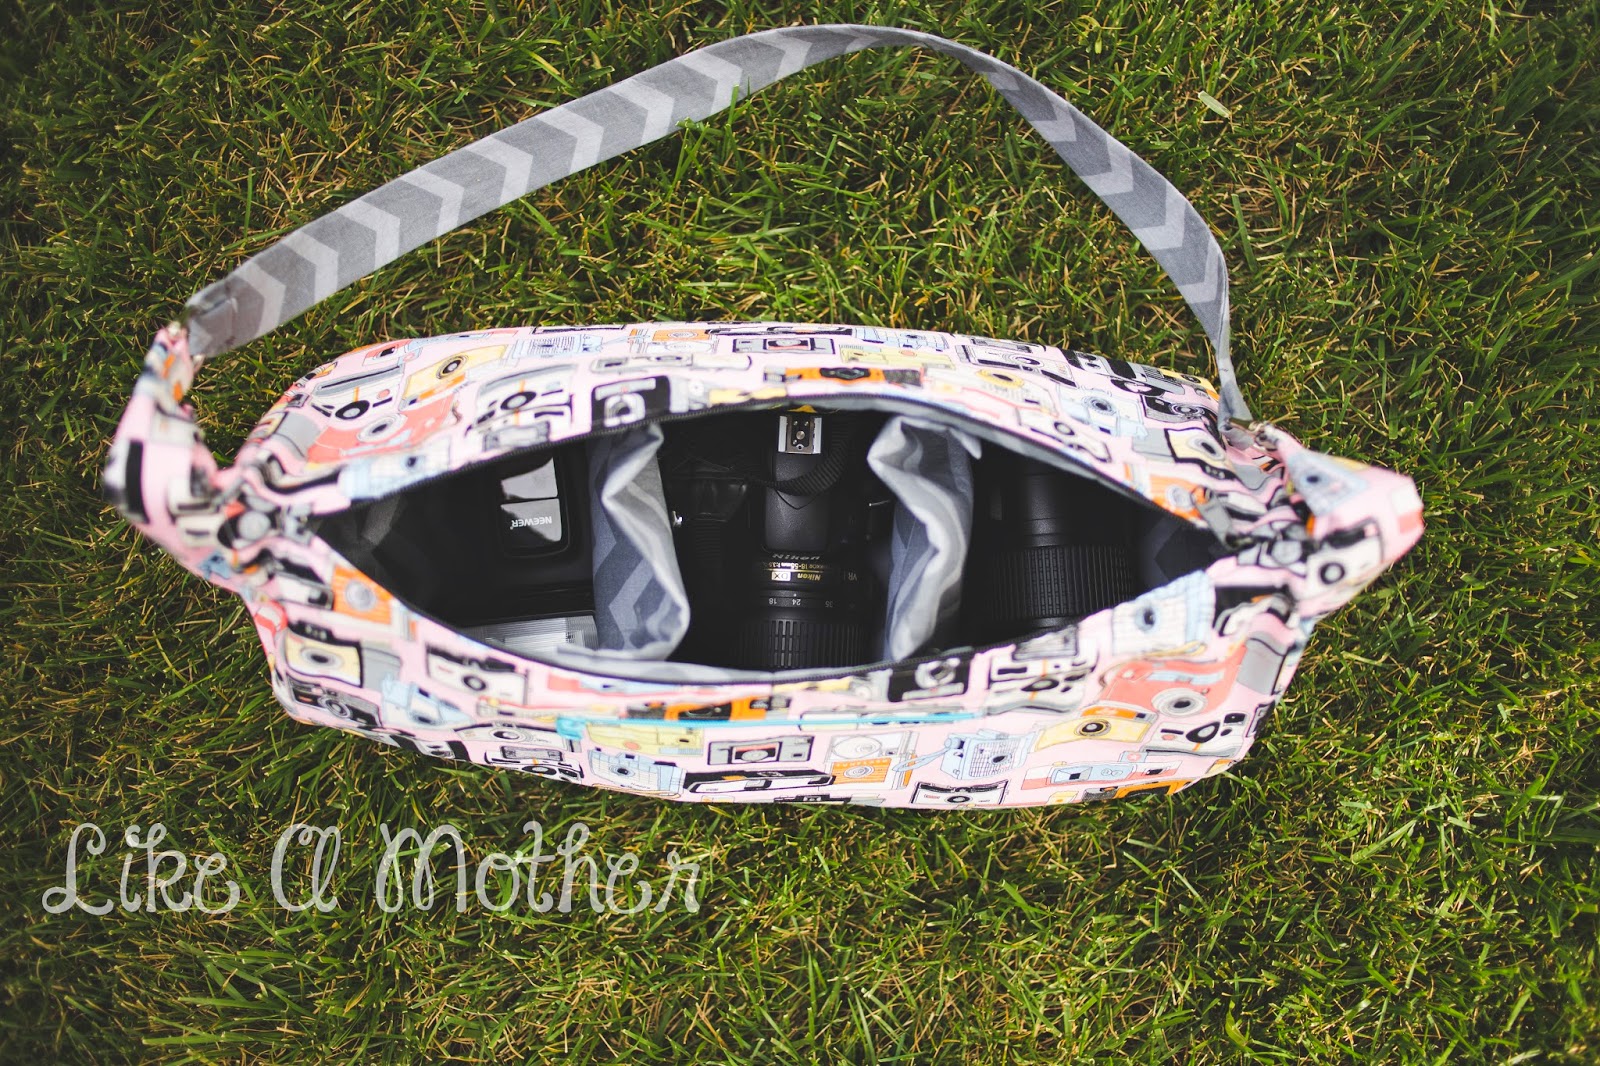
Secondly, the Eleanor is big enough to hold my camera, a couple of lenses and some extras (a flash or, more likely, a bag of snacks for the kiddos) but not so big that I am carrying a full size backpack.
It had a pocket feature, which I love because I always need a place to stash an ID and some cash when I want to ditch my purse.

AND, this is honestly the biggest reason I chose the Eleanor, its shape allows it to sit along my back and not shift, fall, rotate, bounce (you get the idea) when I start getting into my "now I'm getting serious about this shot" poses that I so often find myself in when I am getting that perfect shot.

You know, this position right here; or several other variations of the same. I seem to constantly be squatting or leaning or bending when I am shooting, and I hate for my bag to be flopping around and getting in my way. The way the Eleanor is shaped allows it to lay along my back and, because it is not rigid, it kind of molds and sticks to where I put it.
I knew it was a winner, but I also knew I'd have some work to do because, one little problem, the Eleanor was not designed to be a camera bag! But no big deal, right? I can sew, therefore I can customize! And this is what I did to transform my Swoon Eleanor Slouchy Hobo into my perfect camera bag.
The first change I made was putting the pocket on the exterior of the bag instead of on the interior lining as the pattern calls for. I did that because I did not want the zipper pull to scratch my camera or lenses and because of the alterations I knew I'd need to make to add compartments to the interior of the bag. It was a really simple change, I applied my zippered pocket to the exterior piece before inserting the top zipper.

Putting the zippered pocket on the outside also allowed me to show off the pretty blue YKK zipper from K&C Supplies. K&C was nice enough to supply both zippers I used for this project, and they are really great. If you are looking for zippers or other bag hardware, definitely check them out. The color and the quality of the zippers is the best I have used; I am so happy to find a place that has so many different lengths PLUS great colors to choose from.
But I digress...

The other major change I made to the pattern was to add compartments and padding to the inside of the bag to protect my camera and gear, and to make it more functional as a camera bag.
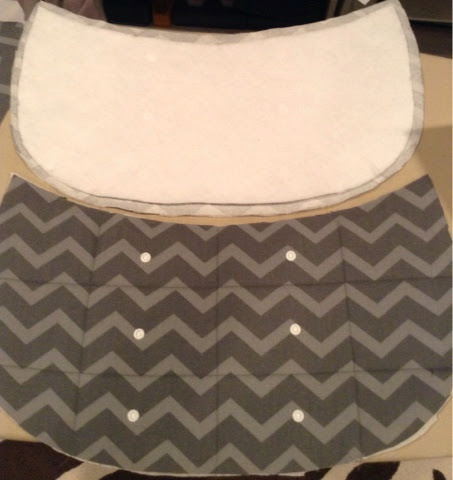
For the exterior pieces, I followed the pattern directions for interfacing. For the lining, I interfaced the pieces and then added plastic snaps to use for my removable compartment dividers. I decided on two rows of snaps so that I could divide the interior into three compartments.

I simply measured out and marked where I wanted my snaps and used the snap press to install them.
I measured my camera body to make sure there was enough space in the center compartment to determine how far apart I wanted my rows of snaps.

This is what they looked like when the snaps were all applied. The snap press worked like a dream, super fast and easy. And to think that I have had it in my drawer for a year and have never used it before...
I did make sure my pieces were interfaced first to add stability under my snaps.
After applying all of the snaps, I cut two layers of fusible fleece for each interior side panel. I cut them a little smaller than the panel pieces to cut down on the seam bulkiness. Once the fusible fleece was ironed on, I ran a few rows of stitching to "quilt" the fleece to my panels. I did this because I was afraid it would shift without a little more stitching and I knew that would really bother me. Plus, it looks cute!
Then I applied fusible fleece to the bottom panel. I did not use the fleece all the way up the side panel, I only applied it along the straight sides. Again, this was to cut down on the bulkiness.
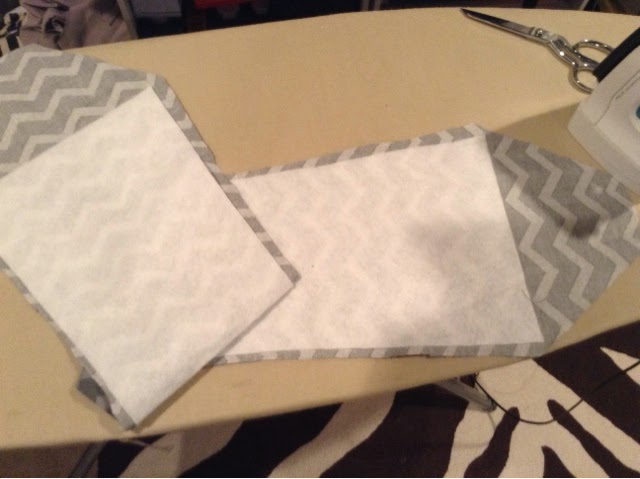
I also ran a couple of straight stitching lines along the bottom panel to stabilize the fleece.

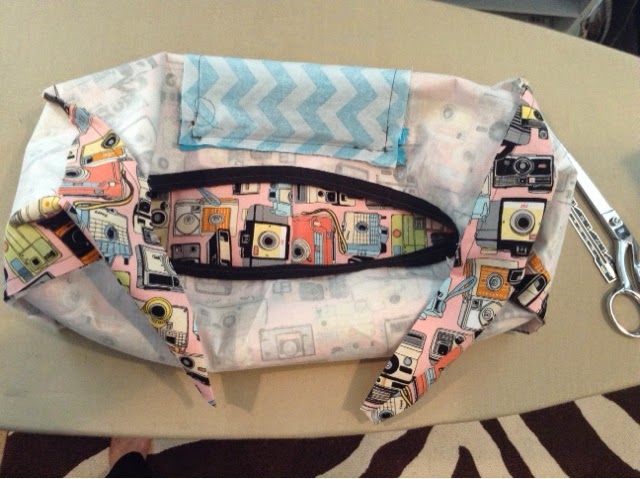
After making those modifications, I followed the pattern directions to assemble the lining and the rest of the bag.
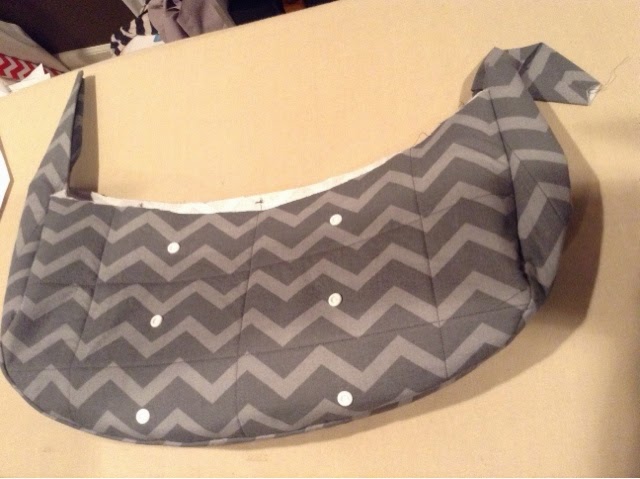
I had to get a little creative to get the lining sewn in :)
Isn't she pretty?
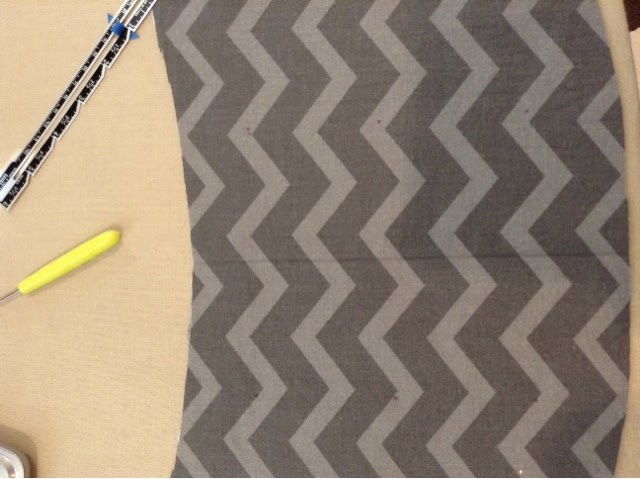
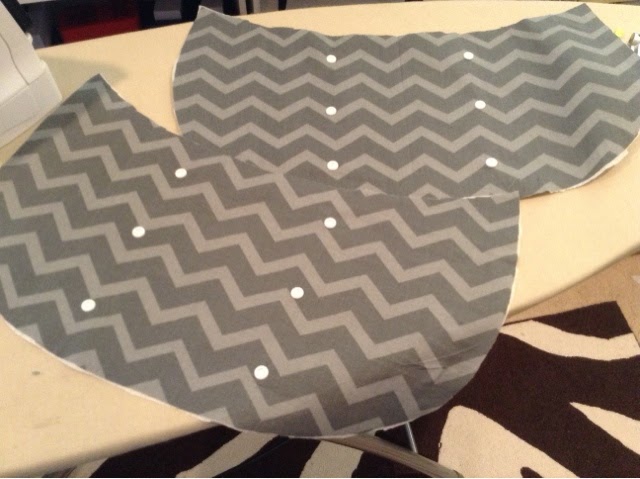
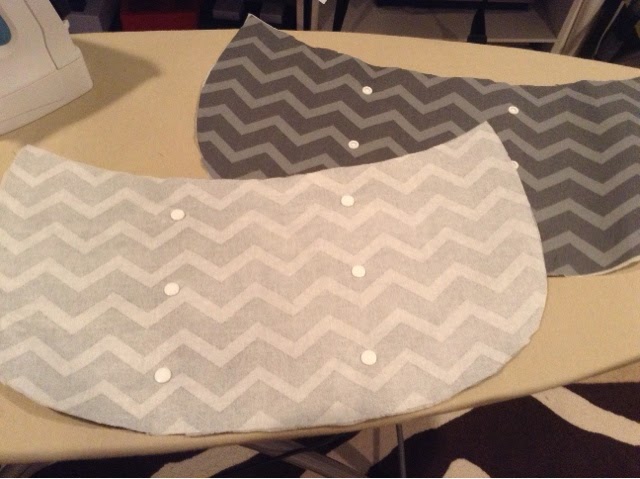
The final modification I made was to assemble two compartment separators. To do this, I cut two pieces of my interior fabric (a tonal grey chevron from Joann's, because I LOVE chevron).

I used two 8"x 16" pieces to make my dividers. I folded them on half, right sides together, then ironed down a 1/4" fold on the top edges. Then I sewed the side seams and flipped them right sides out. I cut fleece to fit in the resulting pocket and then sewed along my folded edges to close my pockets up with a nice clean finish.
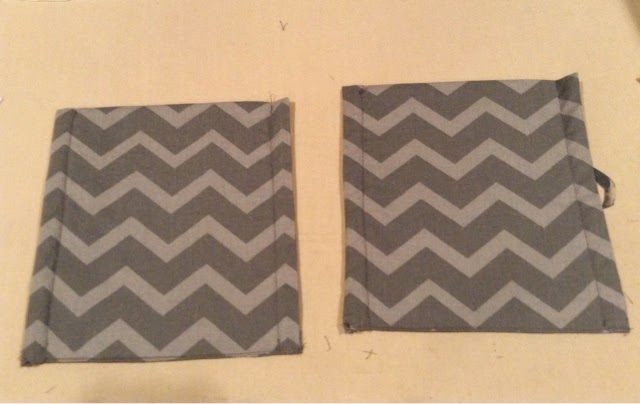
Once they were padded and sewn closed, I ran a stitch about a 1/2" from each edge to create a lip for my snaps. I applied the other half of the snap pieces to the edges of my dividers, using the lining snaps to mark my placement and ensure they lined up correctly.

Once the dividers were assembled, I just snapped them into place. They worked out beautifully to hold my gear in place. Plus, I can just take them out if I don't need them!

I love how it turned out and that I could get all of the features I wanted in a bag without spending hundreds of dollar on one. Plus, this bag is all me; customized to be exactly what I had envisioned in colors and fabrics that I love. It doesn't get much better than that!
If you are looking for your perfect camera bag, why not give making one a whirl? You might end up with exactly what you want :)
Until next time...happy sewing!
Sarah


