
How to Make Pillows and a Blanket with Shannon Fabrics
/We are back again today with another tutorial and some fun creations using Shannon Fabrics. This project creates some more sophisticated accessories for Rachel's daughter but also maintain their practicality and washability.
Hi! Rachel here today with a fun and easy (and cozy!) way to brighten any room. I was selected to be a Brand Ambassador for Shannon Fabrics last spring, and I’ve spent the last year delving into the world of Cuddle and faux fur fabrics. Cuddle is Shannon’s trademark line of minky fabrics, with a thickness (3mm pile on even the smooth Cuddle, so it’s super thick and soft) and soft hand that is seriously amazing. The Luxe Cuddle takes it a step further and kicks things up a notch with luxury and textures that feel incredible and can still be machine washed. For those of us with kids (and husbands who like to eat ice cream and play video games at the same time lol) this is a life saver. I made over 20 Luxe Cuddle infinity scarves last winter for the holidays to give as gifts and they were a huge hit! If the Cuddle line isn’t enough for you, make sure to check out the faux furs too - the backing is nice and thick so they’re easier to work with than you might expect.
For this project I wanted to make something for Miss P’s bedroom that was fun but a little sophisticated at the same time. Also, I thought it would be nice to have something that was decorative but also functional. I used 3 yards of the Luxe Cuddle Angora in Saltwater to make this basic blanket, and it’s a great throw that is even big enough for her to wrap herself in when she goes to sleep. Here’s how I made the blanket:
1. Fold fabric, right sides together, along the cut edge.
2. Use lots and lots of pins or clips to hold the fabric in place. Minky fabrics like to slip and slide a bit when you sew with them, so pinning frequently will help a lot. I like to pin/clip along all four sides, even the folded edge.
3. Sew around the perimeter of your blanket, leaving an opening for turning. I like to use a walking foot (if you have a Janome machine, you can also use the AcuFeed system; I know other brands like Bernina have similar built-in options as well) and lengthen my stitch a bit (to about 3.5 on my machine). I also like to use a slightly wider seam allowance, about a half inch or even a little more, to help reduce the slipping.
4. Turn your blanket through the opening, and poke out the corners as much as possible. It’s pretty thick in there, but I don’t like to trim too much.
5. Hand sew the opening closed using a ladder stitch.
6. Topstitch if desired. I like to use a wide zig zag and a super wide seam allowance, which gives a nice look on the plush fabric and also helps keep the layers in place. I used a zig zag of about 7.0 width and 3.0 length, and sewed 2” from the edge of the blanket.
For the pillows, I used 1.5 yards of the Afghan Hound Fur in Malibu and made a 24” and 18” square pillows, and I have enough left over to make either a 12” square or a 12x16” rectangle pillow too. I decided to do a quick one-piece envelope style pillow cover so I can swap these out if Miss P decides on a new favorite color next month. ;) Because the backing for the fur doesn’t fray, and because the fur has such long fibers, I didn’t even hem the edges of the overlap - the fur covers everything really nicely.
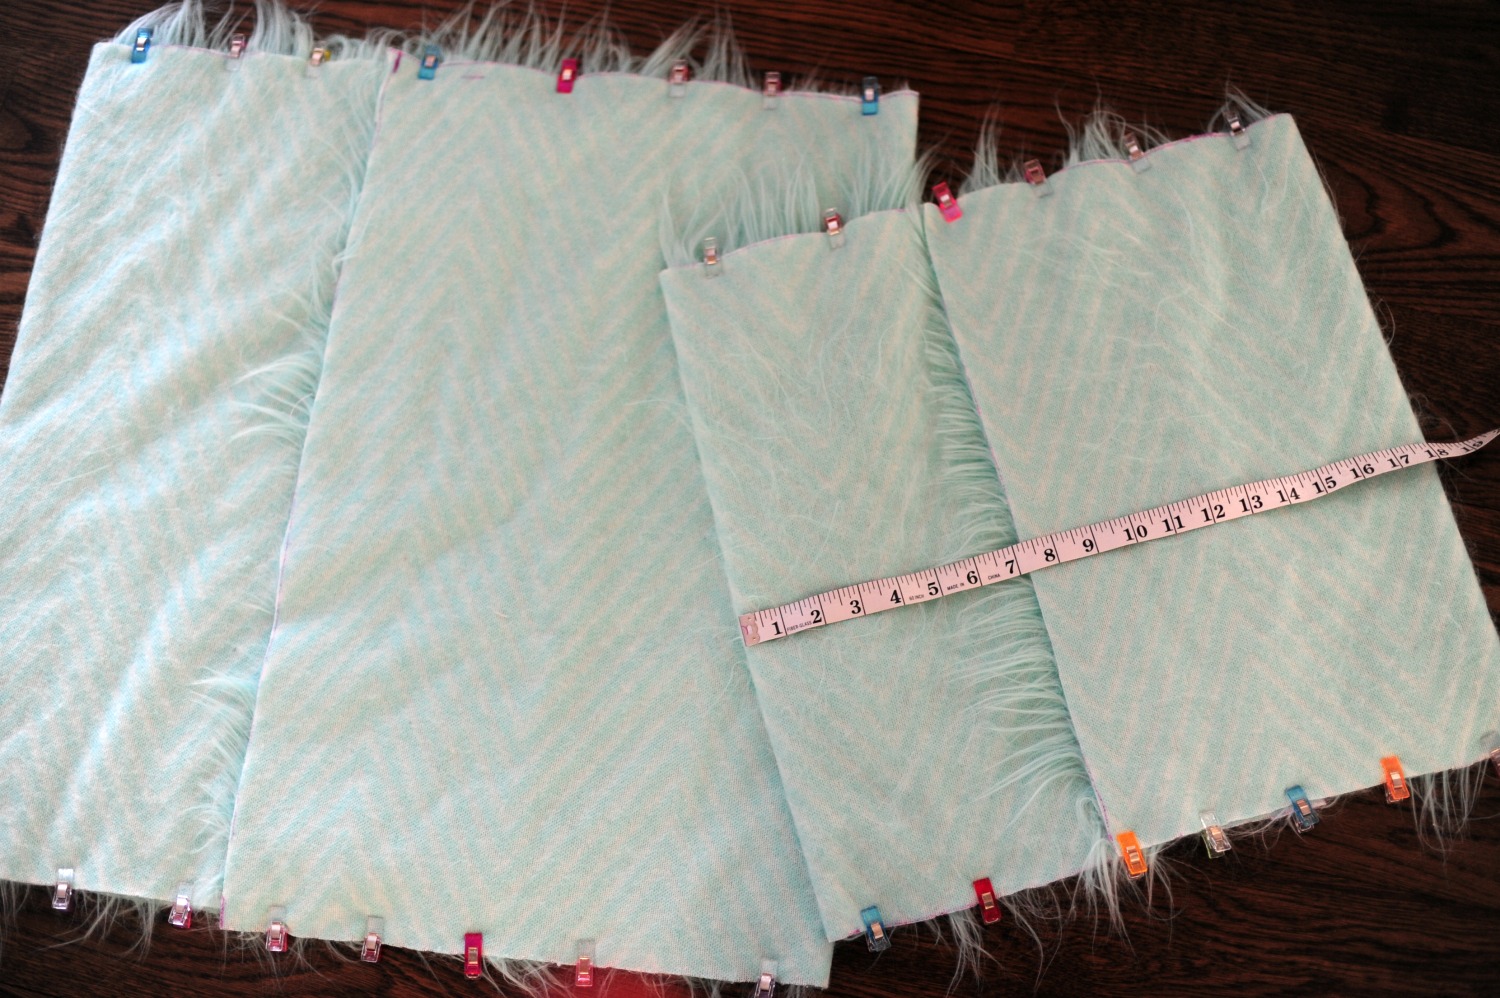
To calculate how much fabric to cut for each cover, I used the height (18” or 24”) for one edge and the width of the front PLUS the back overlaps (each side of the overlap is ⅔ of the width - so I used 12” for each flap of the 18” pillow and 16” for each flap of the 24” pillow) for the other. My rectangle for the smaller pillow was 18” x 42” (18+12+12=42) and for the larger pillow was 24” x 56” (24+16+16=56). Now, we’re ready to assemble. The measuring is the hardest part, I promise!
1. Lay the fabric fur side down, and mark your measurements on the backing. I used a sharpie since it doesn’t show through the thick fur. (pic 4)
2. Cut through the backing with a sharp pair of scissors, and use a hand vacuum to catch all of the loose fibers. My kids said it looked like I was wrestling a Muppet! ;)
3. After I cut, I toss all of the pieces into the dryer for a quick 20-minute spin on a low or no heat setting. This helps get the rest of the excess fur from the cut edges - I’d rather it end up in the lint trap of my dryer than in my sewing machine!
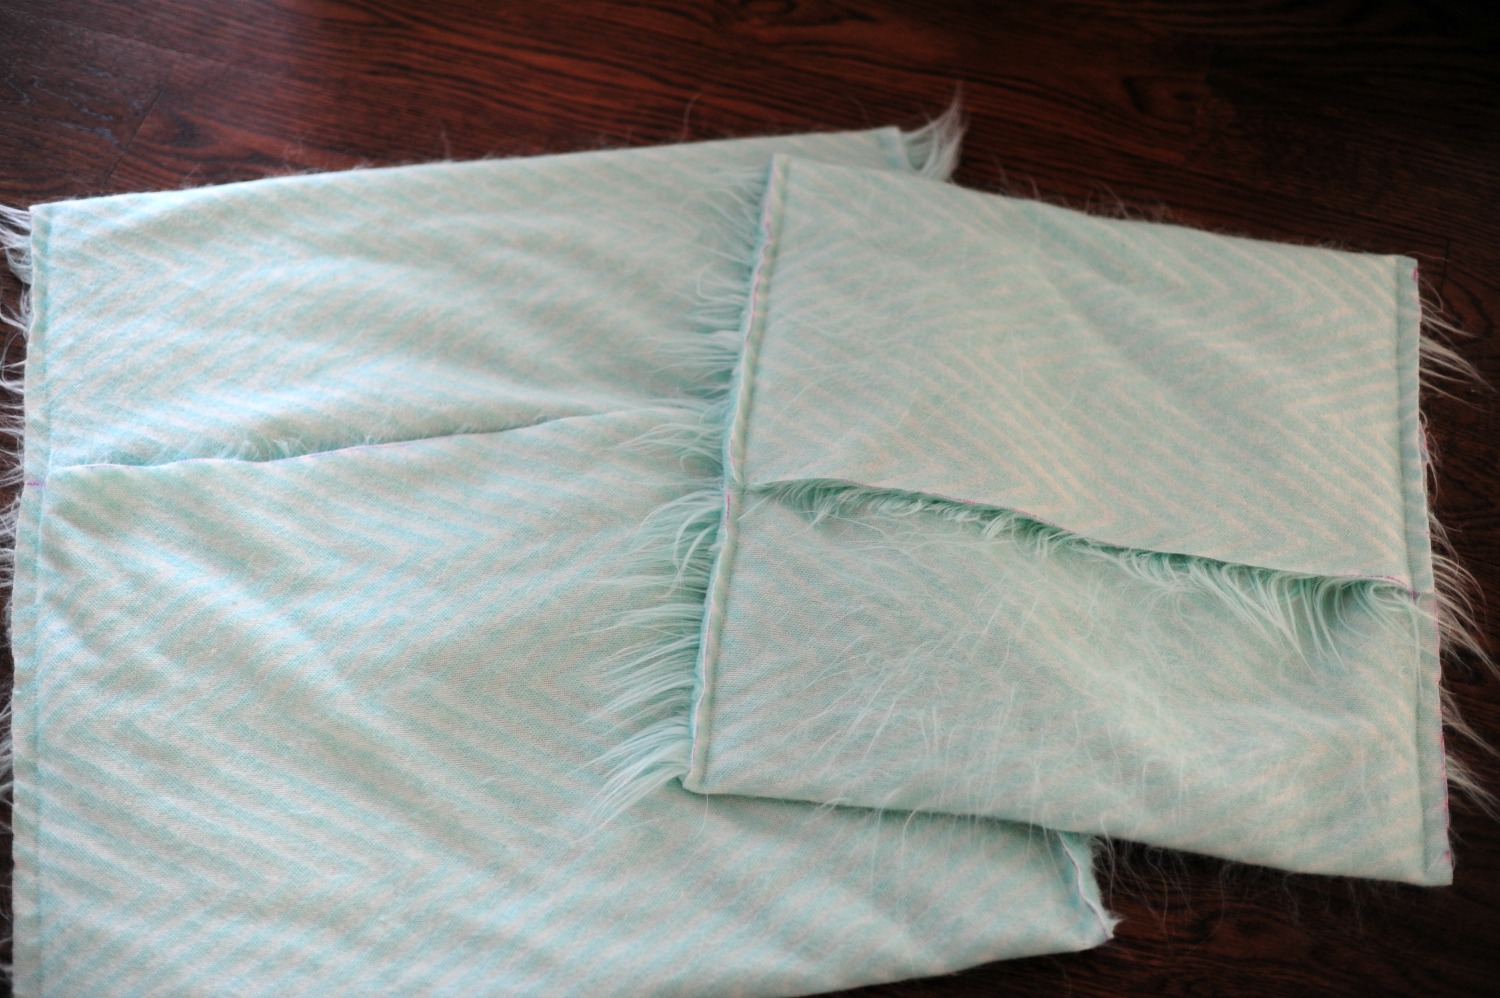
4. Now, lay the fabric with the fur facing up. Fold each end of the fabric over itself so it measures the size of your pillow. (You’ll notice that I didn’t leave any seam allowance when I calculated the measurements; I like my pillow forms to fit pretty snugly into the cover and I find they start to collapse over time. If you want them looser, just add a little seam allowance before you cut.)
5. The two short sides will overlap each other in the center to make the envelope closure. Pin or clip the open edges at the top and the bottom and sew them closed. Again, I like to use about a ½” seam allowance and a slightly lengthened stitch, about 3.5mm.
6. Turn the pillow cover right sides out and poke out the corners.
7. Put your pillow form into the cover and fluff as desired. You may want to use an awl or stiletto tool to pull the long fibers from the seam allowance.
That’s it! Just a couple of hours and you’ve got a super luxe pillow and blanket set - these would make a fantastic gift for Mother’s Day, a wedding or anniversary, or just a special surprise for a lucky kiddo in your life. Don’t forget to treat yourself, too!
Until next time,
Rachel


Today we are sharing a fun tutorial to make a sunshine reading pillow using Cuddle fabric from Shannon Fabrics.