
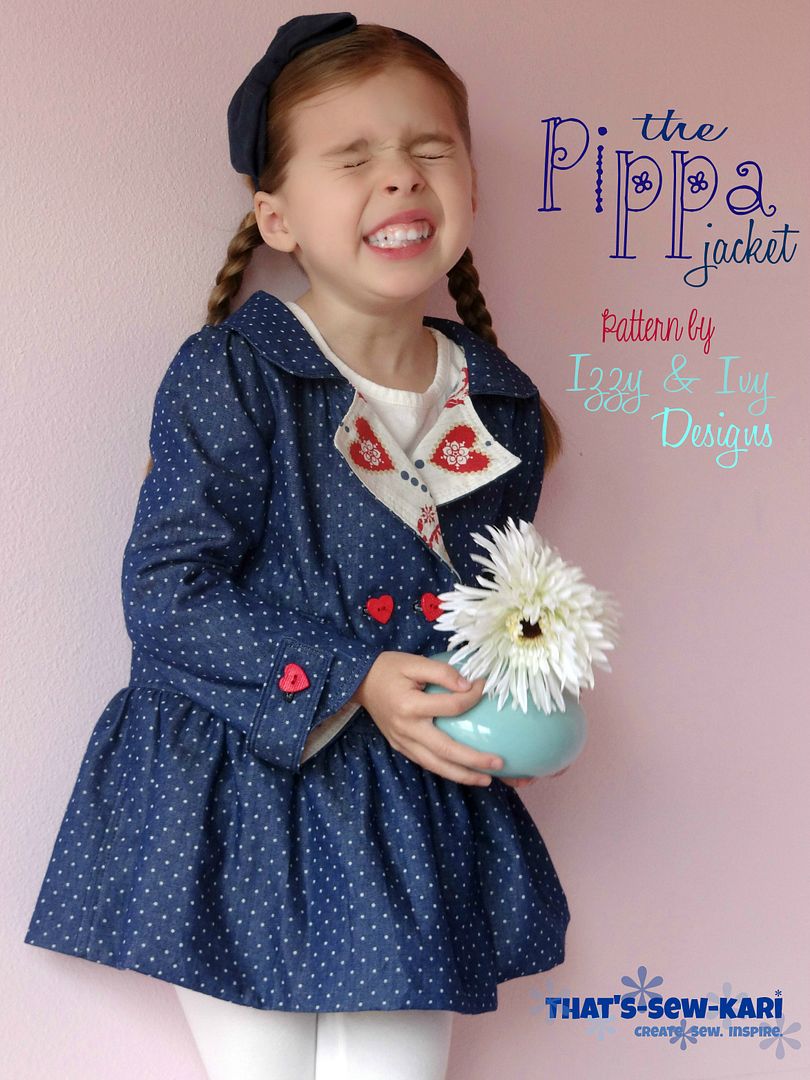
The Pippa Coat by Izzy & Ivy Designs
/I am so excited that we are sharing The Pippa Jacket pattern with you today. This is the pattern that put Izzy & Ivy on my radar of consciousness, that made me fall in love with their design aesthetic, and that made me say 'don't tease me, release it NOW!!!!'
I can say that they were a bit mean, posting their first teaser of the Adorable Pippa Jacket in the fall and then not releasing it until January. But absence truly makes the heart grow fonder, and when release day came, guess who was first in line saying 'please, please, let us review this at Pattern Revolution!' And the amazing team behind Izzy & Ivy said YES!
So here are the ever talented Kari and JaNette to share their visions of this pattern. (I'm trying to find the perfect laminate to make an 'April Showers' rain coat!)
---------------------------------
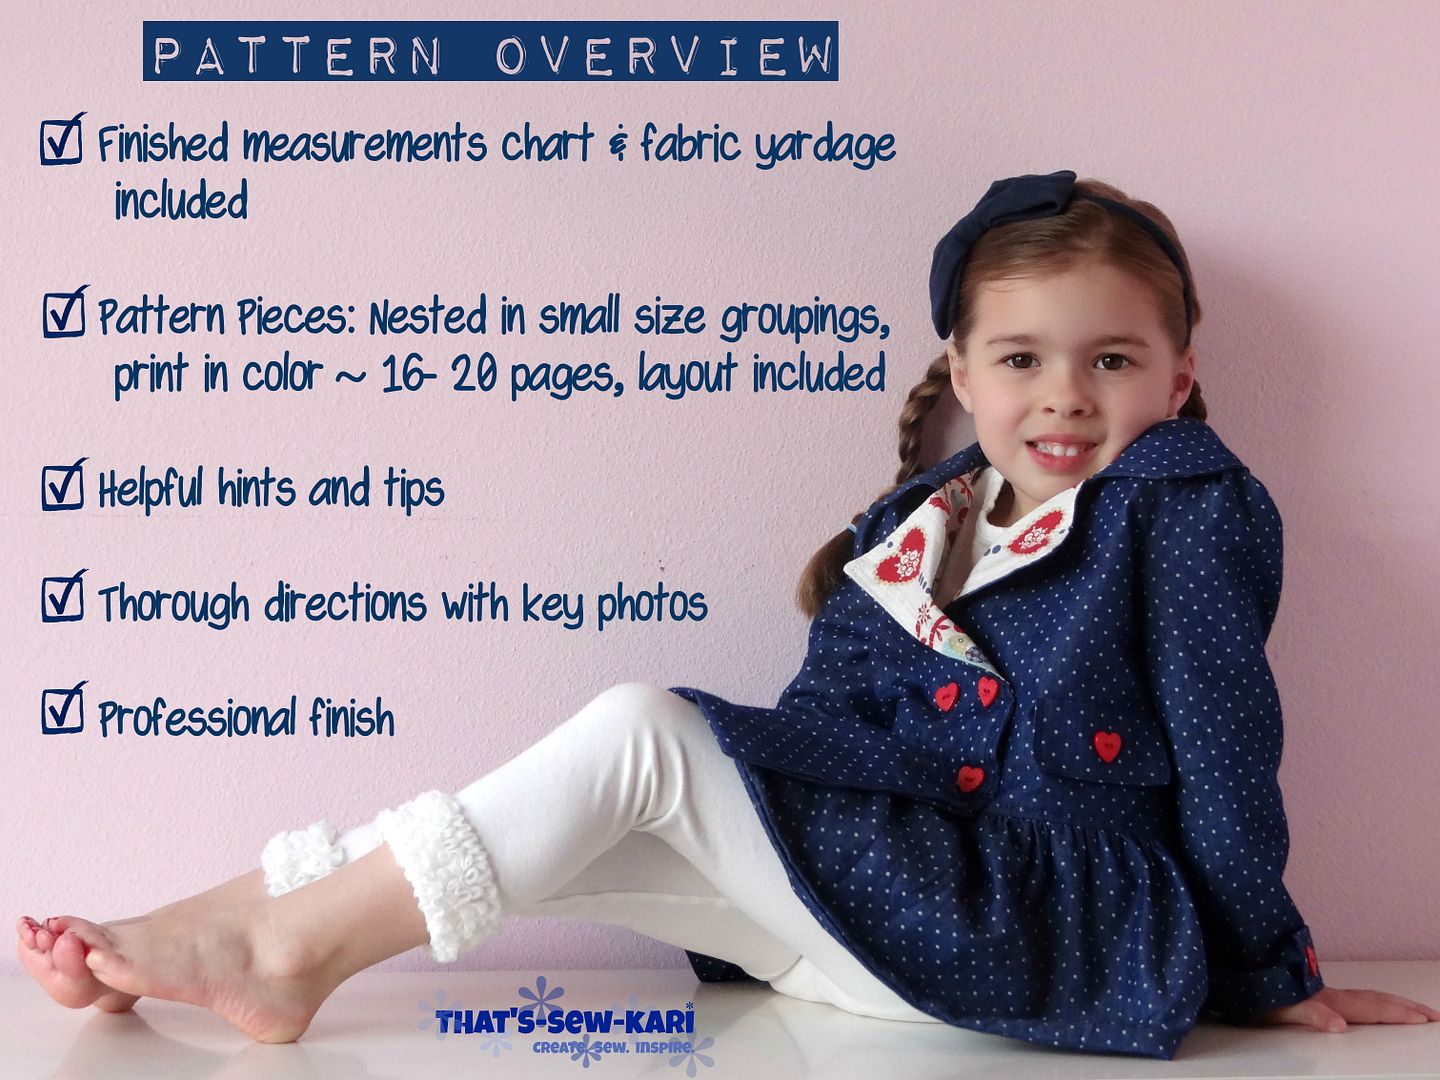
There is a guide to help you print the pattern pieces for your selected size since the 9 sizes are divided into 3 groups. Be aware that the chart tells you the numbers on the actual pattern pieces and not the actual PDF page. The "skirt" portion measurements are given in a chart.
This pattern contained a few tips and tricks that I am glad I learned! Tricks like how to get your corners perfectly square and tips such as how to use tailor tacks to mark your buttonhole and button placement. Along the way, you'll find helpful definitions and encouraging words.
The directions are thorough with key photos, but do not include step-by-step photos like some patterns. They are written clearly and concisely so I didn't find any need for additional directions or pictures. I think some sewing knowledge is needed to make this pattern, but it's not overly difficult by any means.
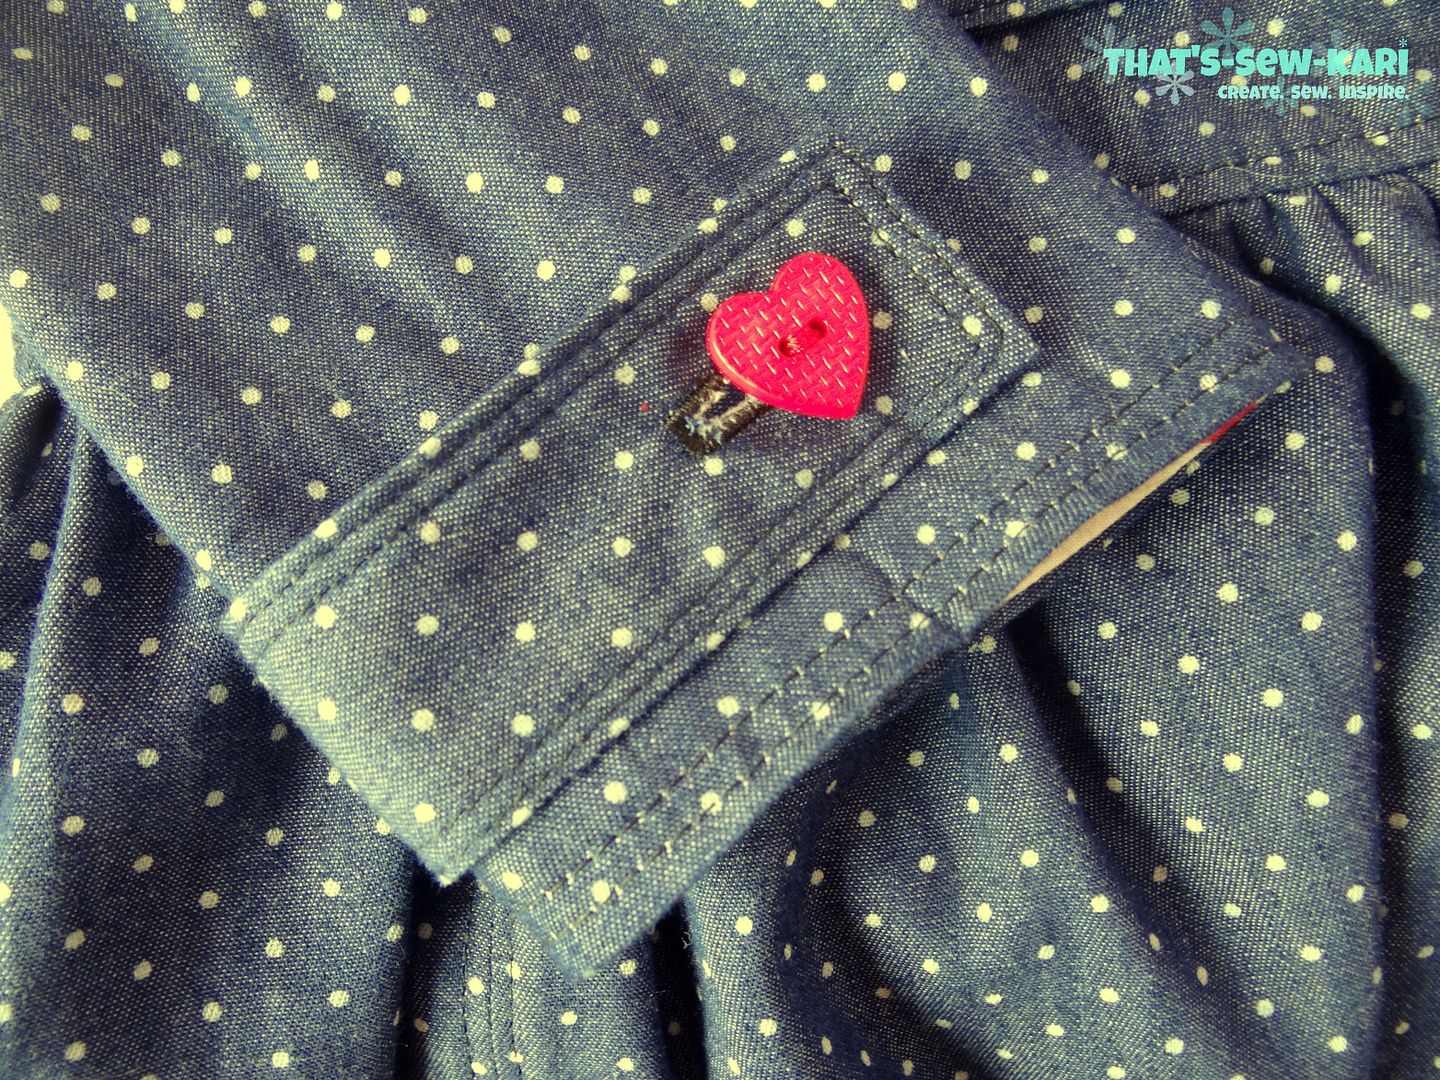 |
| Some of the details you'll find in this pattern. |
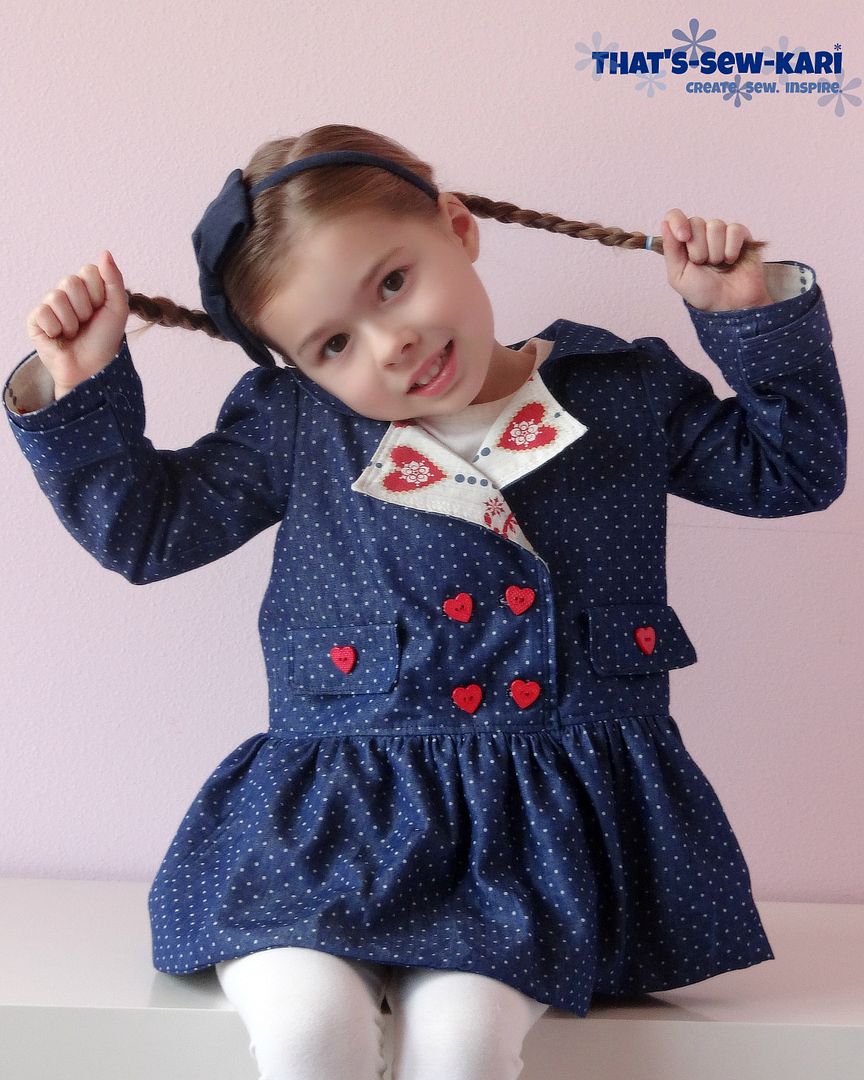
For me, this was not a quick sew, but I will say, I ended up with a professional-looking jacket with lots of details. Most of the stitching on the coat is double topstitched which adds that little extra that takes a garment to the next level. You will need to create 6 buttonholes for this jacket; 2 additional buttons are faux.. Lucky for me, I discovered buttonholes on my embroidery machine and no longer fight my one-step buttonhole maker that works 25% of the time - and almost never when I need multiple to line up.
A quick overview of the fabrics/buttons my daughter and I chose. For the outer shell, I used this adorable pin dot denim material I found at Hobby Lobby a few months back. For the lining, we chose a cream fabric with a denim blue, red, and light turquoise bird print on it from Hancock Fabrics. Truth be told, it's from their Christmas fabric that got put away in the wrong place, which I found out as the lady was cutting it. The sweet red heart-shaped buttons also came from Hancock Fabrics. I knew when I saw them that they would be the perfect buttons for this coat and matched the lining perfectly.
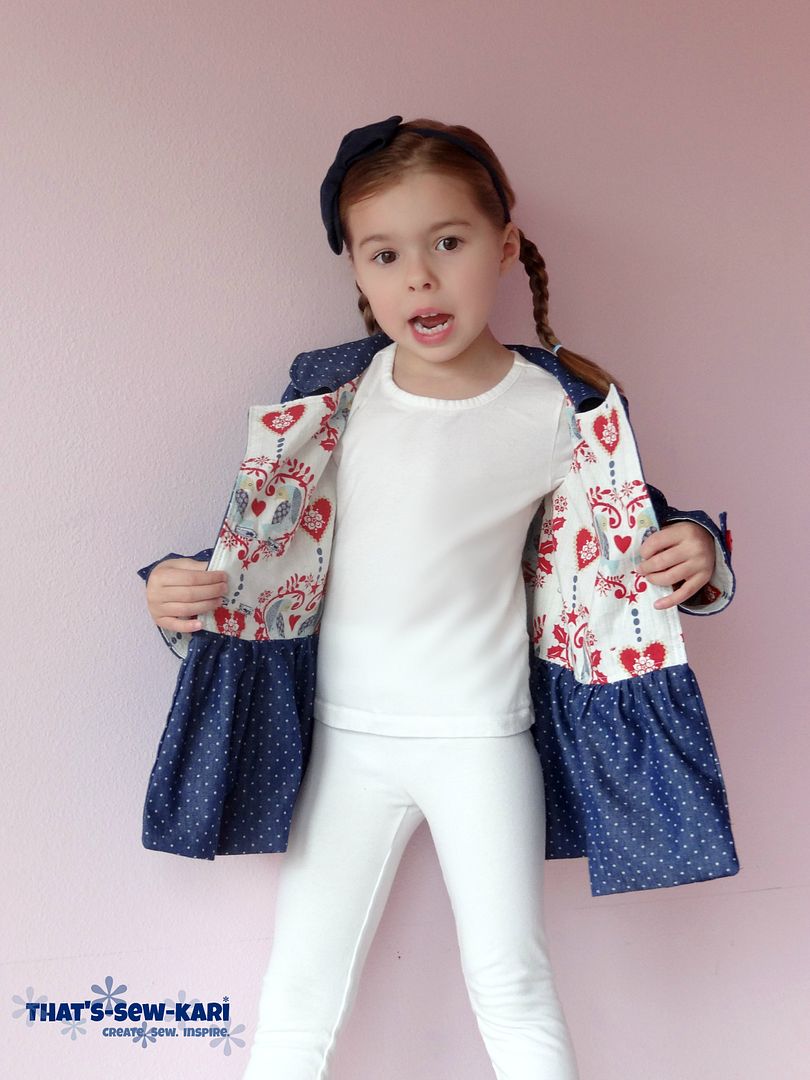 |
| My jacket is fully lined as opposed to just the bodice and sleeves. |
The only change I made to the pattern was lining the "skirt" portion of the jacket. The pattern calls for the bodice and sleeves only to be lined. Although my fabric looks like denim, the weight of the it is actually very lightweight. Unfortunately, due to my strategic cutting of the bodice pieces in the lining fabric, I didn't have enough to continue the lining all the way down. So I just cut a second skirt portion of my outer fabric, attached it to my lining as instructed with the outer layer. When I sewed the lining to the outer, I simply sewed all the way around and turned the jacket right side out through one of the sleeves.
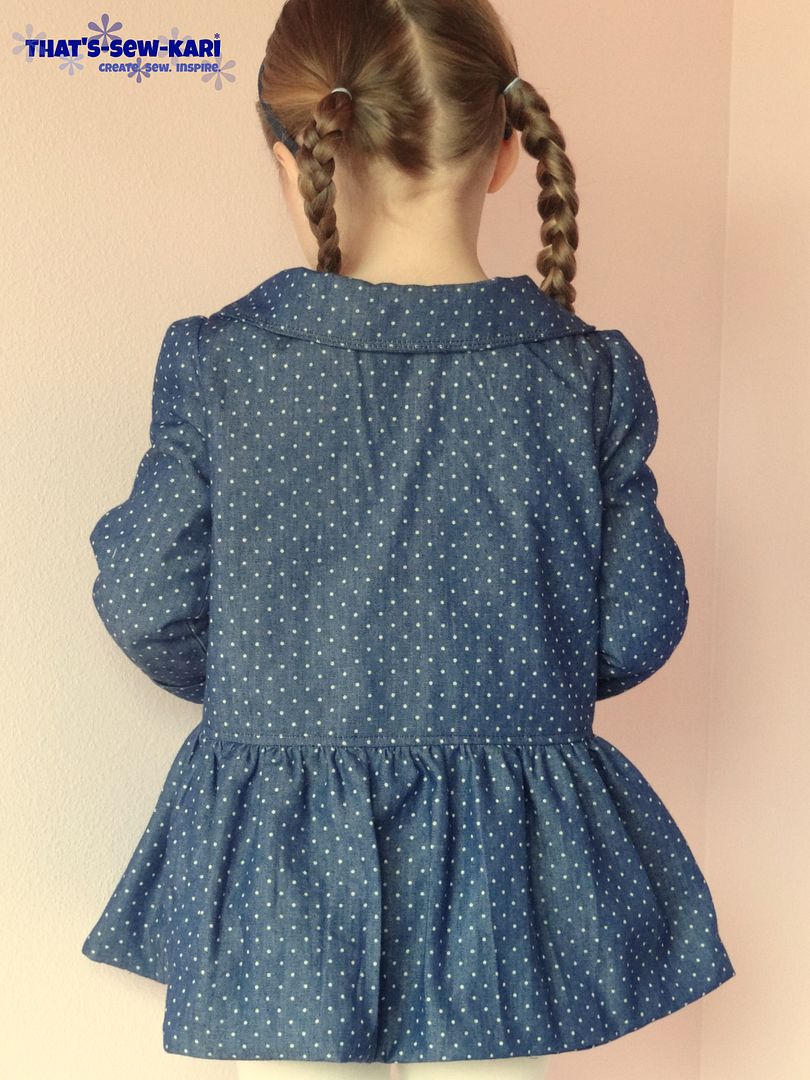 |
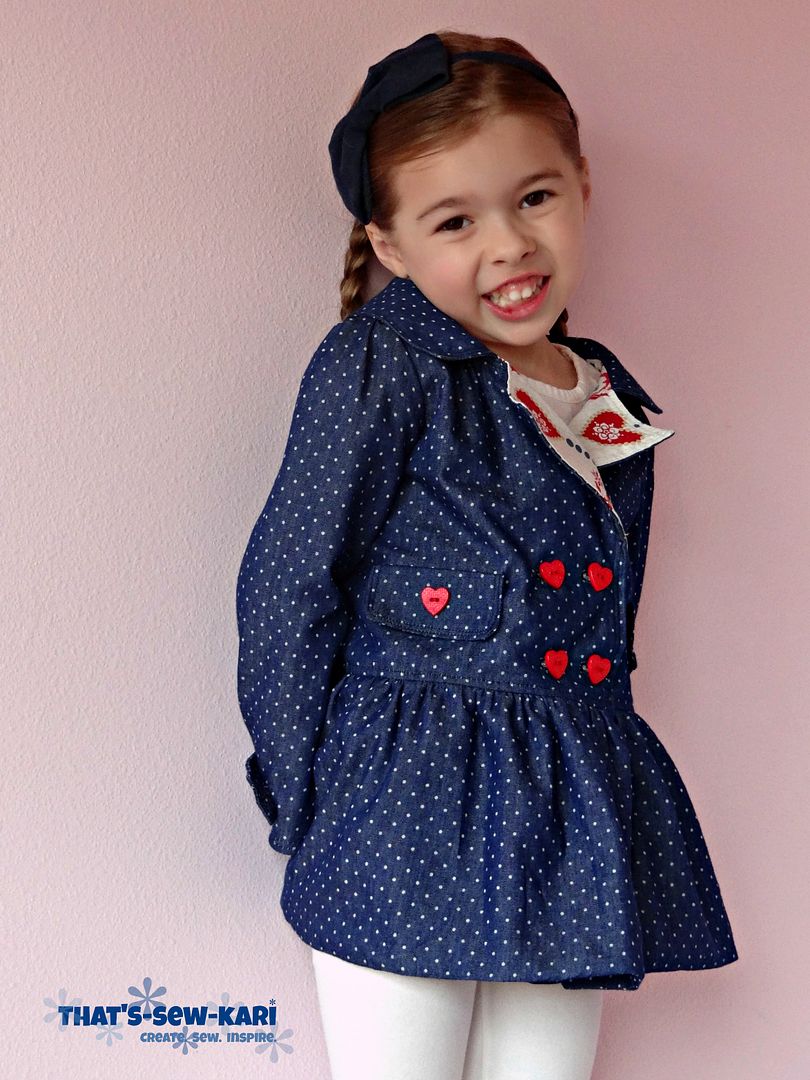
| Obligatory back view :) |
My 3-year old wanted to know where her Pippa Jacket was so I guess I better look for some lining fabric for her. I think I might have enough of this pin dot denim left to squeak out a size 2 for her. As far as my 4-year old liking her new coat? It's a resounding yes. I can usually tell how much she likes something I've sewn for her by how well her pictures turn out. I came away with lots of usable photos (too many to share in one blog review) and one happy little girl.
Visit Izzy & Ivy in their ETSY shop and take a look at the other cute patterns available too! I bought the Tallulah, but haven't made the time to sew it yet.
Follow their Facebook fan page or join their Facebook group to keep up-to-date with all thing Izzy & Ivy.

-------------------------------------------


So, who's ready for spring? I am. I keep thinking that if I sew enough spring and summer items that mother nature will get the hint. Like this fabulous jacket here! The Pippa from Izzy & Ivy. This is a perfect little jacket for spring made in a lightweight fabric. If you choose to use a light weight fabric make sure you also choose to use interfacing. It does make a difference. Especially with this style. This pattern comes with...
- nested pattern pieces
- sizes 2 thru 12
- chart with finished measurements
- chart with fabric requirements
- chart with cutting dimensions
- a well written tutorial with tips
- a pattern printing table of contents

So first off I didn't have to print every single size like you normally have to do with nested patterns. I simply found the size I was sewing and printed the page range. I ended up printing sizes 5, 6 and 7 only. There is a 1 inch test square and that is so important! I do measure those every single time I print a pattern. Even if I have printed the pattern before I still measure it! LOL

I have to admit something....I love the way ruffles look but I'm not a huge fan of sewing them. All of that pinning and gathering. So I was so very excited to be given the chance to sew up Pippa. With all of her lovely, lovely topstitching! If you are not a fan of topstitching....this is your warning. Not only do you topstitch once, but actually twice on the pieces that require it. So around the bodice, sleeves, pocket flaps, and collar you will find two topstitches. It does take a little time but I assure you, it's worth the effort! To me, it gives a crisp, polished look to this jacket. Also adding to the polished look is the fact there are no exposed seams. That is also a big A+ for outerwear! But I didn't know until I made this, how much of a difference it makes to not have serged seams showing. There is a detailed tip included to show you how to use the "Tokyo finish". I love learning new tips and tricks!!!

As far as the overall fit of the jacket...remember that it's just that...outerwear. They will be wearing another layer of clothing underneath. So, with that in mind I should have gone up a size for Jenna. I did measure her arm length and sized up to the 7 for the sleeves. It fits her now. But I don't see her being able to wear this for very long. That makes me sad because she picked these fabrics for this jacket as one of her birthday gifts. I could have avoided this mistake if I had sewn a muslin first. Live and learn.


There are also several buttonholes to make (this is where the interfacing is important)....1 on each sleeve and 4 on the front. And where there are buttonholes, there are buttons to sew on....1 on each sleeve, 4 on the front and 2 on the faux pockets. I used my buttonhole foot attachment for my machine so it didn't take very long. The pattern has the placement marked for these, you just have to take the time to transfer the marks to your fabric. The only downside was not having functional pockets. I know, I know, that's why they are called faux pockets. But for kids like Jenna who like pockets, if it looks like a pocket it should be a functioning one. Immediately after getting the jacket on, she tried to stick her hands in the pockets. Then sad face. No pockets. I know I can easily add them but I will do that later. Maybe.


So overall I would rate this pattern for the intermediate/advance seamstress. One reason being, I worked on this for a few days but with no interruptions I could have it done in 1 day (I'm counting cutting it out, marking it and sewing). I would make this again especially as she gets older because this style will grow well into tween years. Second reason being, there is not a lot of over explaining in the tutorial. You have to have some basic knowledge of sewing coming into this one. I'm not saying a beginner couldn't tackle this and succeed, but it's better suited for a more seasoned seamstress due to the precise placement of pieces.

Until next time... JaNette JaNette Herndon merri.poppins@aol.com


