Savannah Bag by Cozy Nest Designs
/I love purses and bags - they always fit no matter what your size, you can pick any color under the sun, and they come in so many shapes and sizes that you can always find one to fit your personality and style. My tight budget however does NOT love my love of bags! I'm the girl who walks into a store and is somehow drawn to the most expensive bag - every single time!
For this reason - I love bag pattern designers.... I am so impressed at what they create, and the Savannah Bag by Cozy Nest Designs is no exception. I seriously need to make this ASAP to have for summer. My boys are in the midst of potty training, which means spare clothes, spare undies, tons of wipes, wet bags for the accidents, etc...etc....etc... I swear I need to carry more things that when they were newborns and I had an over stuffed diaper bag! This bag looks so perfect in size - and I love the style.
Here is Kari to share all the details about creating your own Savannah bag!
-------------------------------
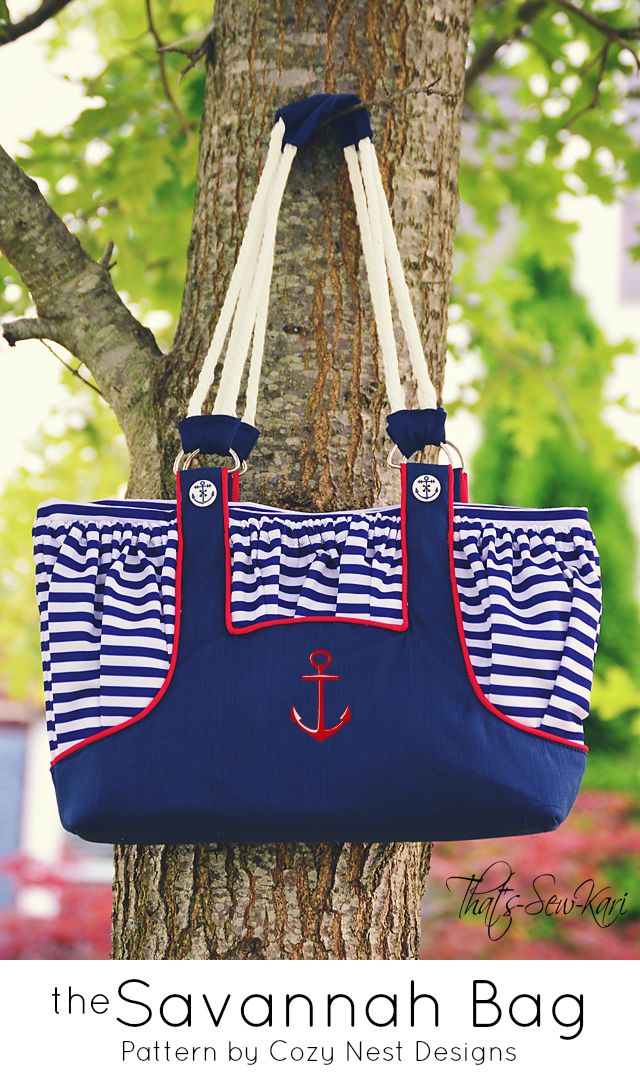
Ahoy! Kari, sailing in from That's-Sew-Kari with a review of the Savannah Bag by Cozy Nest Designs - a charming bag featuring wrap-around, gathered pockets, piping-trimmed accent panels and an interior zippered pocket.
When I first saw the Savannah, I was immediately drawn to all the details. Now, I haven't sewn many bags (really only a simple purse and also a diaper bag), but I really wanted to try it out. The detailing was more difficult for me than I anticipated. I do not, however, give up easily -- especially when I have people counting on me to meet a deadline ;)
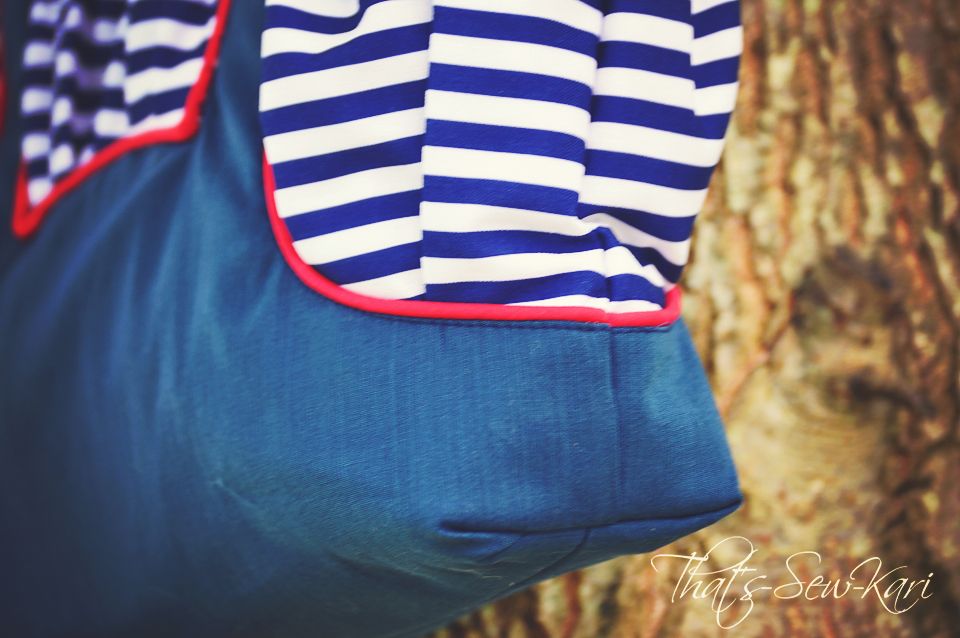 |
| Side view |
Okay, lets talk pattern details first and then I will divulge some of my difficulties:
- Finished size: 15w x 7 1/2h x 4”d (38x19x10cm)
- Pattern Pieces: 8 pages to print / black&white
- Tutorial: 10 pages of directions with included line drawings for key steps
- Text-only directions included for the experienced seamstress
- Labels included to pin to your cut pieces to help you keep track
- Checklist of items needed as well as cuts needed
- Skill level: Experienced Intermediate
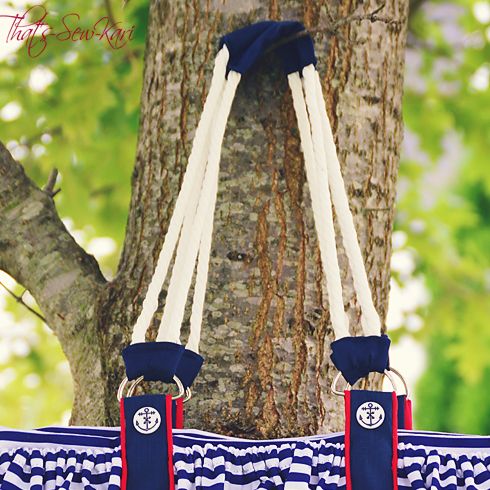 |
| Closeup of handles |
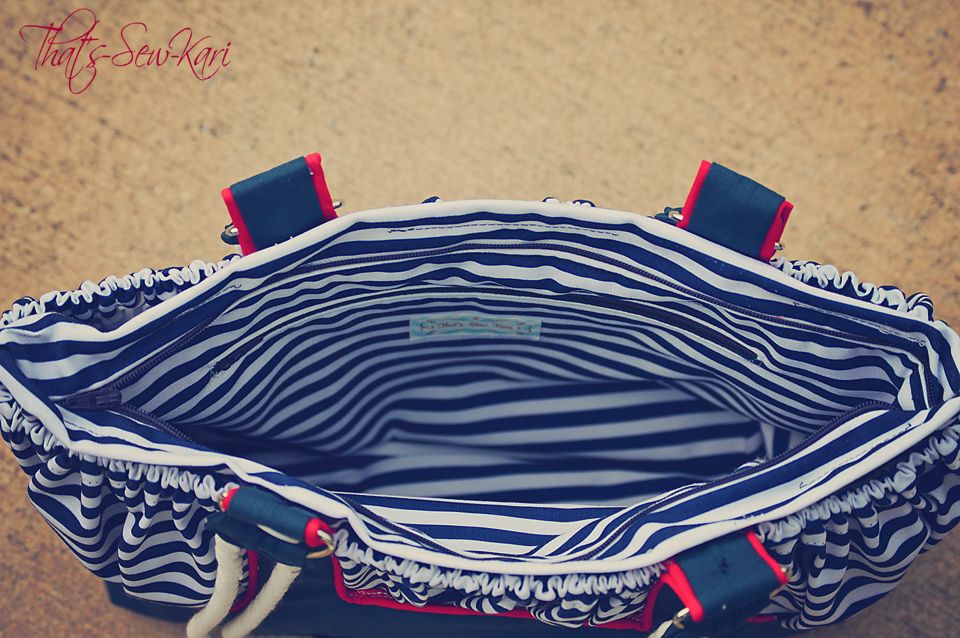 |
| Roomy interior |
My favorite part of the tutorial is the included labels to pin to your fabrics after you cut each piece. Listen up, designers: THIS IS AWESOME!!!! You know that "dead space" on the pattern printouts? Yes, please start including these :) Pretty please!!
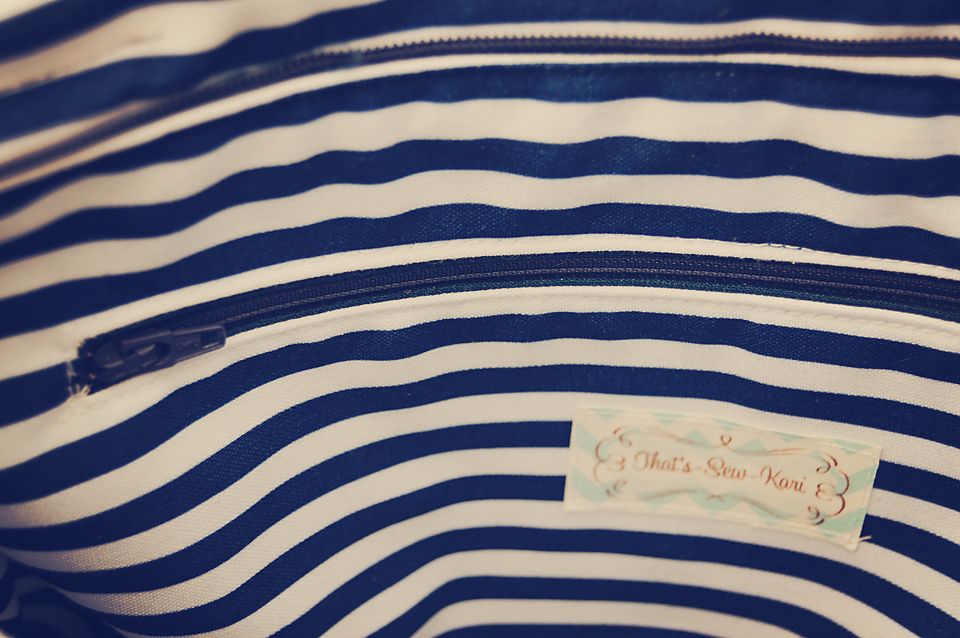 |
| Zippered pocked inside |