The NEW Zinnia Dress by LilyGiggle
/Most of us look for patterns that have lots of options when we shop for PDFs. A good size range. The ability to span several seasons. These are the things that we want to help us get more bang for our Paypal bucks. Today we're reviewing the NEW Zinnia Dress from LilyGiggle, which is the the updated version of their classic knit/knit and woven dress. We have Sarah and Gloria up today to tell you all about it!
Hello! This is Sarah and I am here today with a review of the LilyGIggle Zinnia Dress and Rings of Ruffles pants.
Both of these patterns are revised versions of retired LilyGiggle patterns that I own, but have never made (I am sure a lot of you can relate!) and I am glad I finally took the time to make them!
I'll start with a few features that I have seen in all of the LilyGiggle patterns I have made as well as the two I am reviewing here.
- The patterns feature printable layers so you can select only the sizes you want to print out. I love this feature; it saves a lot of ink and I don't get confused as to which lines I need to cut.
- They provide a size chart as well as finished garment measurements.
- They provide a cutting layout and measurements for non-patterned pieces (rectangles and squares)
- Includes directions for fabric prep and using freezer paper to transfer patterns if desired.
- Gives tips for sewing with knits.
- Includes "Quick Sew Instructions" for people who want just a brief overview of the instructions.
- Gives full step-by-step detailed instructions with pictures for aiding with assembly.
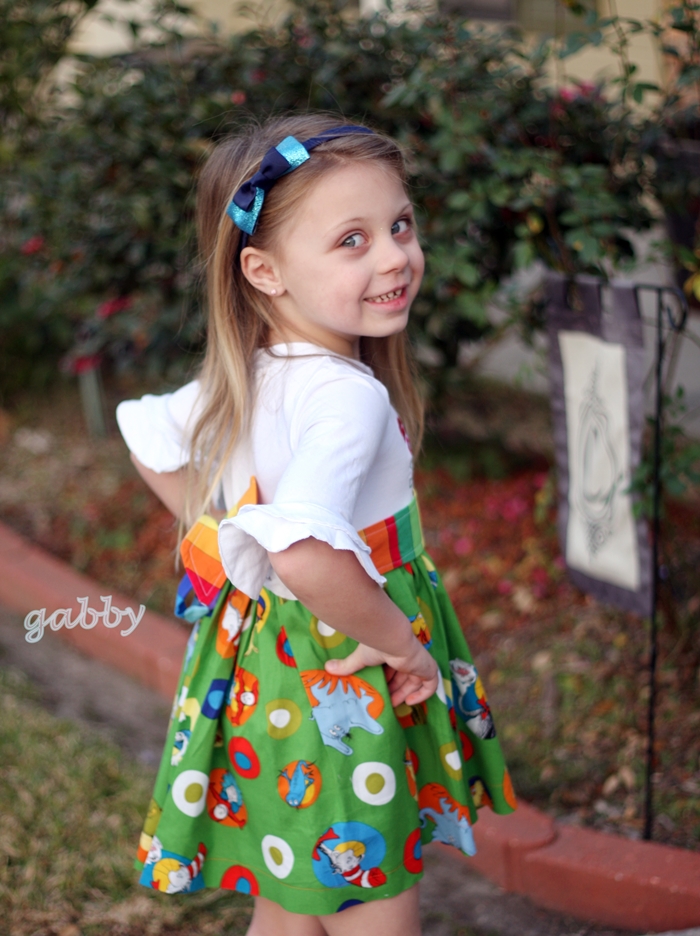
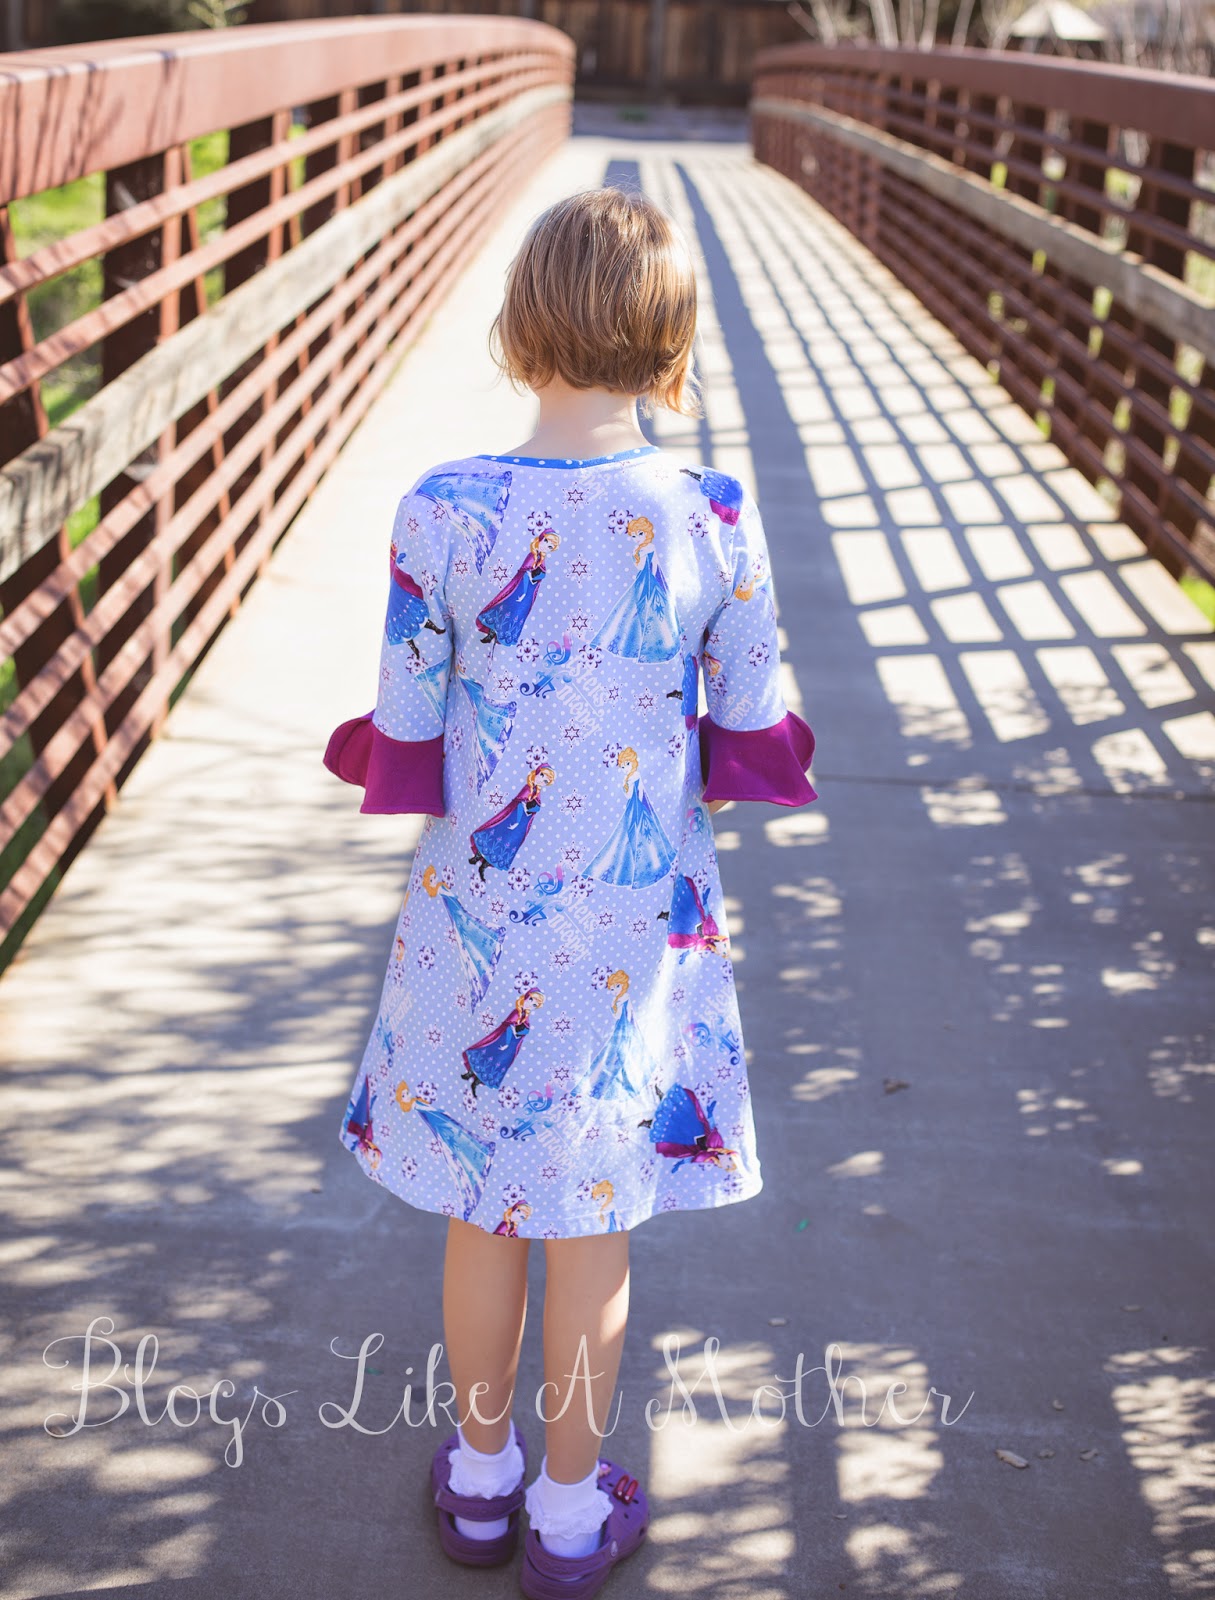
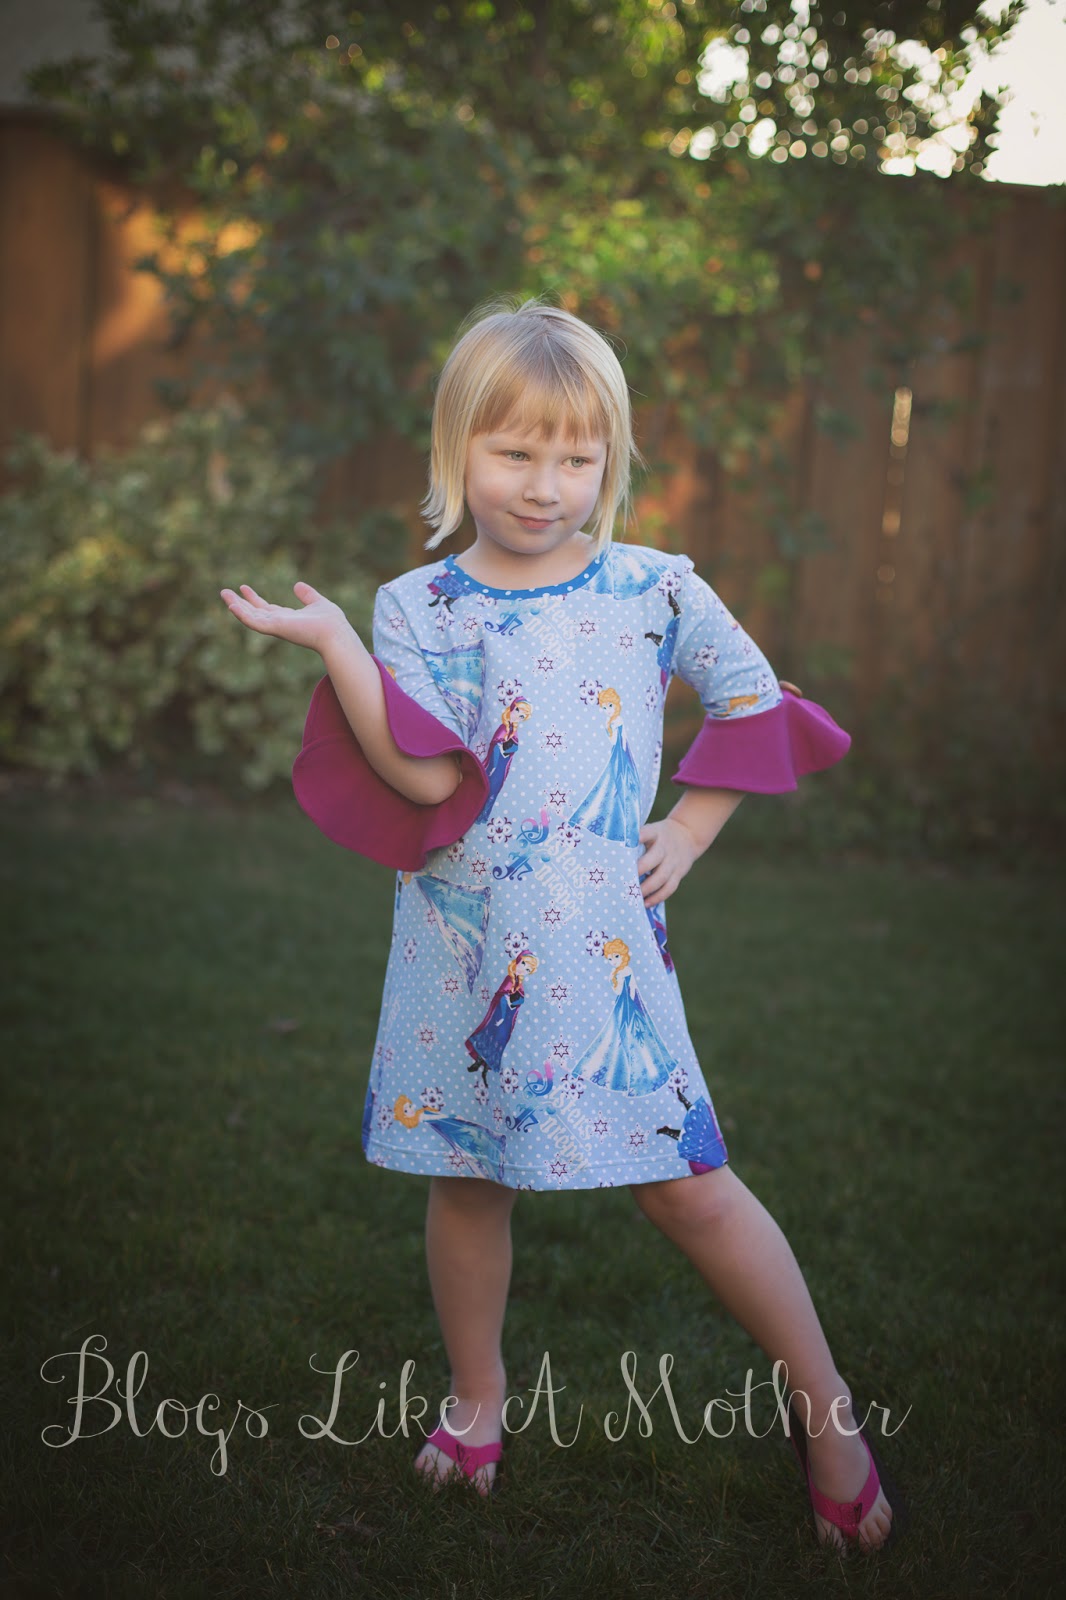
The Zinnia is a knit empire waist bodice with a woven skirt and can be a dress or tunic length. I did one of each because one of my girls really prefers dresses and the other does better with shorts or pants. There is a second option in the Zinnia for an A-line dress, which I did not realize until I opened the pattern. Since I am busy sewing up items to take on our pending Disney vacation, I decided to make the girls an A-line version too.


Both versions feature a pretty petal sleeve, which I left off of the empire version in order to make the sleeve short for hot vacation weather. I did include them on the A-line version though and they are really cute. The dresses have options for long and elbow length sleeves as well.
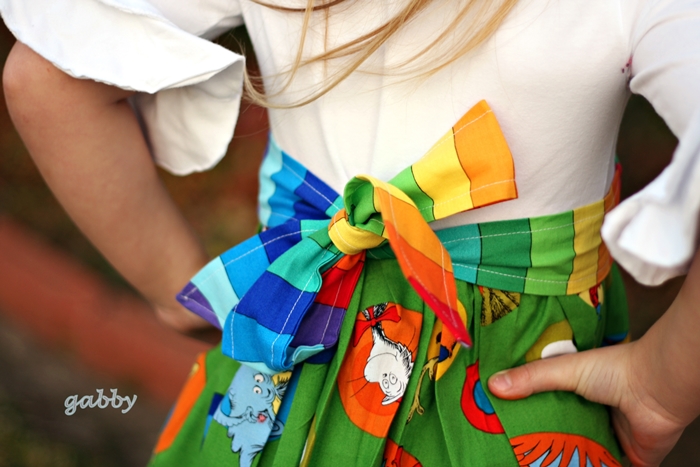
The empire version has an optional sash, which I originally intended to do but then realized the embroidery I did on the bodice would be covered with the sash, so I left them off. But instructions and measurements are included for the sash.


The fit on both dresses was true to the size chart. I double checked my girls measurements before selecting their sizes and only altered the length for my older daughter who is very tall. I made the size 5 for my younger daughter and the size 8 with the size 10 length for my older daughter. They both wear that size in RTW as well.
My only con on the Zinnia is that there are no length measurements for the neckband. The directions included for the neckband are for sewing it on in the flat and instruct the sewist to cut the band a bit longer than the neckline and then trim the excess. I prefer to sew mine in the round, so I just measured my neckband after sewing the shoulder seams and used that measurement to figure out the length I needed. But I'd love to see a neckband length added to the pattern.
I paired the tunic length Zinnia with the Rings of Ruffles pants in the Bermuda short length.
The Bermuda length was a really great length for under the tunic, so I am glad I chose that one. It also comes with a full length option and a shortie option, however only the full length pants option has a finished length measurement listed in the pattern; which was my only con on this pattern.
The full length pants have a nice cuff piece to attach the ruffles to and a couple of really great ideas for making and attaching ruffles; I need to try both of them! I love that the cuff allows you to attach the ruffles on a smaller (more manageable) piece and then attach it to the pants. For the shortie and bermuda length option, you attach the ruffles directly to the leg. Instructions are included for both in the round and on the flat application of ruffles, which is also nice.
Overall I really enjoyed both of these patterns, felt the fit was good and both of my girls liked them. The two minor cons I saw with them are easy to overcome and the pros of the selectable layers and tons of features make these patterns a great choice if you want versatility. The Zinnia offers a ton with its two different versions, tunic and dress options and sleeve length options. The Rings of Ruffles offer year round wearability with the multiple length options, so I know I will get a ton of use out of both of these patterns.
-------------------------------------------------------------------------------------------------------------------
I'm Gloria, and I'm a sewaholic . . . yep, I took on this review and its deadline before I got sick, and started sewing while I had the flu. But as we say here in Louisiana, on any occasion, rain or shine: "Laissez les bon temps rouler!" (Let the good times roll!)
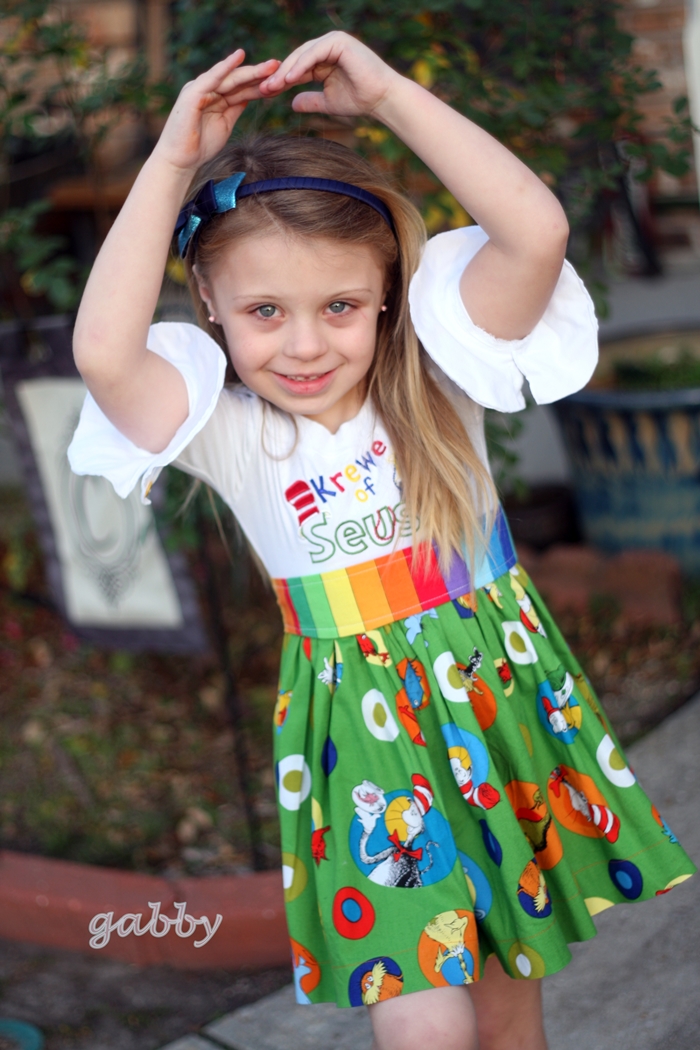
With Mardi Gras just around the corner, I had my inspiration to try out the New Zinnia by LilyGiggle. Lucky for me, I had just straightened my fabric hoard and found Robert Kaufman's Celebrate Seuss! Tossed Characters fabric smiling at me. It is time to celebrate Seuss-style. I searched the internet for an embroidery design and found the perfect one!
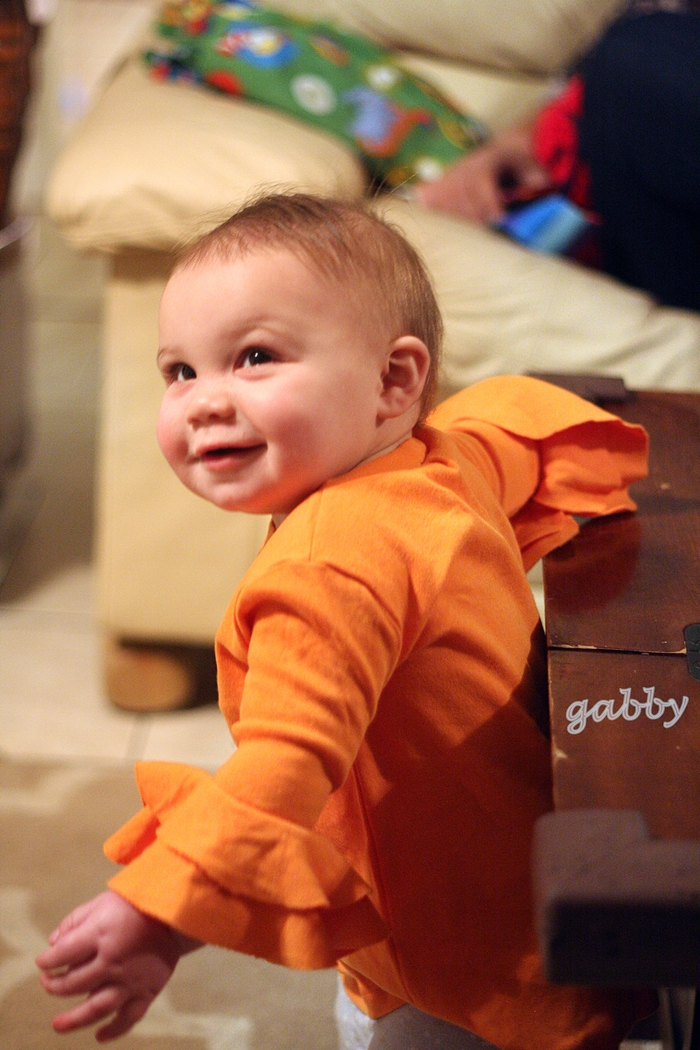
And baby sister gets a coordinating tunic too, with a Mardi-Gras jester hat on the cat-in-the-hat . . . and a little fur for her curious senses.
This pattern is all about the Petals. Yep, gorgeous petals at the end of your ¾ or long sleeves. Choose A-line or Empire waist in tunic, above knee or below knee lengths in sizes 2 – 12. (I added buttons to my petals as decorations, mimicking the circles in the skirt fabric.)
First things first:
- $9.50 USD, via PayPal;
- Fabric(s): Knit for the A-line; All Knit or Knit & Woven for the gathered Empire waist;
- Layered Printability – choose to print only the size(s) you need; 4 – 5 pattern pieces (short sash is optional);
- Imperial Size Measurements, Finished Garment Measurements, and Fabric Requirements are all provided in charts;
- Woven skirt portion and Sash is cut following a Length x Width Chart (no pattern piece);
- 3/8" Seam Allowance included in pattern;
- Quick Sew Instructions (for those who usually skim the tutorial/instruction part);
- No cutting chart for neckband. Instead, the designer's preferred method of determining band length & width are provided;
- Approximately an hour and a half sew;
- Intermediate+ sewist (neckband*)
I'm rating this pattern more suited to an Intermediate+ sewist because of the neckband: No measurements are provided. Instead, the designer provides you with photographs and a step-by-step tutorial on her preferred method of determining the size and fit. This can be a bit intimidating for a beginner. I would prefer a cutting chart so that I can take advantage of the "quick sew" list by quickly cutting my fabric pieces and go straight to sewing.
I was glad to see the section on how to trace your pattern pieces onto freezer paper and then iron onto your fabric. I forget about this fantastic method and I'm glad it is included for those of you who haven't tried it yet.
The petals are my favorite part! In my state, I struggled to make sure the petals were trimmed perfectly, continuing to cut round and round . . . until I trimmed them too much. Sometimes folks, we need to just let it go !
Happy Sewing!
gloria june