
Peek-a-Boo Southwest Dress
/I am always looking for simple pieces I can add to my wardrobe. I love that this pattern has so many options! Our team has made several versions, so pick your favorite, get your copy here and get sewing! Plus, check out Trisha's alternate finishing method at the end of this post.
Do you have fabric in your stash you bought because you just loved it… and then it sits there waiting for the right project, and gets harder and harder to actually use? This is one of those stories. I first spotted this cute fabric at Purple Seamstress about a year ago…
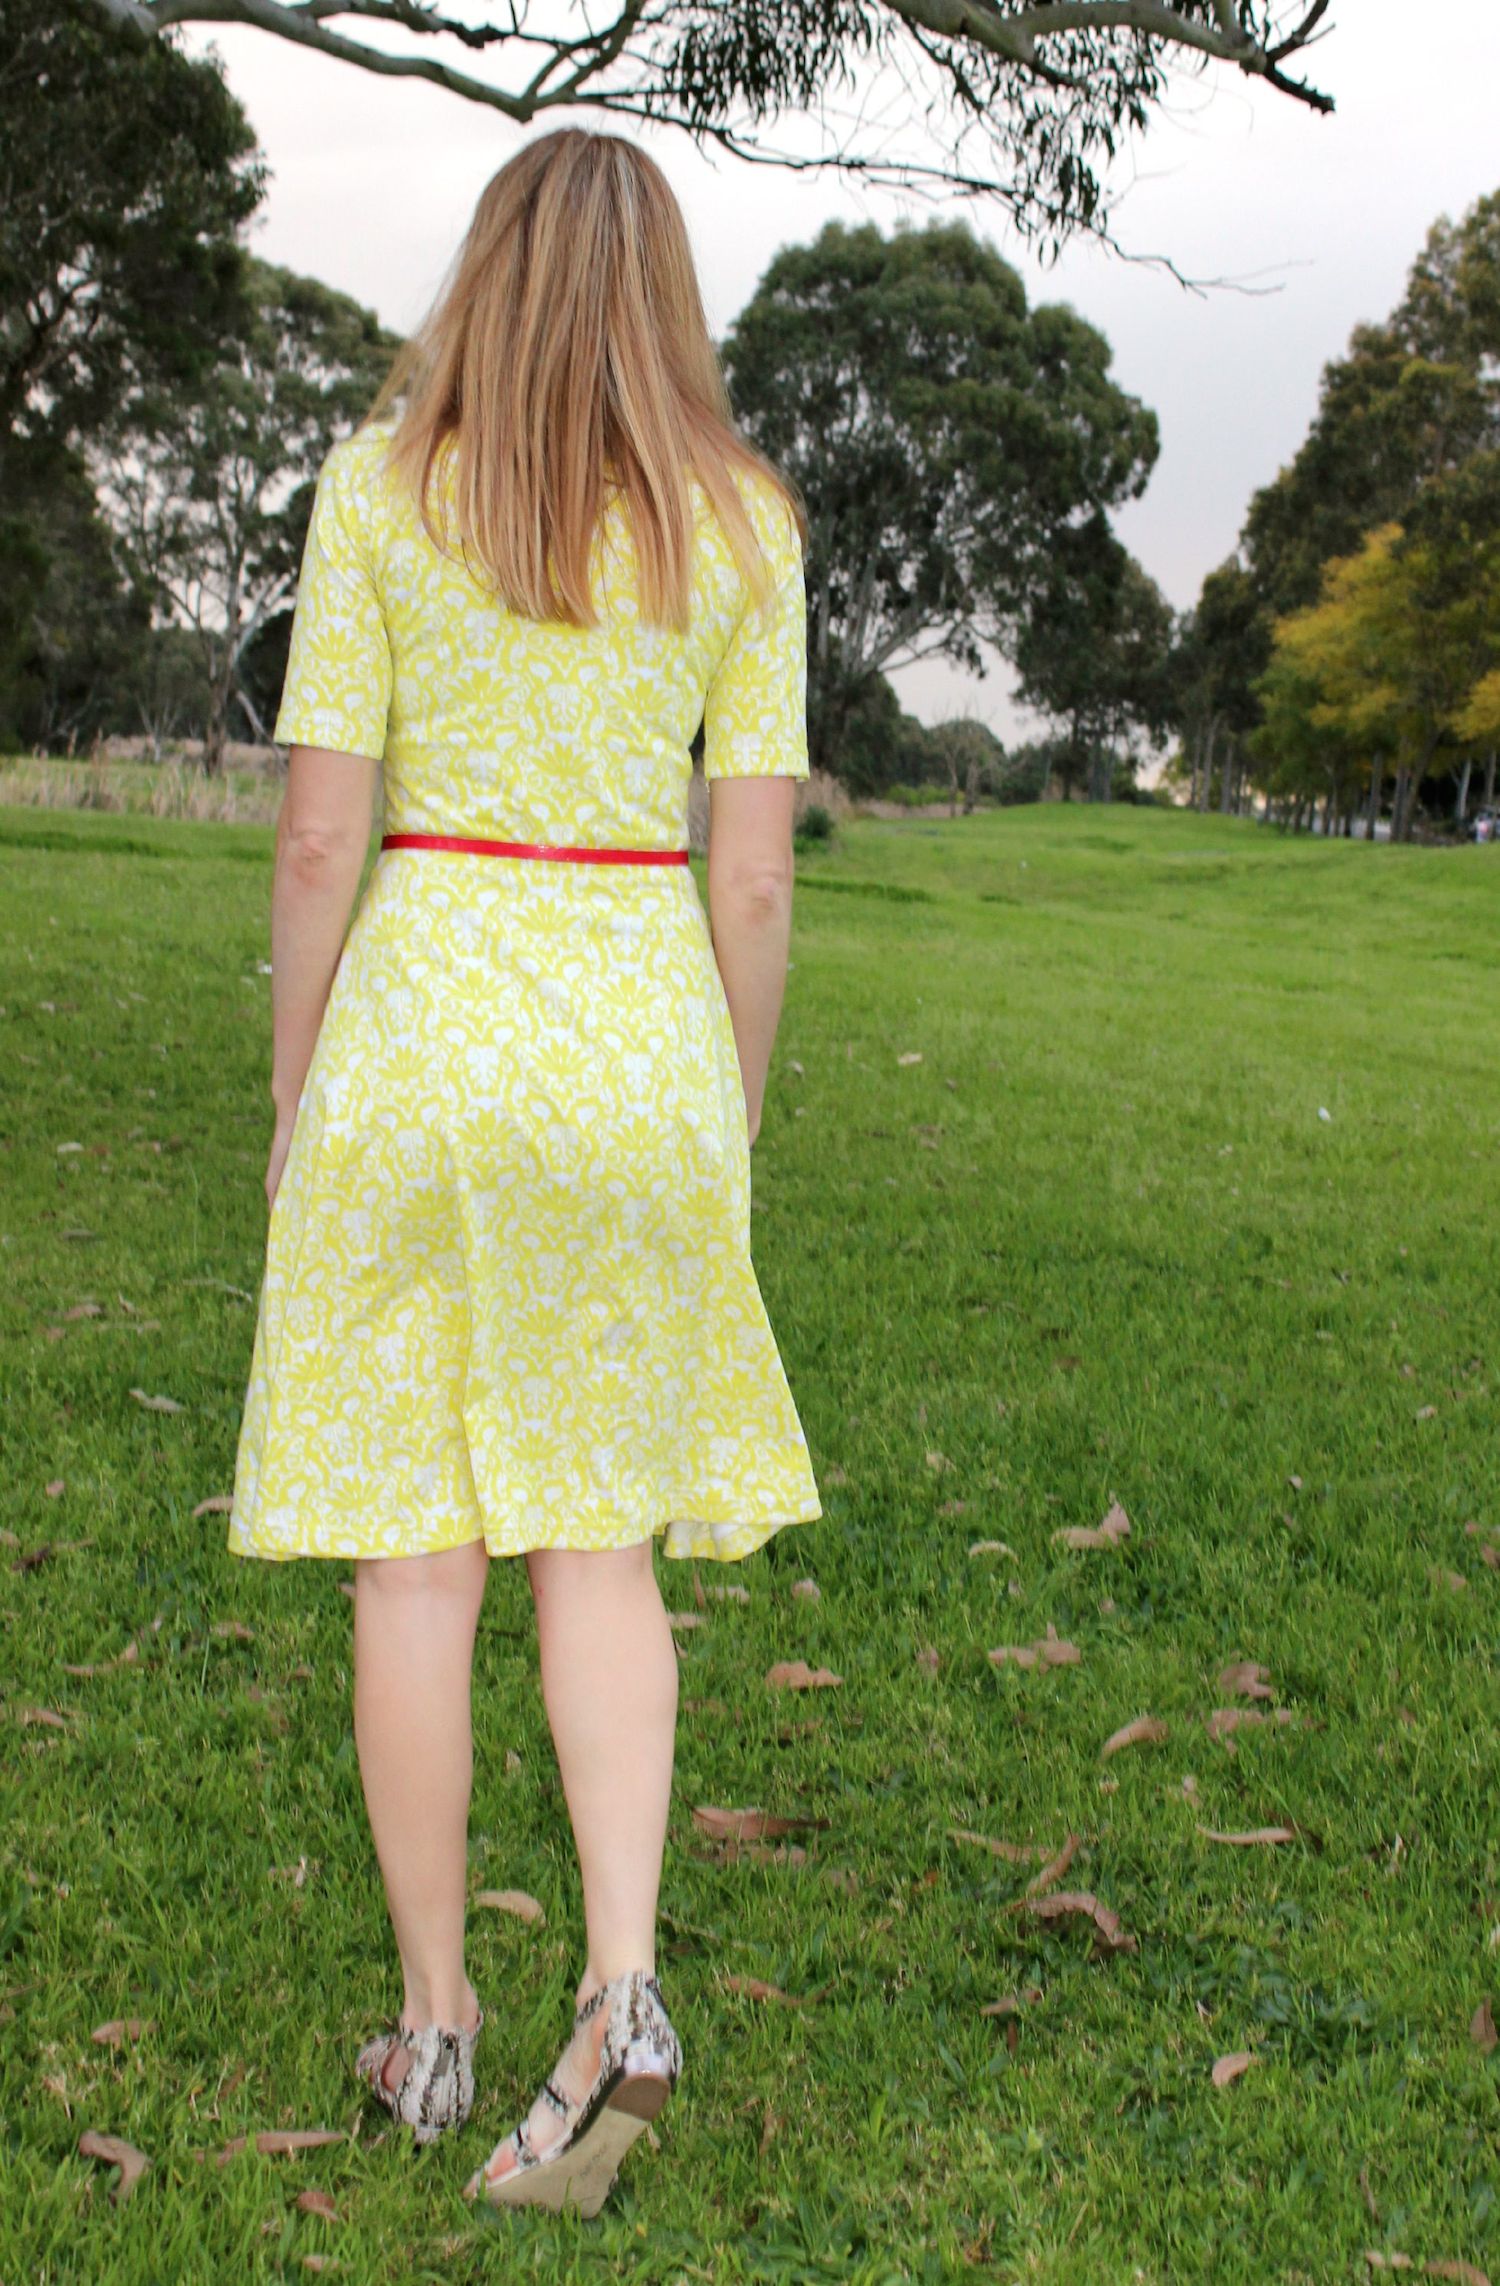
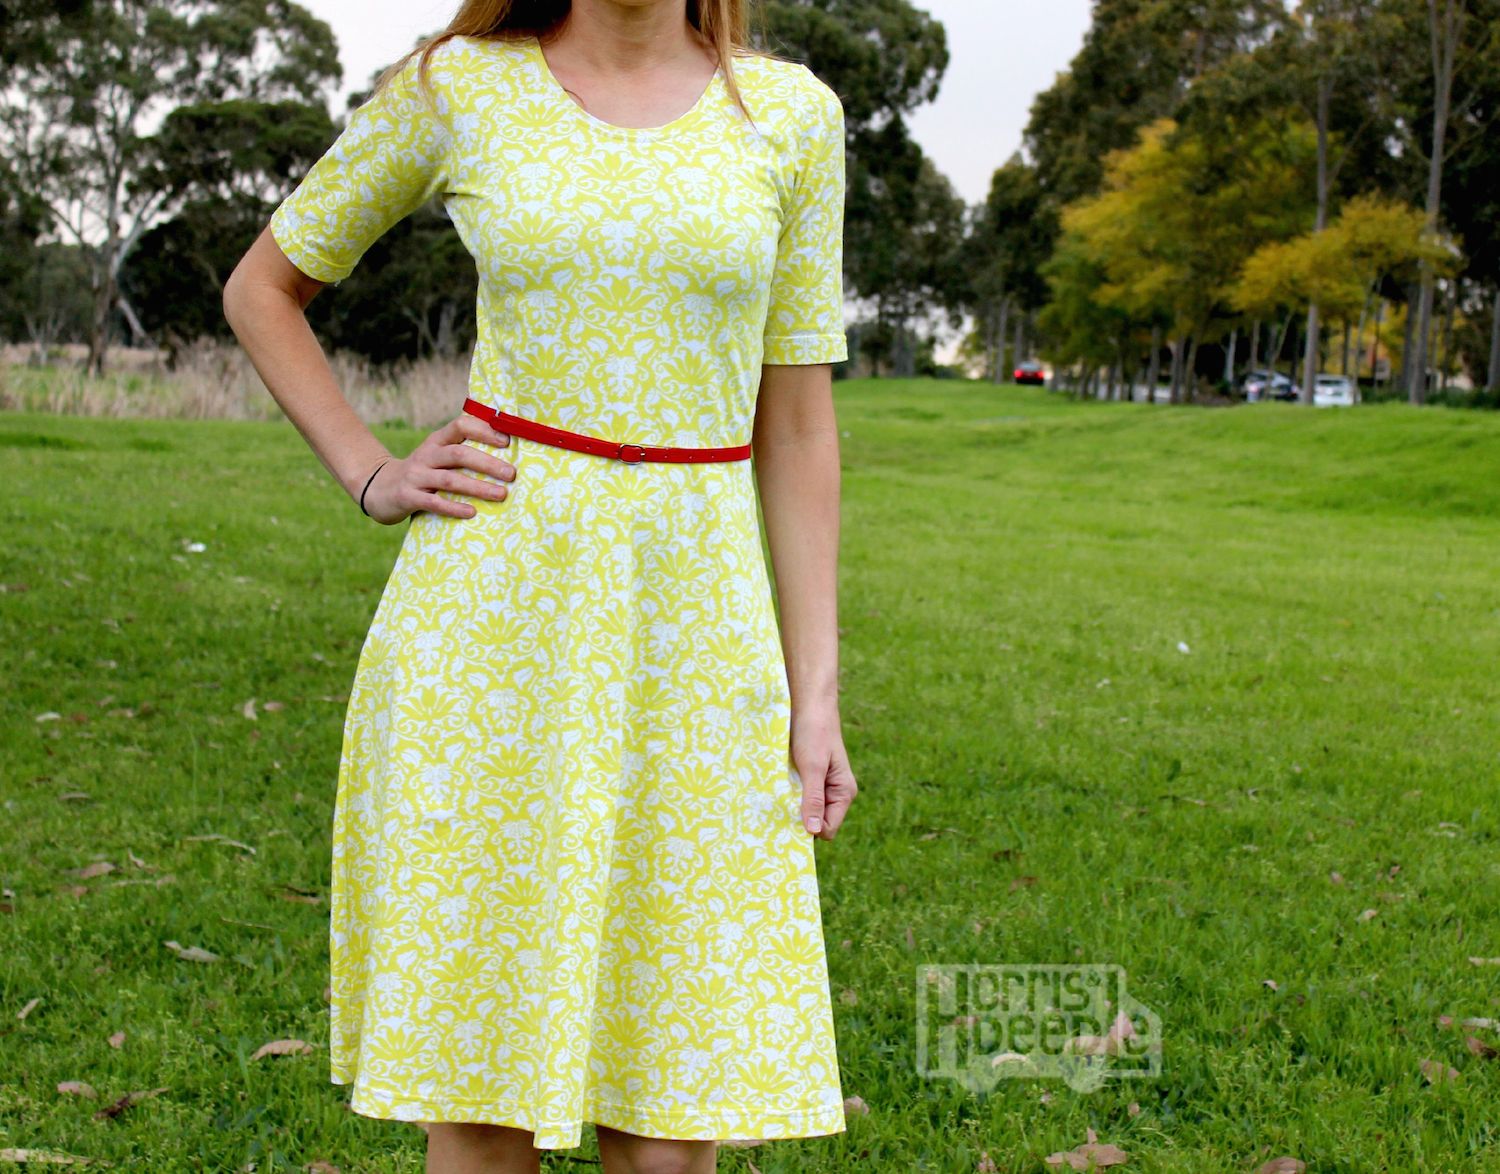
I loved it, but wondered whether it would be too young for me to wear as a dress for myself. I showed a friend the photo and asked what she thought - we agreed it would work as a simple summer dress, and she suggested it would be amazing with a skinny red belt. So I bought the fabric, and the same week found the perfect skinny red belt - and they have been sitting in my stash and wardrobe respectively since then, unworn. I’ve considered using this fabric a few times, but it never felt quite right. Then I saw the new Southwest Dress (and Top) from Peek-a-Boo Pattern Shop, and knew straight away that it was the one.
This is a really simple sew and comes together very quickly, with easy instructions and lots of great photos - one front bodice piece, one back bodice piece, and two skirt (or peplum top) pieces. The only part that is tricky is the binding around the neckllne (and armbands if you chose to do that for the short sleeved version, as I have here). This is about my fourth time sewing knit binding (I often opt for fold over elastic or raw edges!), and I found the binding method and instructions in the pattern a little challenging, compared with methods in other patterns I’ve used, so I would use a simpler method for binding next time, such as the one included below from Trisha. I found the pattern fit true to measurements for me - I graded between two sizes to get the right fit, which was very easy to do. I did a quick muslin of the bodice first to check for fit - which is always worth doing. The pattern also provides a link to a full bust adjustment tutorial, if you need it.
The other thing to love about this pattern is how quick and easy the printing and taping part is - the bodice and skirt pieces are in separate sections (just 3-4 pages each for the bodice pieces) which means you don’t have to struggle with taping pages into one huge sheet. The skirt is cut from pattern pieces (not a rectangle), but is well worth it to get this lovely, flattering a-line shape. The pattern is all solid lines in different colors, but because there are so few lines in the pattern, you can get away with printing it in black and white if you prefer.
This short sleeved dress is going to be perfect for the upcoming spring/summer in Australia - and I’ll definitely be making a longer sleeved version for the cooler weather (the pattern also comes with options for elbow, ¾ and long sleeves).
So, here it is - my dress and fabulous skinny red belt together. What do you think? Always worth waiting for the right project, I reckon.
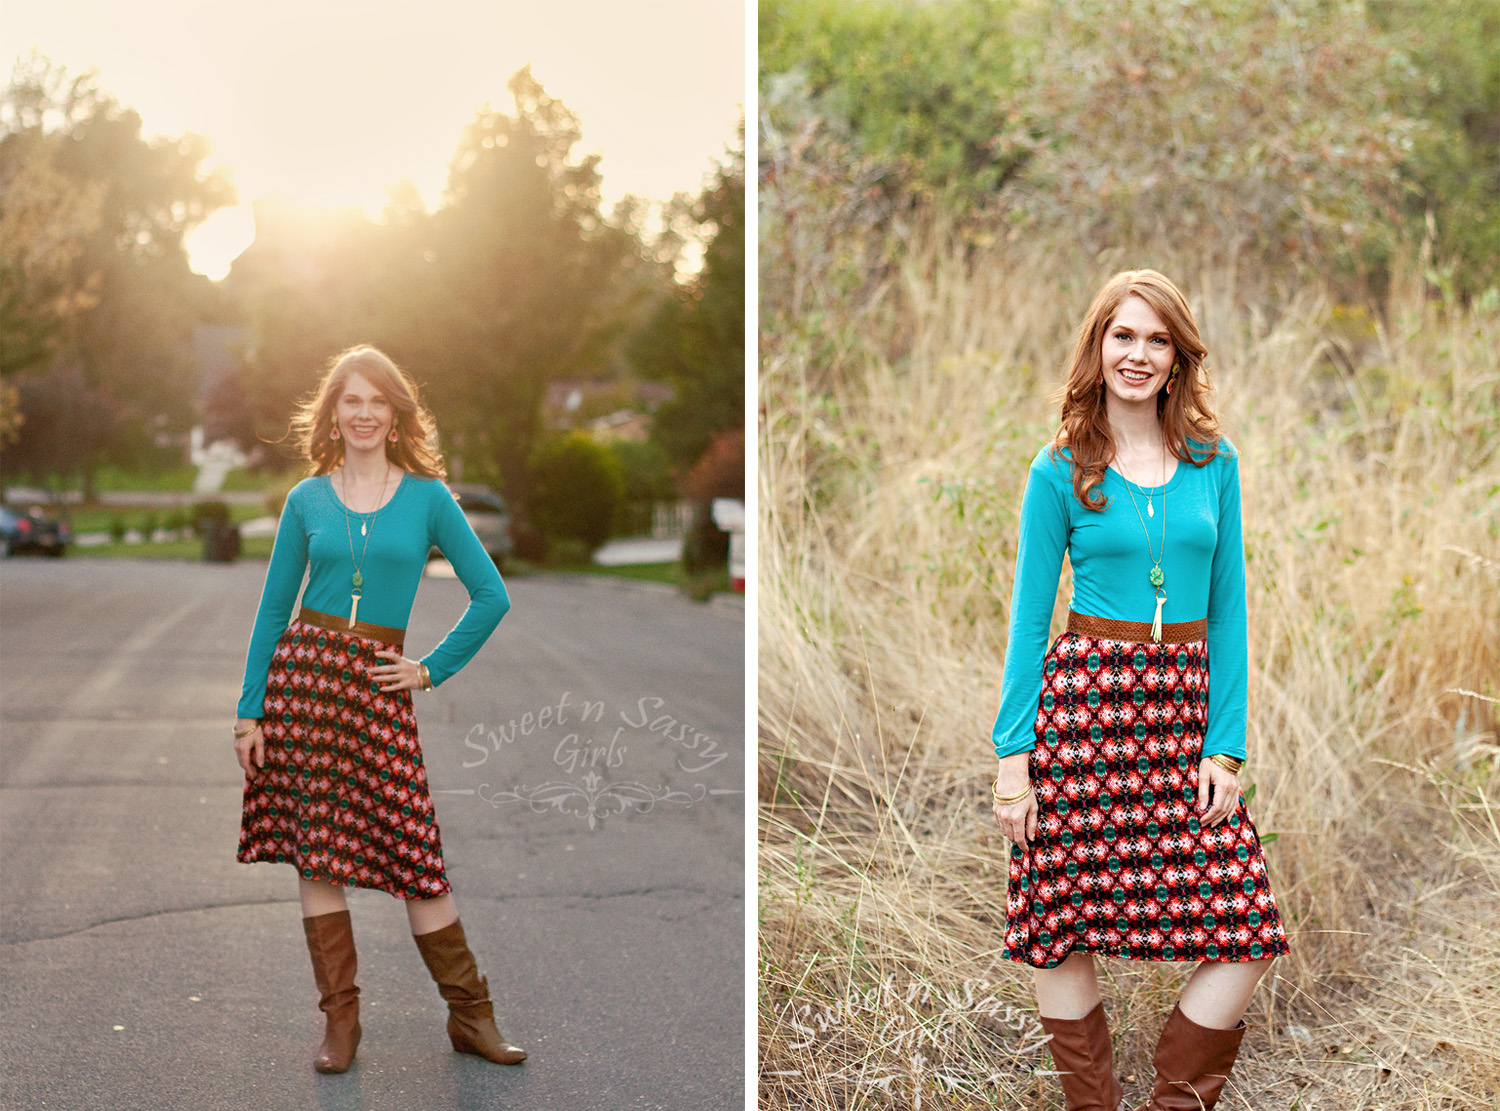
Check out all the options for this pattern! I see a few of these being added to my fall wardrobe for sure! Trisha, Marnie, and Nichole created some amazing looks!
Marnie


Nicole


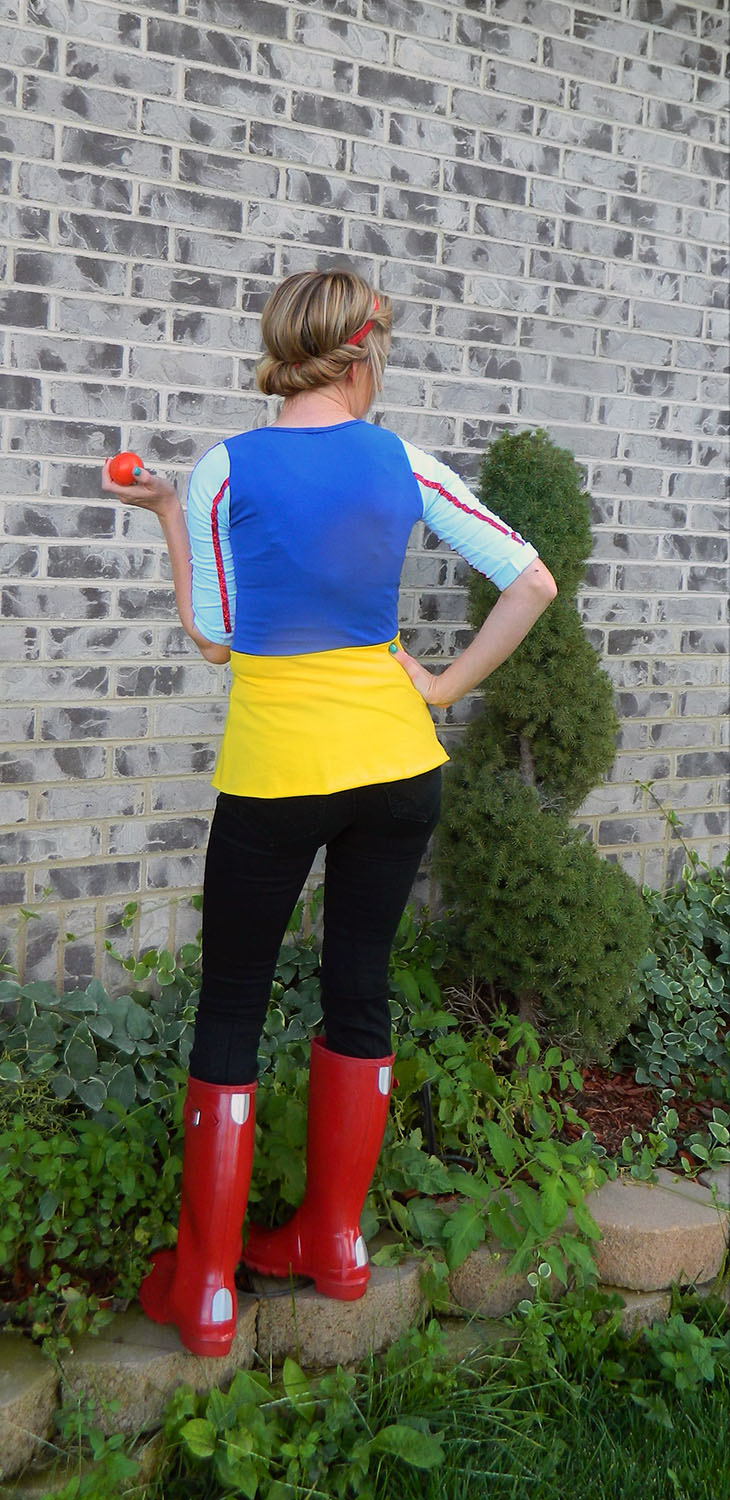
Trisha


lternate Finishing Method Tutorial
First you want to measure your neck opening on your garment. Measure all the way around the opening.
Then take that measurement and multiply it by .8. For mine, it was 26.75 inches around. So I take 26.75 x .8=21.4. Then I add ½ an inch for a seam allowance. So I come up with 21.9 inches. I cut a rectangle 21.9” long by about 2” tall. This becomes my neckband.
Next, fold this rectangle in half, right sides together, with the short sides touching and sew or serge the short sides together.
Then fold the neckband in half the long way with the wrong sides together and quarter the neckband. I like to mark it with pins or with clips. Quarter the neck of the shirt as well by finding the front middle and back middle, and then the sides of the shirt. Mark these the same way.
Now, match up the neckband to the shirt, with the seam of the neckband in the back. Pin the neckband onto the neckline with right sides together and the raw edges touching.
Last, sew or serge the neckband on making sure to use a stretch stitch if you use a sewing machine. You will stretch the neckband as you go, but try not to stretch the neckline of the shirt. Once it’s sewn on, press it well. You may topstitch the seam down if you like using a stretch stitch, or you can just leave it. And that’s it!

Click image above to purchase the Southwest Dress from Peek-a boo Pattern Shop.


