
How to make an epic costume for Halloween or Cosplay
/In honor of Halloween and the creativity it brings out, we are featuring a new guest on the blog. Chance explains how he uses patterns, foam and household tools to bring some of your favorite characters to life. Whether costumes or cosplay, his techniques and tips can help you kick your next project up a notch!
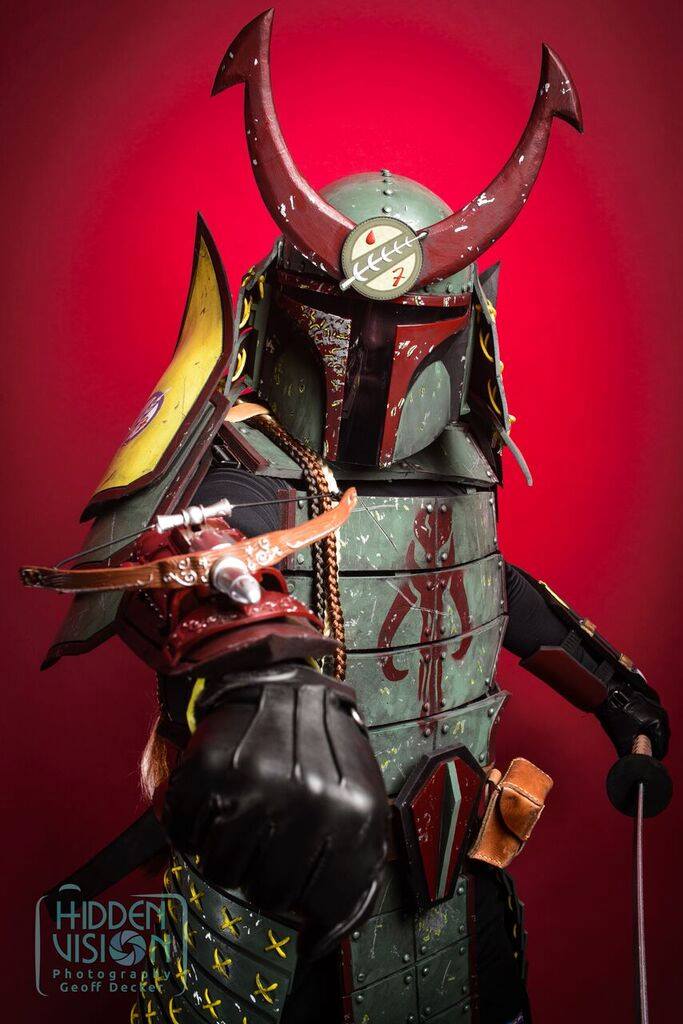
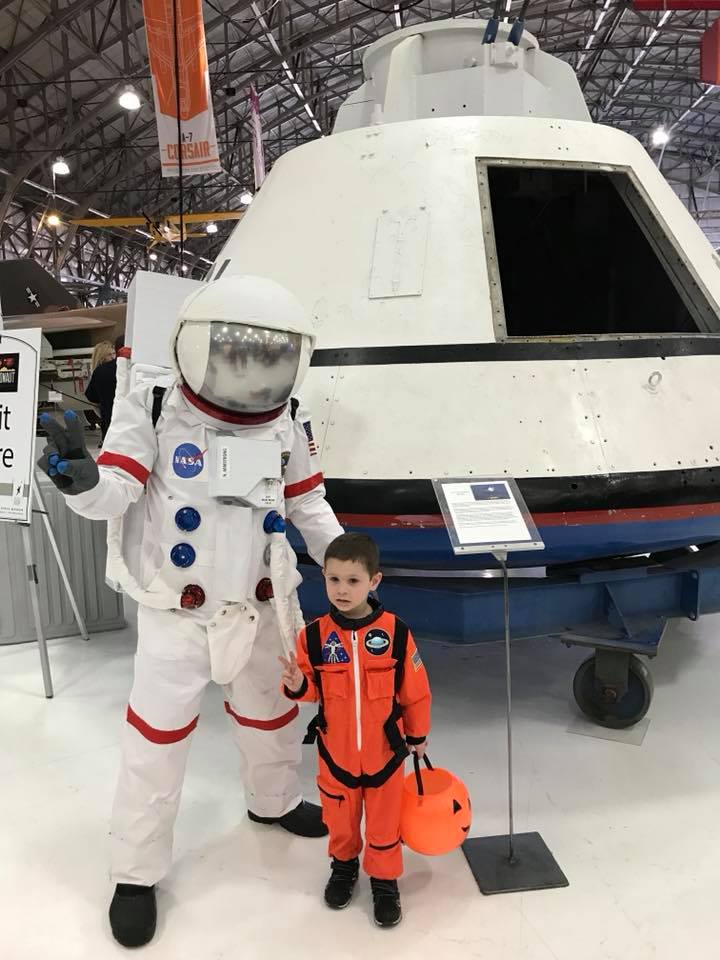
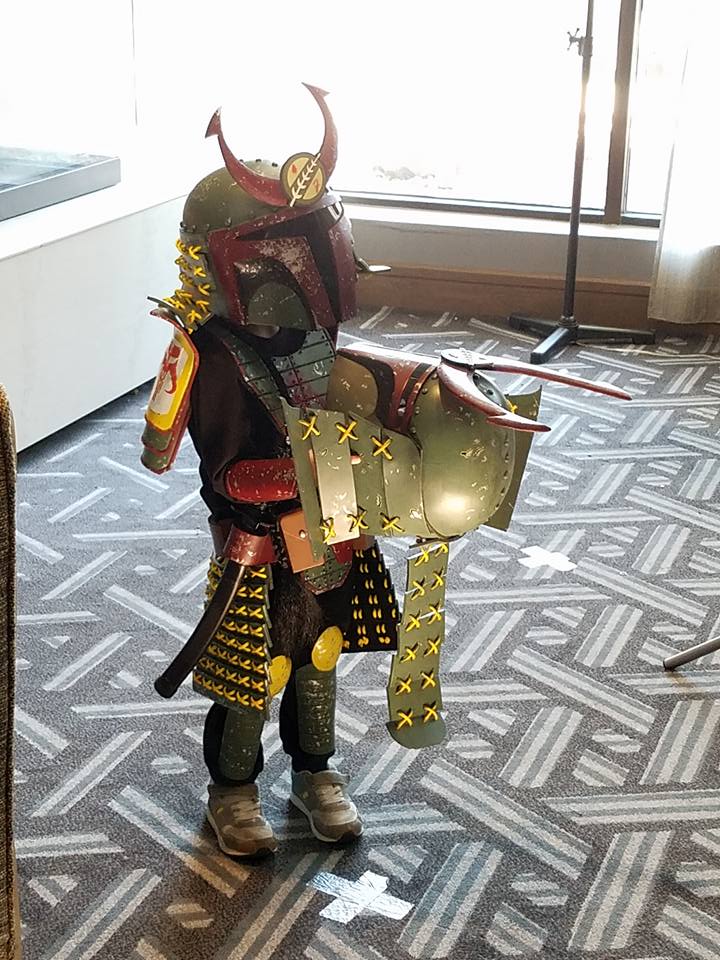
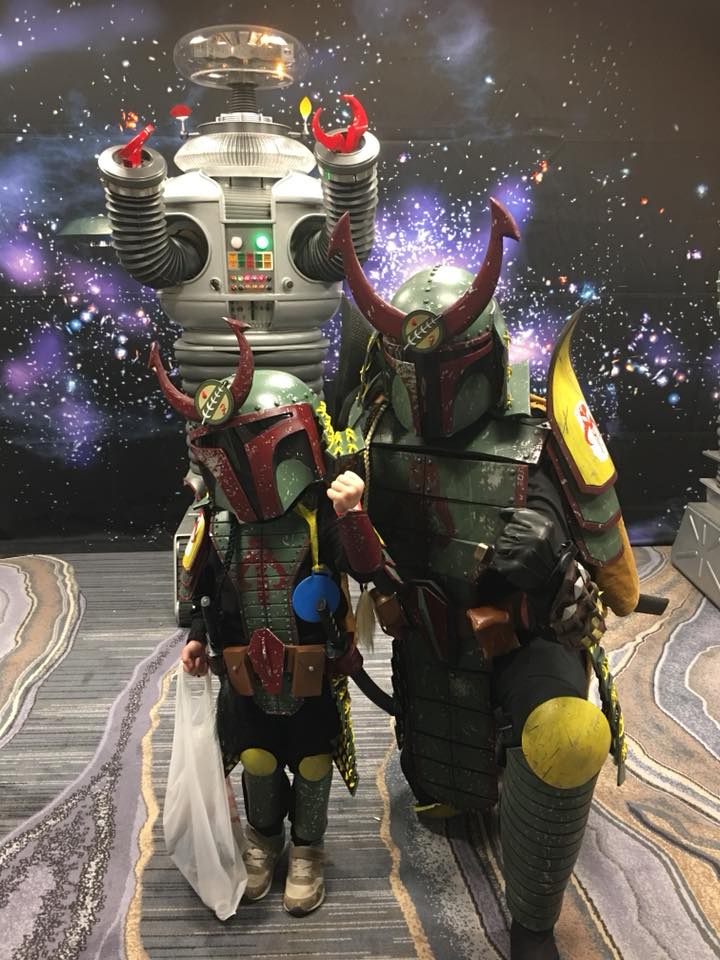
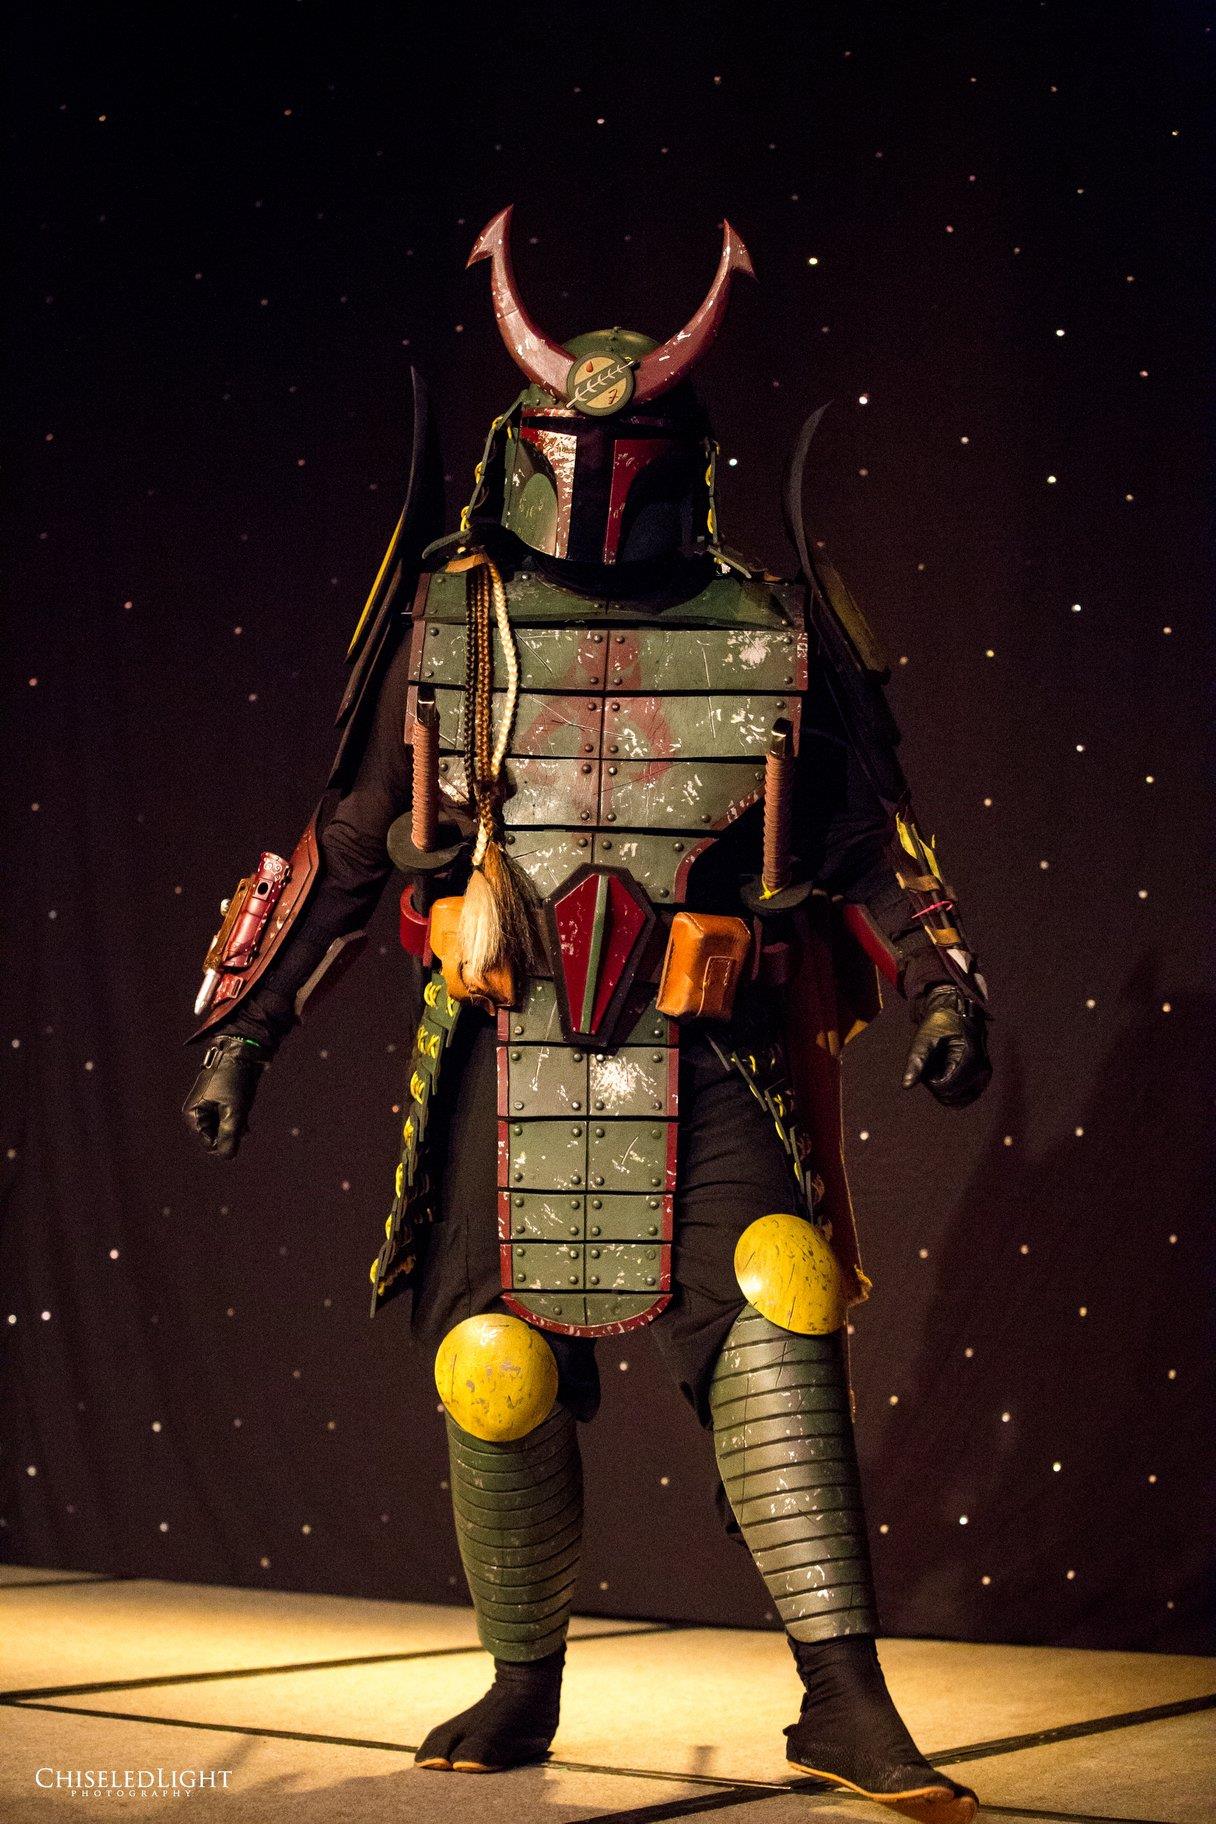
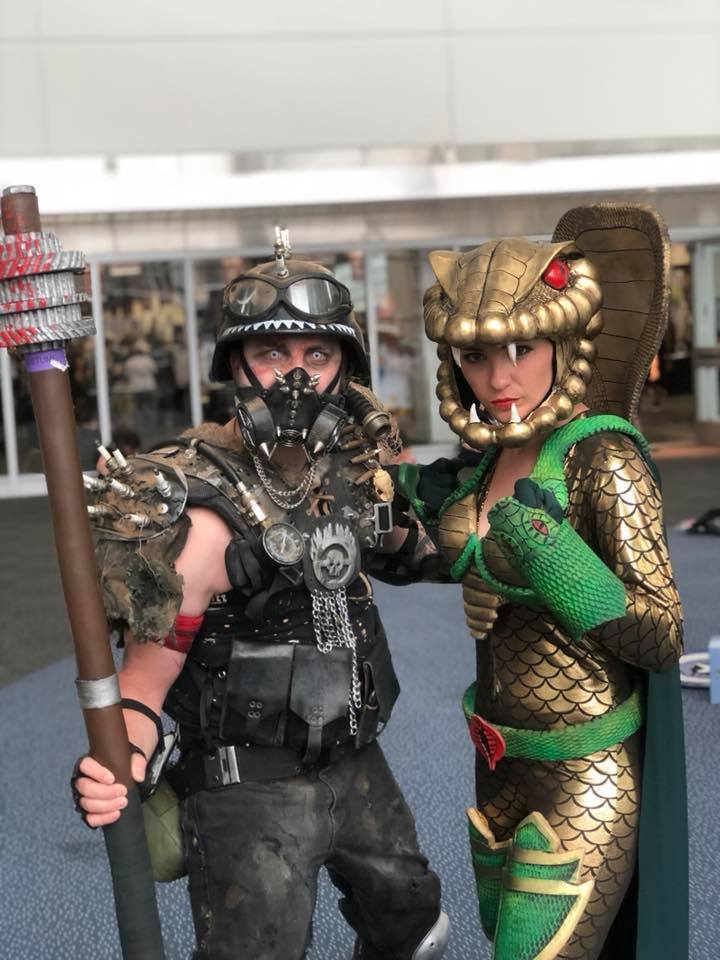
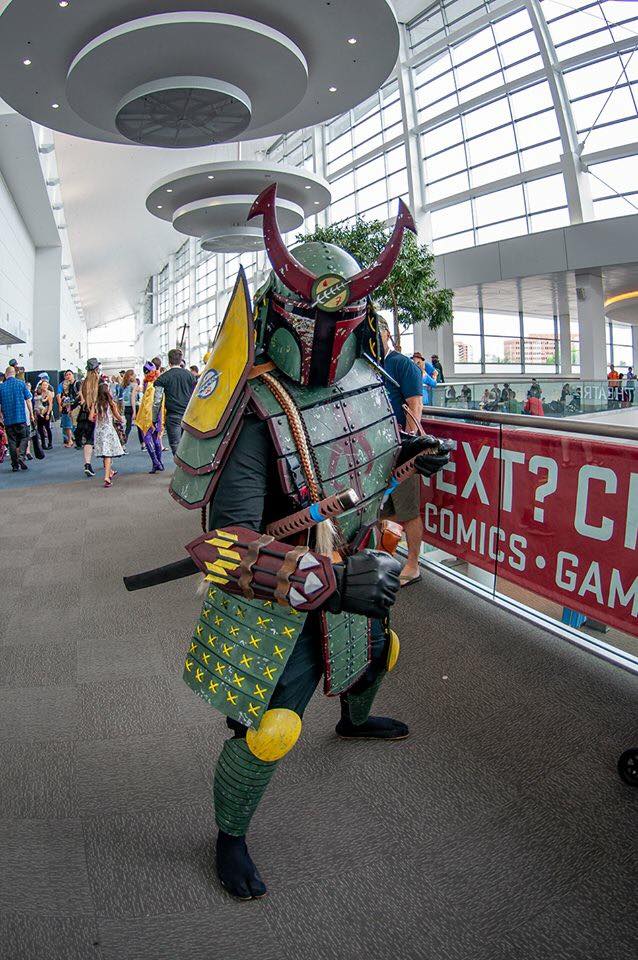
Halloween has always been my favorite holiday because it was the only time during the year when I could wear a costume! A few years ago, I was introduced to cosplay and the costumes that people wear to events called comic cons. The costumes, or cosplays as they are frequently called, can range from being very simple to incredibly complex! There are even competitions to see who can make the best! Needless to say, I was hooked and it wasn’t long before it became a family event that we look forward to every year.
When making a costume or cosplay, depending on what you are trying to make will determine what you use. A very popular medium that I am going to discuss is EVA foam (Ethylene-vinyl Acetate). This is readily found in varying sizes, colors, and thicknesses at craft stores. For thicker and larger pieces, foam mats are an excellent and cheap source! These can be found at places such as Harbor Freight, Home Depot, and Lowes. For the best-of-the-best, TNT Cosplay is a very popular supplier! They provide specialty foam in rolls, sheets, and thicknesses that you won’t find anywhere else. A few things that you will need when starting to work with EVA foam are a sharp hobby knife or box cutter, metal ruler, heat gun, contact cement or hot glue gun, and a marker.
Like sewing, patterns are your best friend when working with EVA foam! There’s multiple tutorials online on making different patterns and some can even be purchased if you simply don’t have the time or skill to make your own. I’ve resorted to this on more than one occasion! When working with foam, I usually cut out my pattern on poster board or card stock and use simple pins to hold them in place while I trace my design. After the design has been traced onto the foam, use a sharp hobby knife or box cutter and cut the foam at a 90 degree angle. EVA foam can dull blades quickly so it’s helpful to have the box cutters that have the break-away blades or multiple blades on hand for the hobby knife. For complex joints and with practice, you can also cut the foam at 45 degree angles depending on what you are creating!
EVA foam is full of tiny closed air cells that shrink when heat is applied. Using the heat gun not only makes the foam more pliable so that you can shape it for curves it also shrinks the air cells on the surface and that will aid you when it comes time to paint. Make sure that you do not hold the heat gun in one place for too long as this can scorch the foam or even worse, cause it to melt! You can also use a variety of everyday objects to help the foam get the desired shape. I find bowls are great for dome shapes and a baseball bat or rolling pin to get rounded curves.
Putting the foam pieces together is a relatively simple task. This can be accomplished using either a hot glue gun or a contact cement. I recommend contact cement as it creates the best bond and clean seams. Spread a thin layer of contact cement on each piece of foam that you are wanting to connect, let it dry until it becomes tacky but not wet to the touch, and carefully put the pieces together (note: please do this in a well ventilated area as the fumes can be toxic). Many people put reference marks on the foam to make sure that everything is lining up correctly during assembly. Hot glue is an option as well but it does not bond the foam as well and can come apart when it becomes warm not to mention it’s also quite messy!
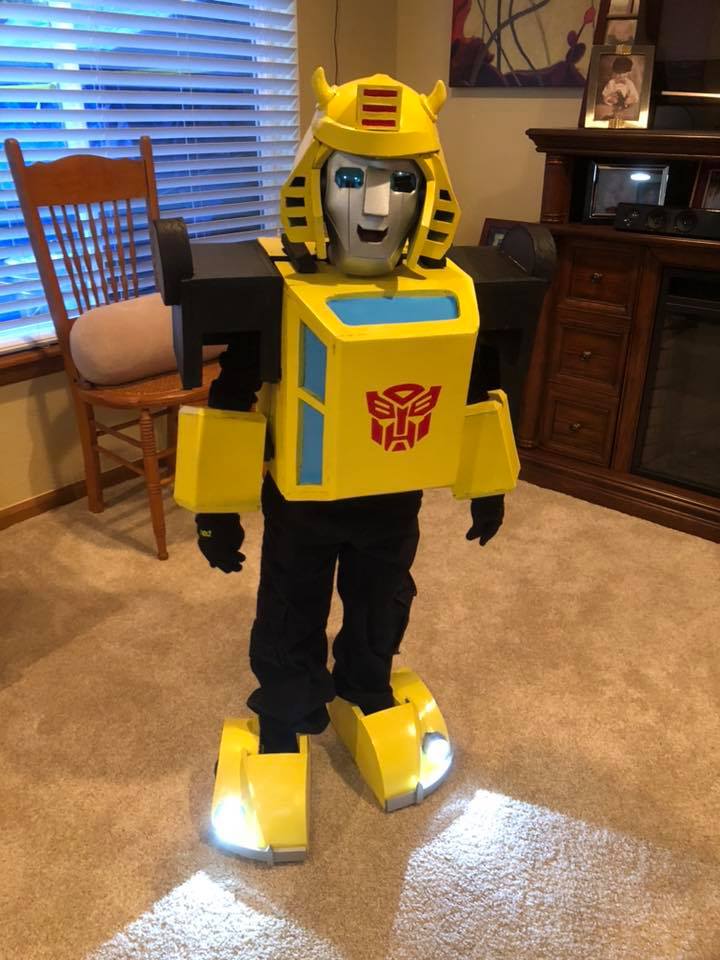
Painting EVA foam has its own challenges since it acts like a sponge to most paints. You can waste a LOT of paint without preparing the foam correctly! Using the heat gun to shrink the closed air cells on the surface is the first step. For the second step, I recommend a product called Plasti-Dip and it can be found at most automotive and hardware stores. This sprays a rubberized coating to the surface of the foam which will seal it to prevent the foam from absorbing your paint. The bonus is that this will also give a much smoother finish when painting. I’ve even had people mistake my foam for metal! After applying a few coats of Plasti-Dip (follow the instructions on the can) let it dry for about 24 hours before applying the paint of your choice!
There are many more resources online with advanced techniques and ideas on how to work with EVA foam with absolutely stunning results! Some of my favorites are kamuicosplay.com and eviltedsmith.com. Want to see even more amazing costumes? Just google Cosplay or Comic Con! EVA foam is a great medium that opens more doors to making incredible costumes!
Write here…


In honor of Halloween and the creativity it brings out, we are featuring a new guest on the blog. Chance explains how he uses patterns, foam and household tools to bring some of your favorite characters to life. Whether costumes or cosplay, his techniques and tips can help you kick your next project up a notch!