
Fold Over Wallet Pattern and Tutorial with the Cricut Maker
/This is a sponsored conversation written by me on behalf of Cricut. The opinions and text are all mine. This post contains affiliate links. If you use my links to make a purchase, I receive a small compensation (at no cost to you).
Fold Over Wallet Tutorial and Pattern
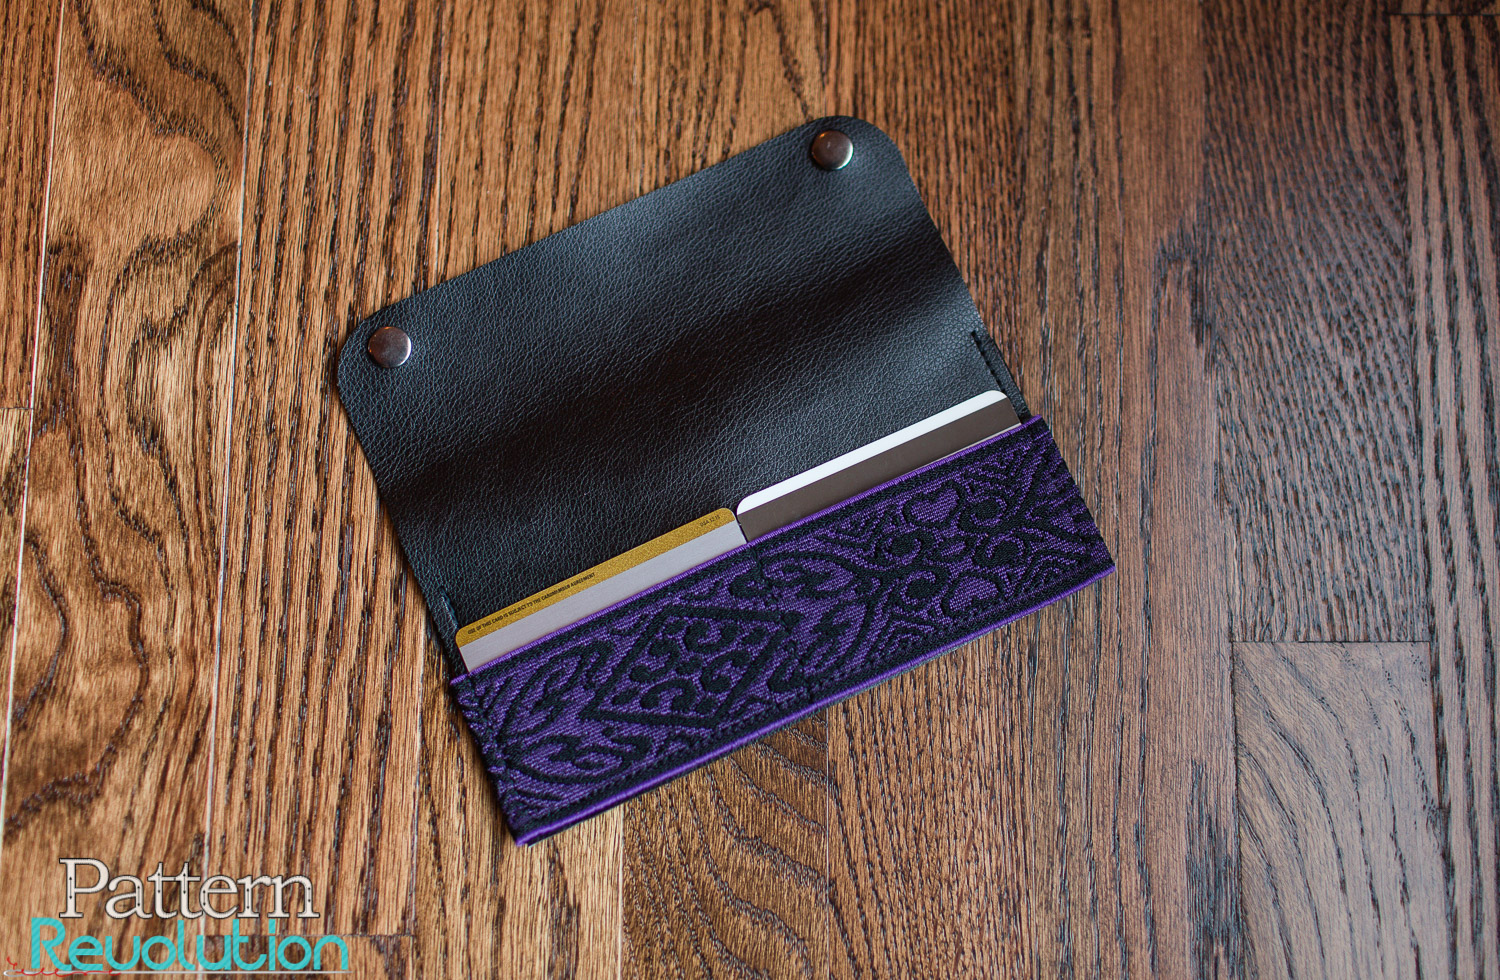
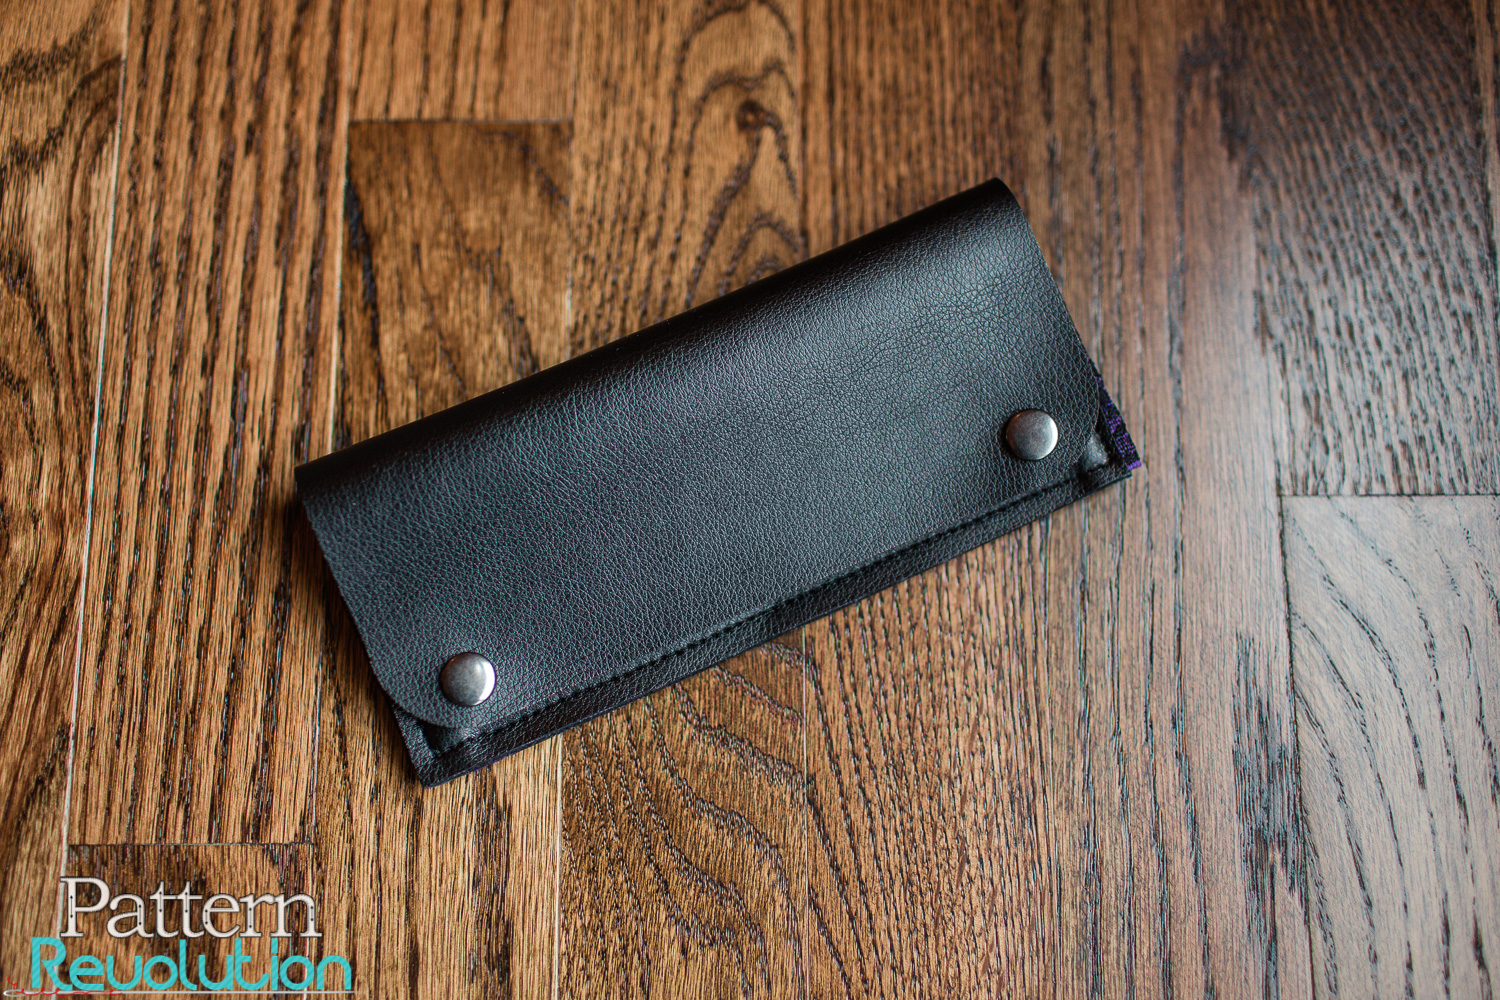
If you are like me, you carry a purse (or more like a huge bag in my case!) and a wallet and much more everywhere you go. Between the kids, the dog and life in general, I always have a ton of stuff I am taking along. But sometimes I need to just take a little cash, an ID, a credit card, and be out the door. Today I am sharing a pattern and tutorial for a wallet that is perfect for just that! It features a fold over, snap closure front and elastic pockets for the back that are perfect for holding credit cards.
I was recently asked to try out the new Cricut Maker machine and decided it was a great opportunity to make this wallet. One reason I wanted to try this design on the Cricut Maker is because it needs to have very clean cuts around the edges of the pieces; cuts that my unsteady hand would not have been able to make nearly as well. I was also eager to see if the Cricut Maker could handle the vinyl and leather I wanted to use for the wallet and I was not disappointed! I made the wallet with both a heavy upholstery vinyl and the Cricut Genuine Leather. The Cricut Maker easily handled both materials with ease, much to my delight!
For my project, I used the rotary blade and the fabric marker in my Cricut Maker. The rotary blade cuts easily through all types of fabrics and makes amazingly accurate and smooth cuts. The fabric pen is washable and is able to quickly mark cutting or stitching lines right onto your project. For this project I used the fabric marker to mark the placement of my snaps, which ensured that they were exactly in the right spot and lined up for my wallet.
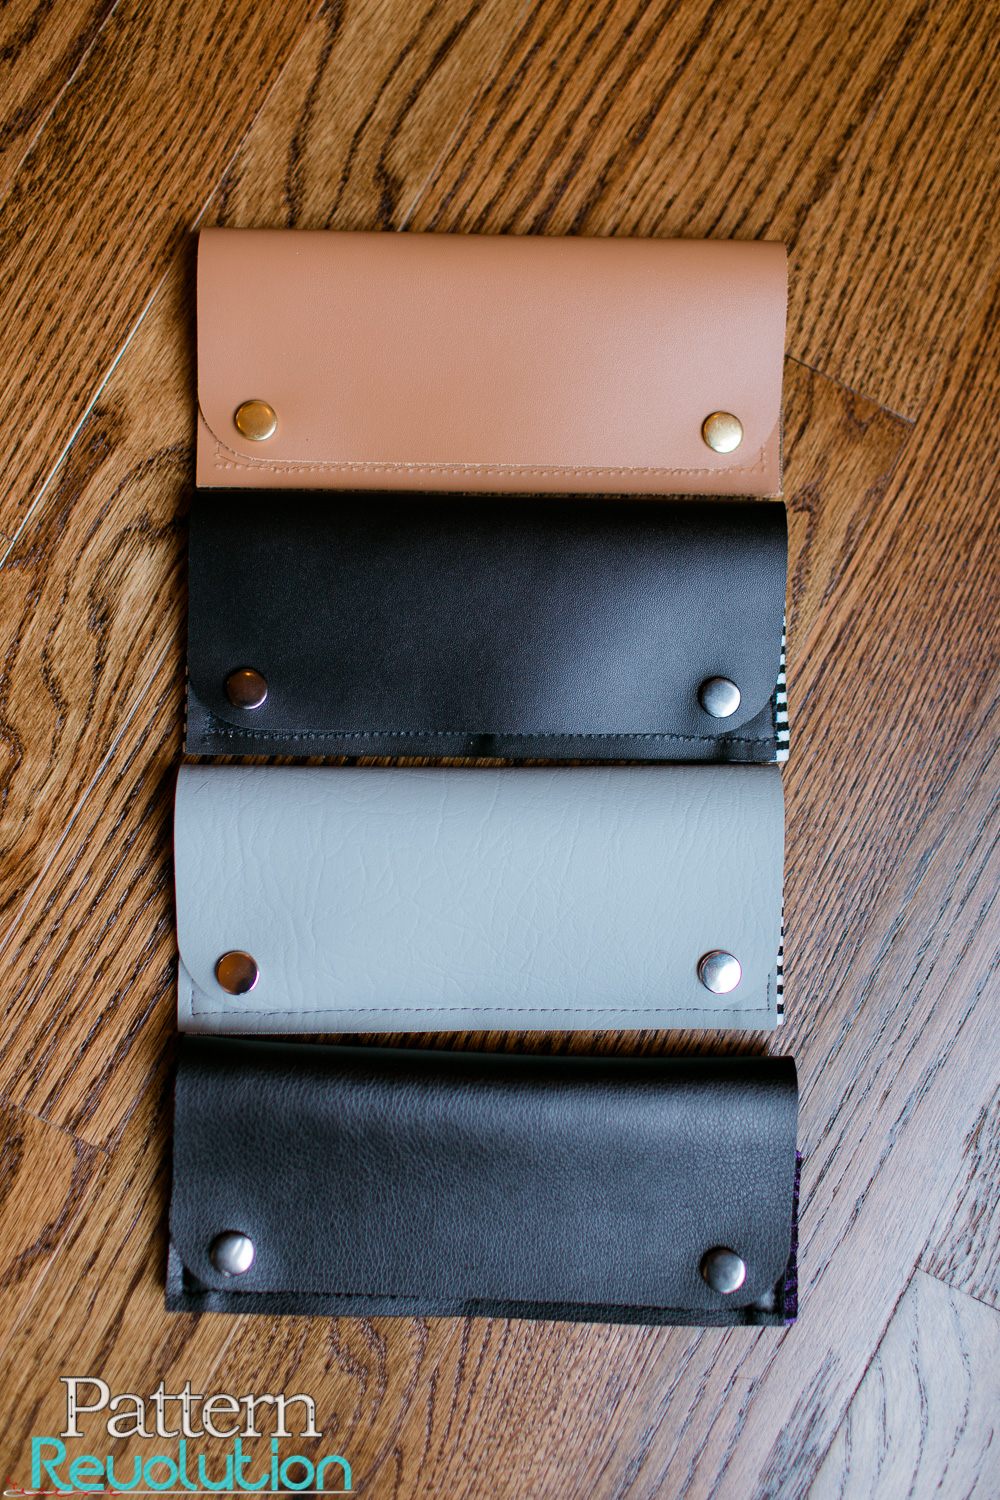
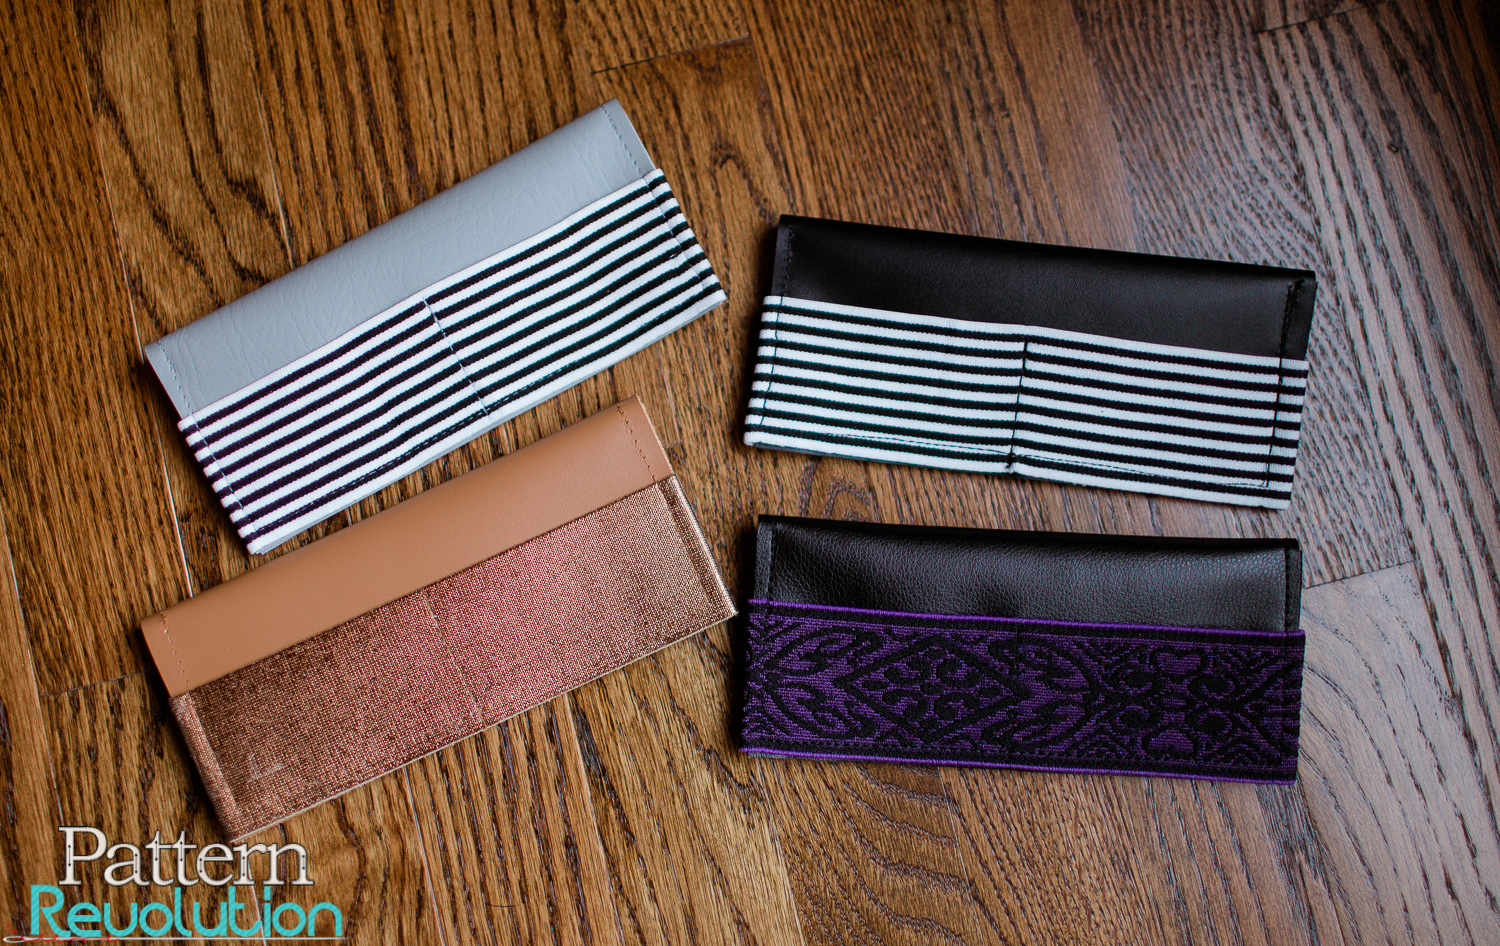
I am so excited about how my wallets turned out! I paired the different materials with fun wide elastic that I found here and here. I can't wait to make a few more for gifts and maybe even add embroidery or iron on vinyl to the front of them. If you are ready to make your own wallet, the complete tutorial is below.
Fold Over Wallet-Upholstery Vinyl
Fold Over Wallet-Cricut Genuine Leather (Black and Camel)
Pattern and Tutorial for Wallet
Supplies:
- Wallet Pattern
- 11"x11" upholstery vinyl or leather
- Snaps and a snap setting kit
- 2" wide elastic
- Leather machine needle
- Heavy duty thread
Once you have downloaded the pattern, you can follow the tutorial below to load it and apply the correct settings in Cricut Design Space.
Alteratively, you can use the PDF pattern pieces to cut out your wallet pieces. Remember to mark the two circles on your pieces for placement of the snaps.
Next, you will want to set your snaps following the directions of your snap setting set. I used this set, which I liked because it had a variety of colors for the different materials I was using. You'll want to set the snaps with the decorative outer side of the female snap on the right side of the large piece and the outside of the male snap on the right side of the small piece.

Once your snaps are set, cut an 8" piece of the 2" wide elastic. Line the elastic along the straight edge of the large piece, with both pieces right side up.
Measure 3.5 inches from one edge of the large piece, and sew a seam from the bottom of the elastic to the top of the elastic. This creates the center seam of the credit card pocket. I just measured this while I was at my machine and lined up the needle to my 3.5" mark since you cannot use pins on leather. You can use wonder clips to hold the elastic in place, making sure the bottom edges are aligned.

Now you will turn the large piece right side down and fold the edges of the elastic over. Then layer the small piece on top, wrong sides together, sandwiching the edges of the elastic in between. Use clips to hold the pieces in place.

Finally, sew the pieces together, using a 1/4" seam, starting at the top edge of the small piece, down and around the bottom, them back up to the top edge of the other side of the small piece. You will want to sew carefully, making sure the edges and elastic stay in place and lined up as you sew.

And that is it! You are ready to use the wallet for a night out, or errands around town!
I'd love to see what you make with this pattern! Follow us on instagram and tag @patternrevolution on your project shares!
Thanks for following along, and if you have any idea for future projects you'd like to see, leave us a comment below!
-Sarah
This is a sponsored conversation written by me on behalf of Cricut. The opinions and text are all mine.


Free Download compliments of Cassie at Little Lizard King.