Sewing for Halloween: Candy Corn Coasters
/
Today we continue our feature on Halloween with this super cute Candy Corn tutorial by Laura. Not only is this a cute holiday craft its also a great scrap buster!
Read More
Pattern Revolution Blog- PDF Pattern Sales and Promotions, Free Sewing tutorials, techniques and advice.
Today we continue our feature on Halloween with this super cute Candy Corn tutorial by Laura. Not only is this a cute holiday craft its also a great scrap buster!
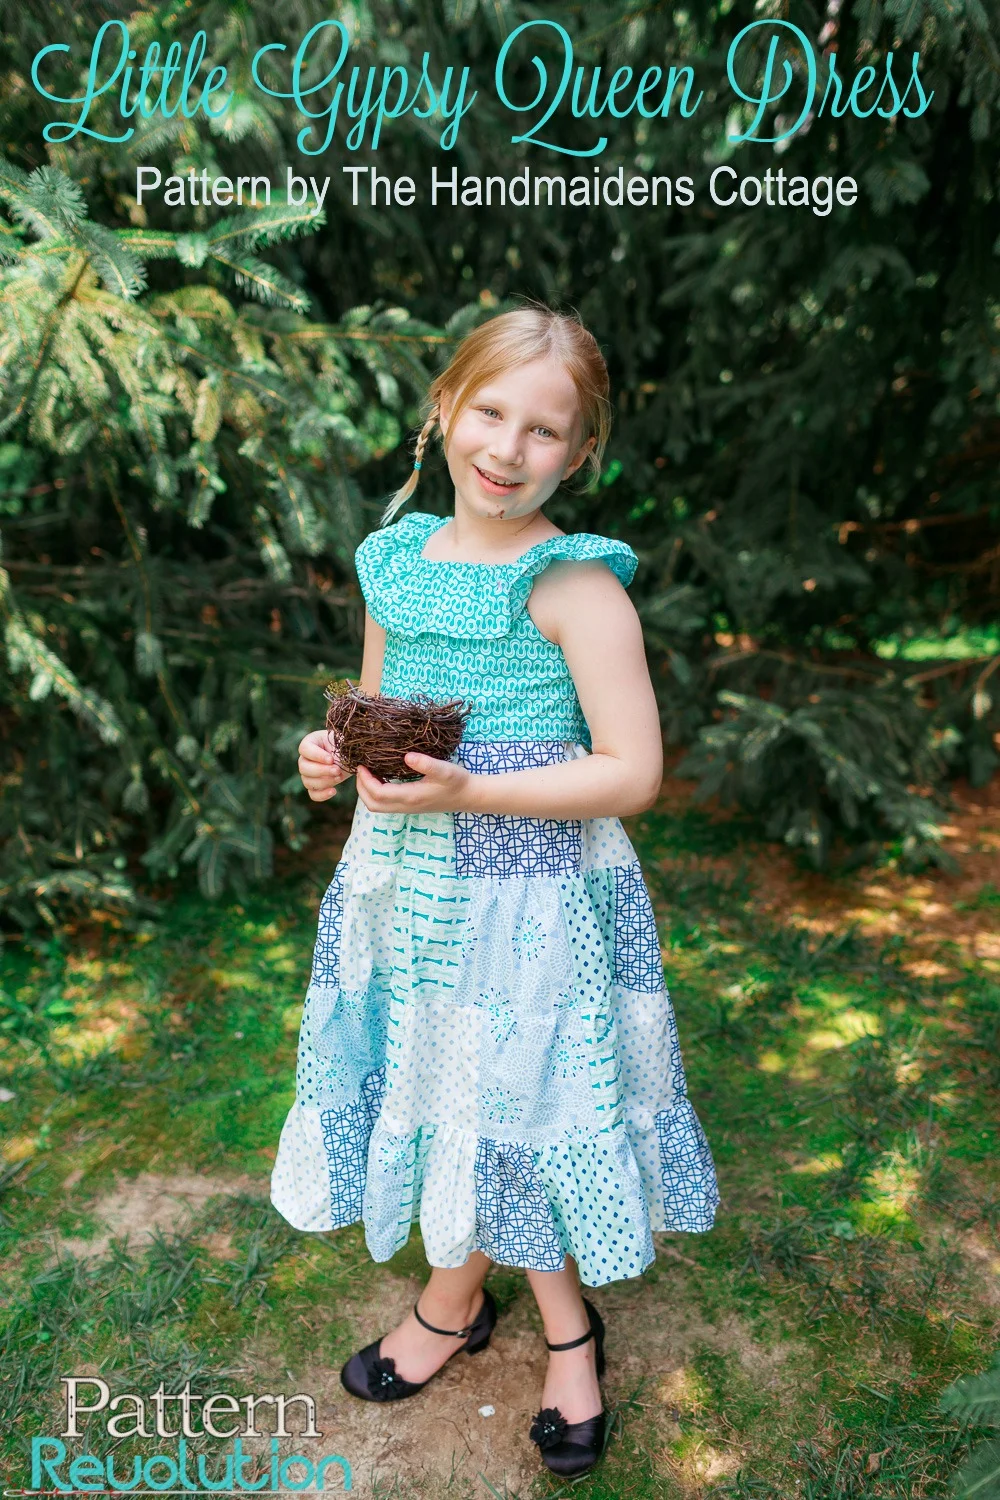
Read MoreToday we are sharing an adorable dress with a skirt that is WOW-worthy! The Little Gypsy Queen Dress from Handmaidens Cottage. Plus we have a 50% code for you to save on the pattern!
Read MoreWhat do you do with all of your scrap fabrics?!? When you really think about it scraps are really versatile. Sometimes I use them to make baby clothes, sometimes my kids use them to practice sewing but today I'm going to show you how to make a scrap wreath!
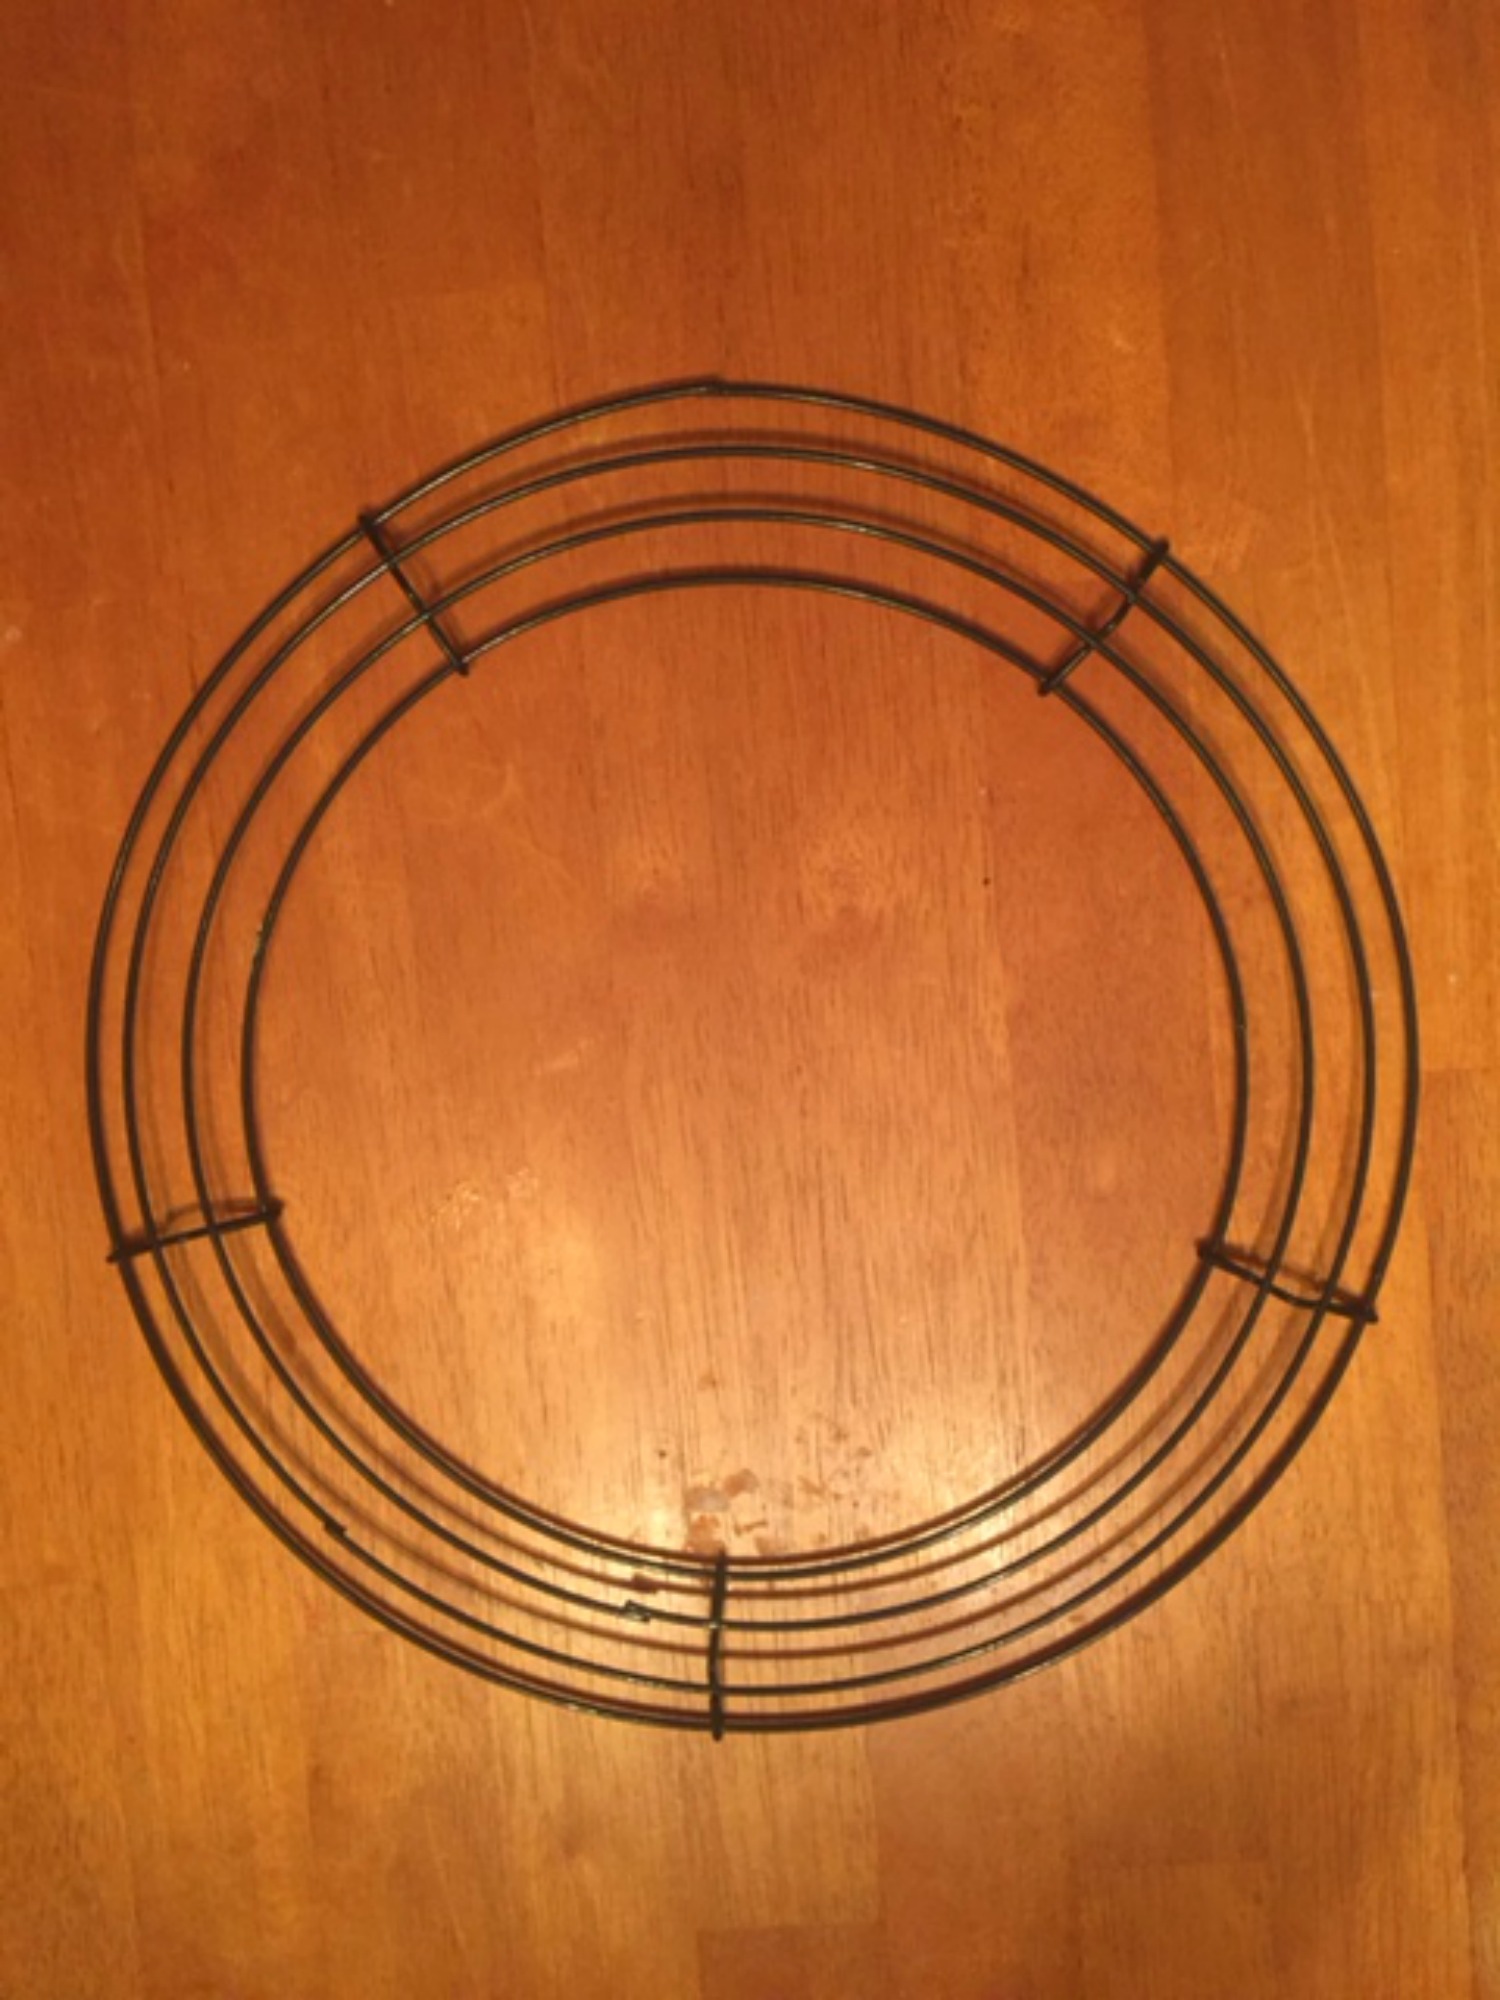
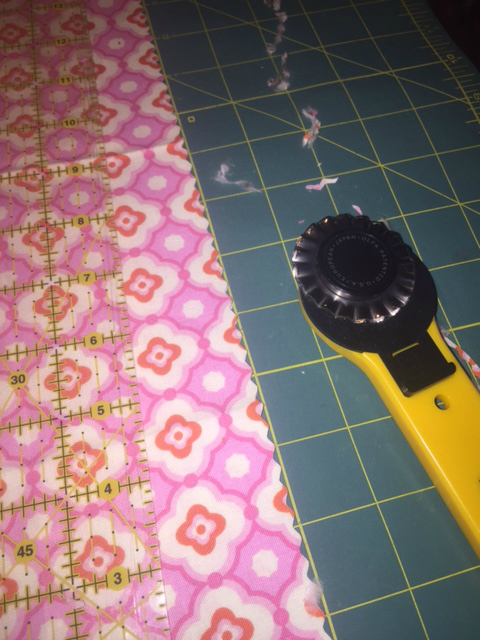
First gather your supplies, you need pinking rotary cutter, scraps and a wire wreath. For this project I decided to use all pink scraps so my wreath would match my sewing area.
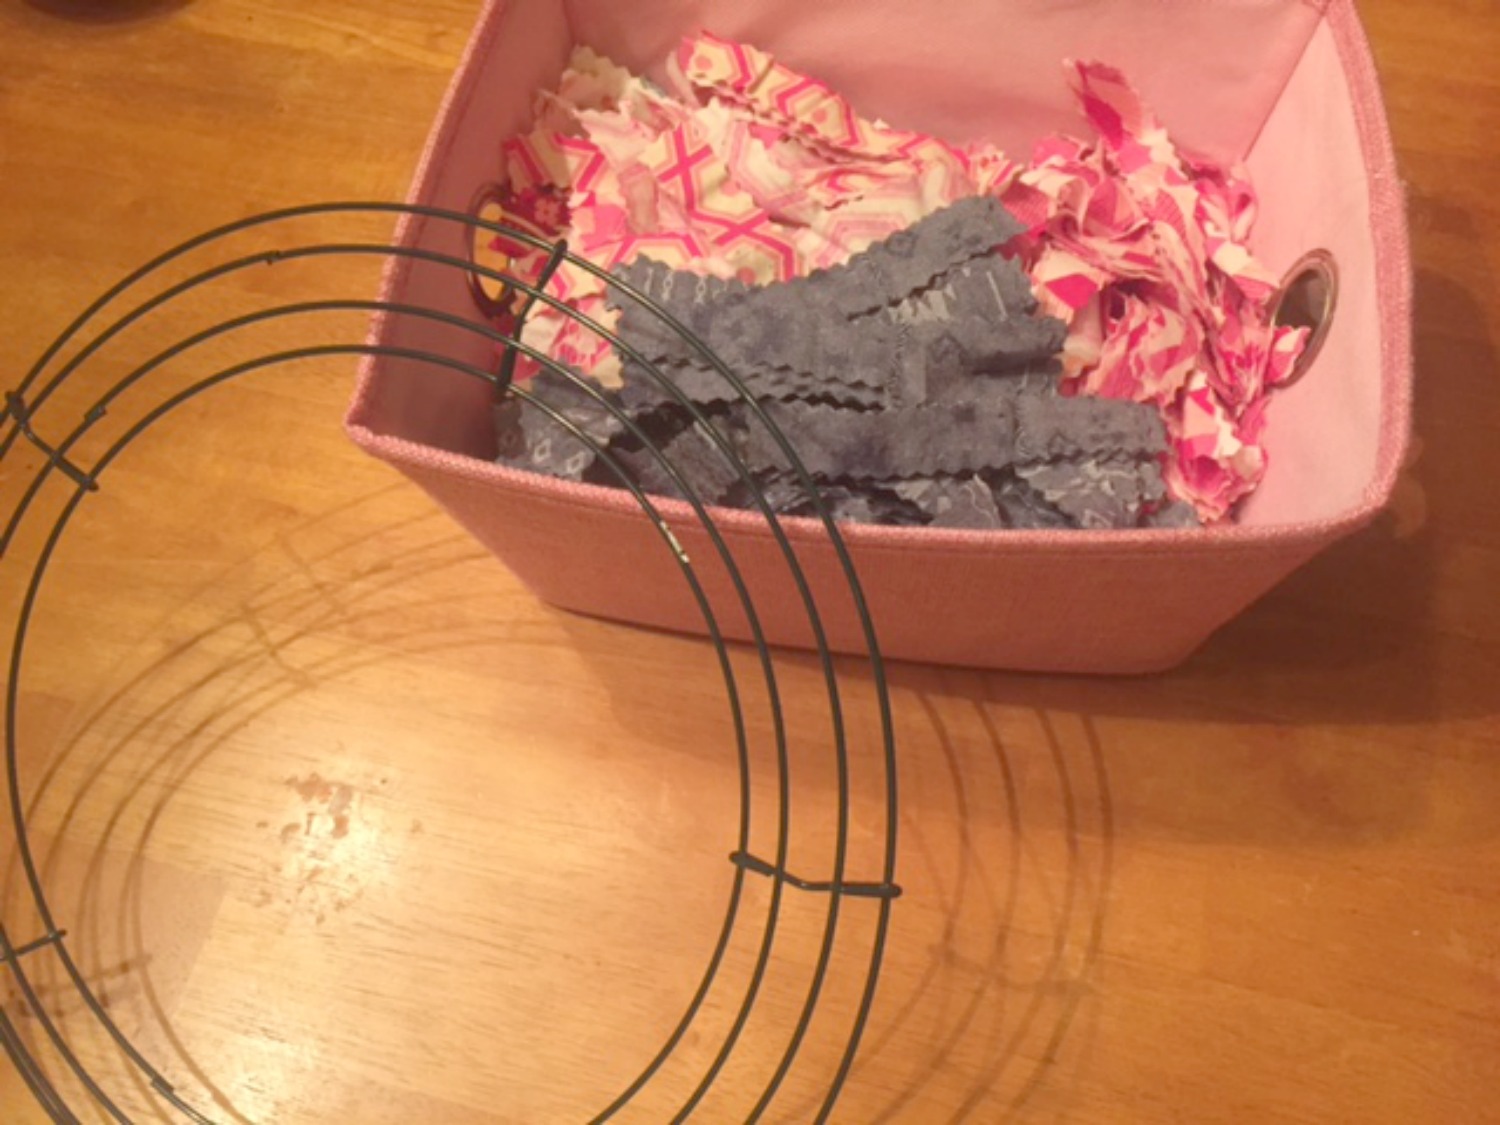
Now let's get started
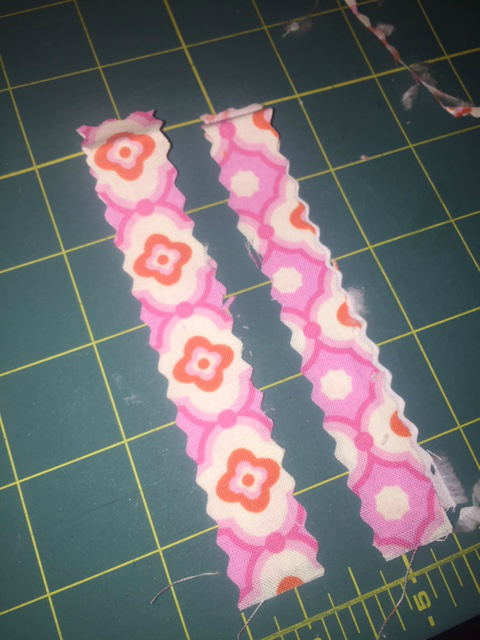
1. Cut scraps into 5” x 3/4” strips
2. Then tie the strips around the wires of the wreath. I prefer to make my wreaths full so I push the strips together and I tie them to each wire on the wreath.
That's it, you're finished!
Hey everyone!! Now that we all have our back to school wardrobes, it’s time to add some accesories. My daughter loves wearing headbands but they can really start adding up so I end up making a lot of them. I got a nice pile of scrap fabrics sent to me and they were the perfect selection for headbands. The first one is super quick and easy to make.
Supplies:
Headband (you can buy them in lots on Etsy or just reuse your daughter’s old ones)
Scrap fabric
Buttons, beads, jewels, or other findings
Glue gun
Millinery leaves
Step 1:
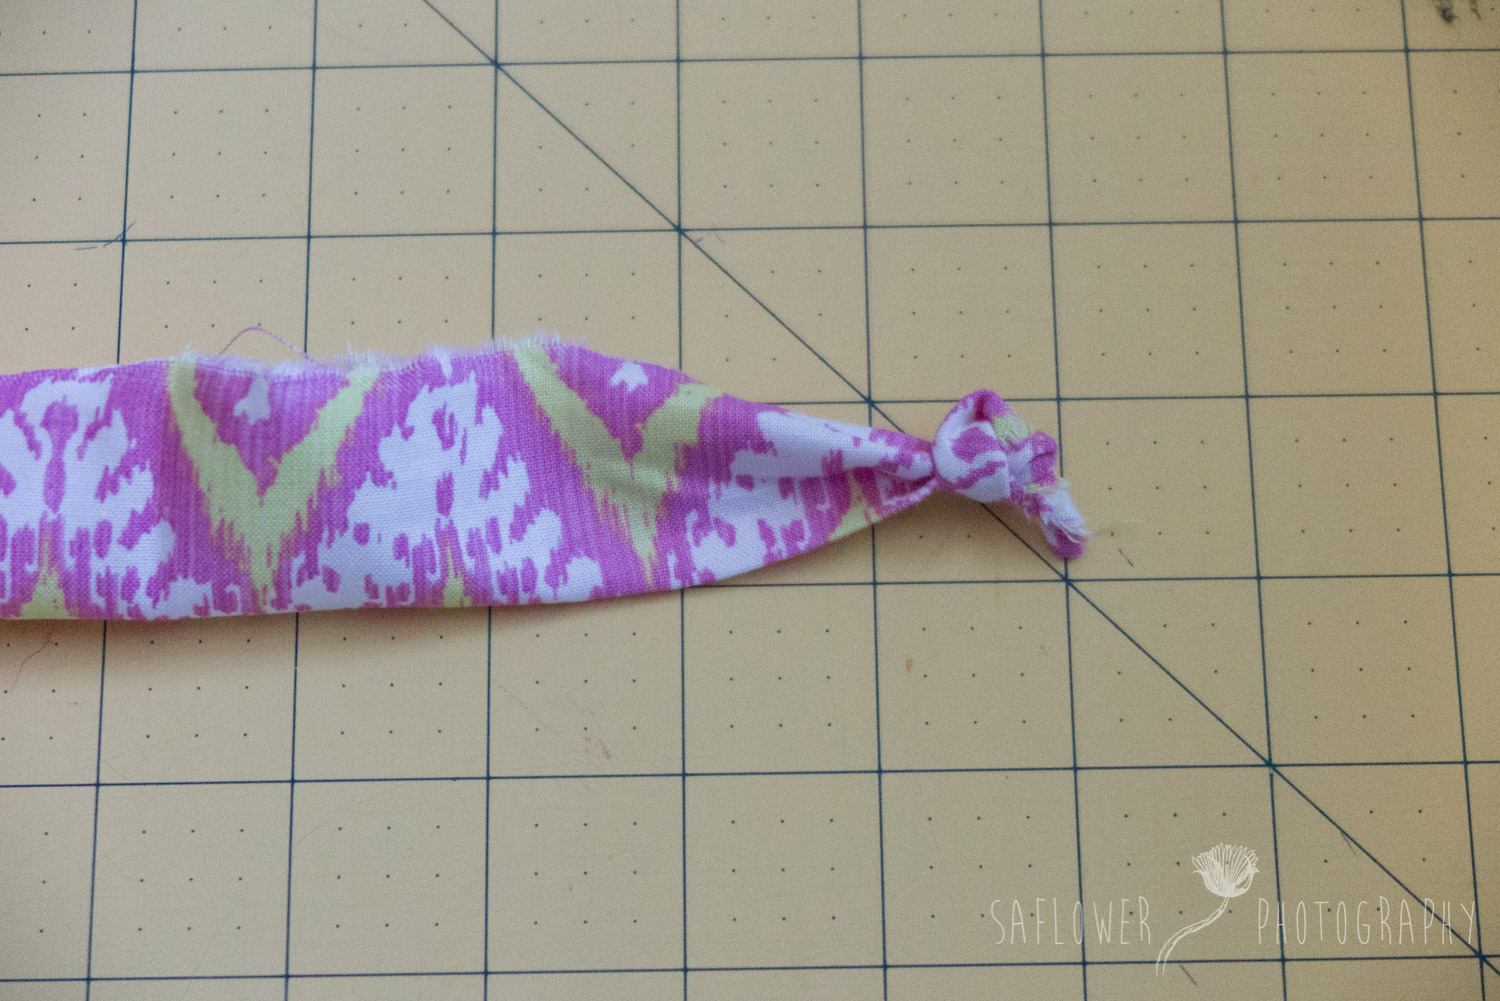
Tear a stip of fabric about 2-3 inches wide and tie a knot in the end.

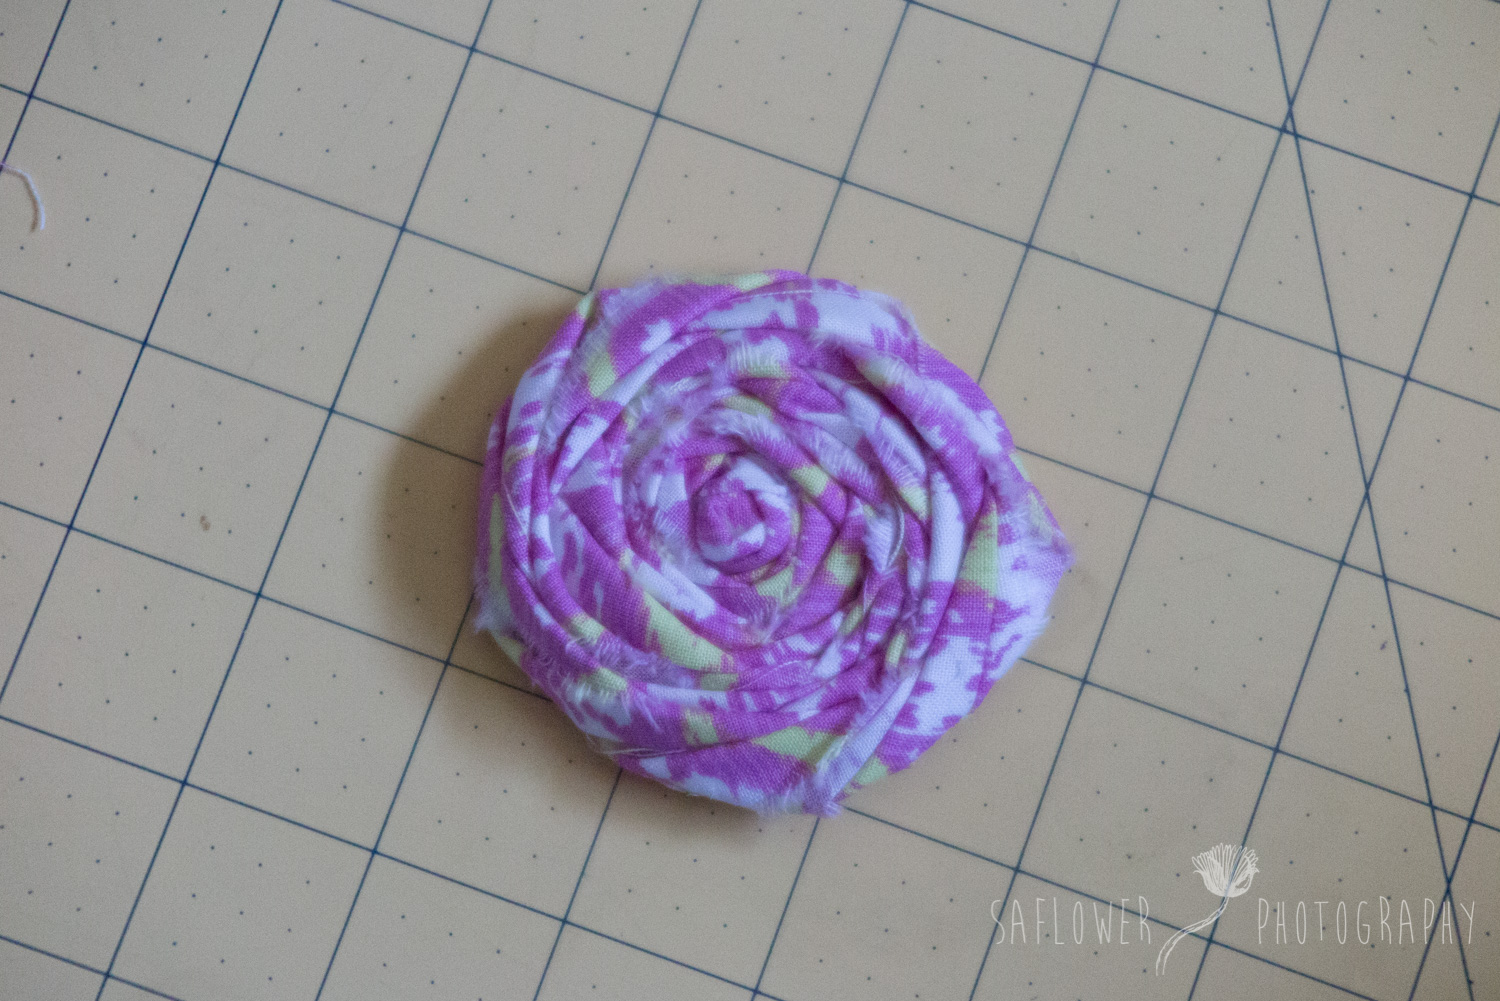
Step 2:
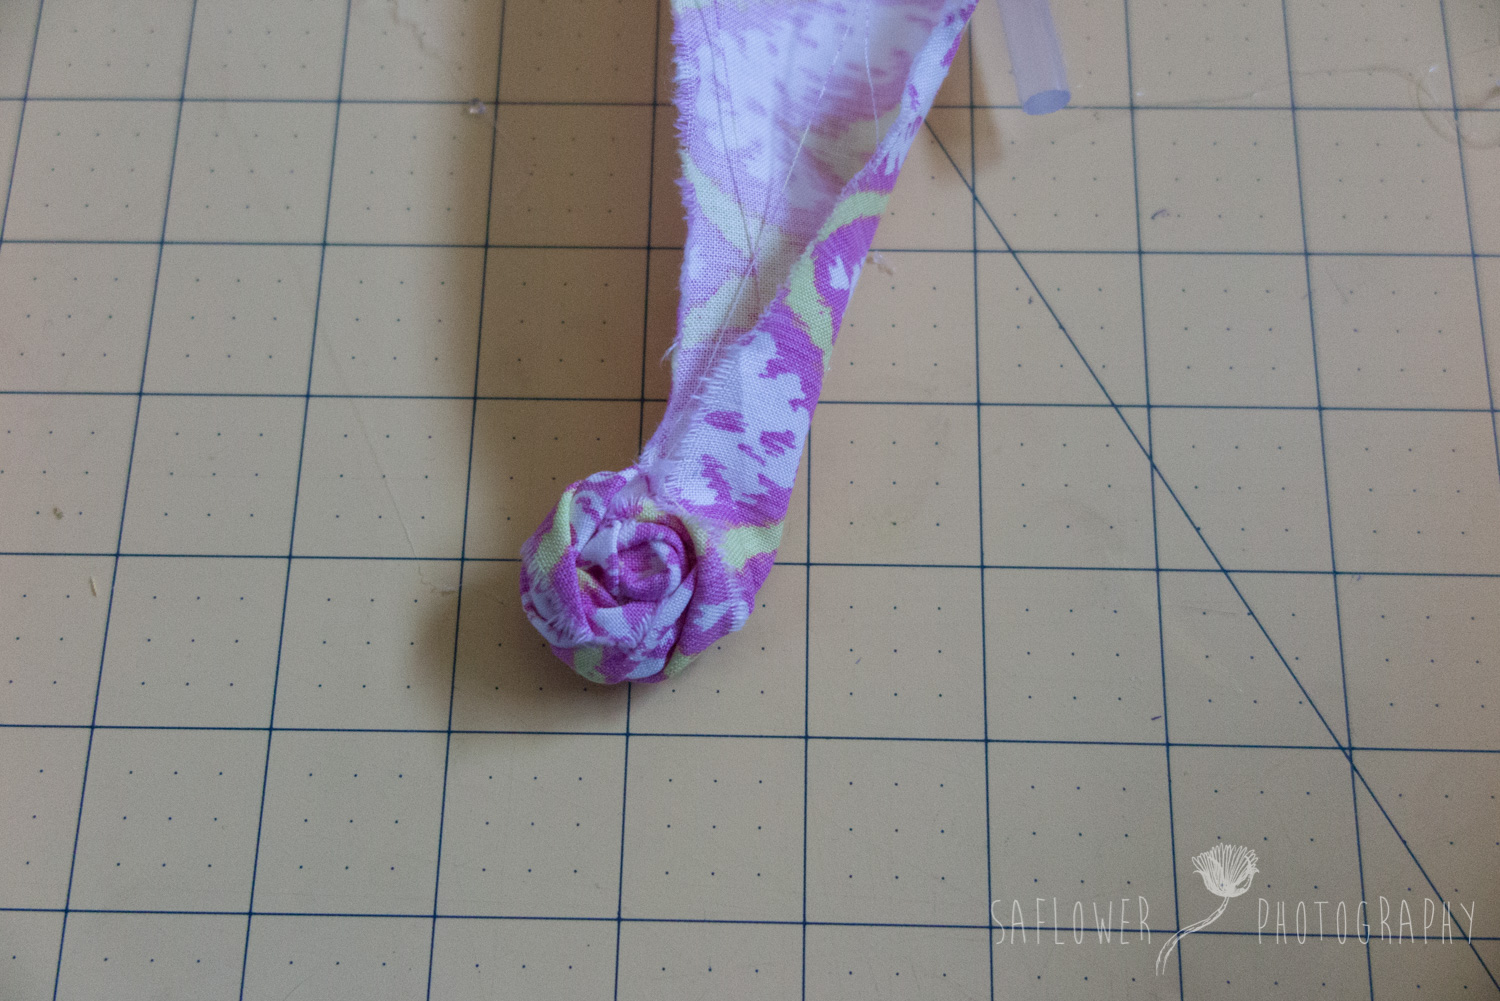
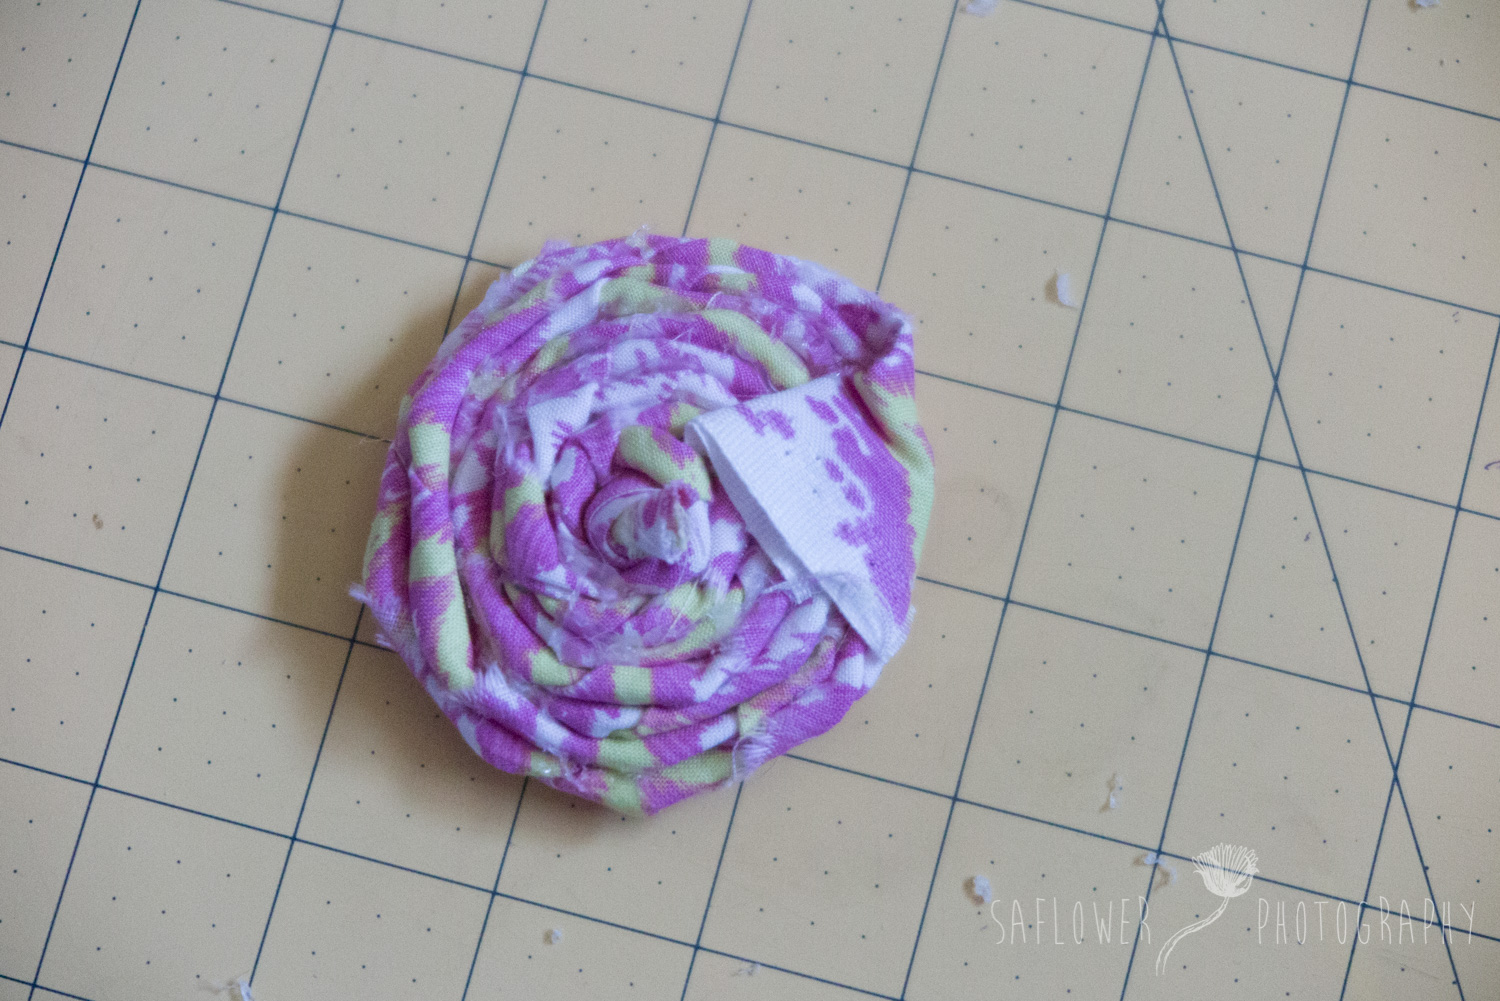
Fold the strip in half length wise and and start twisting and wrapping it around the knot to form the rosette, adding hot glue as you go. You can add as many twists as you want for different looks.
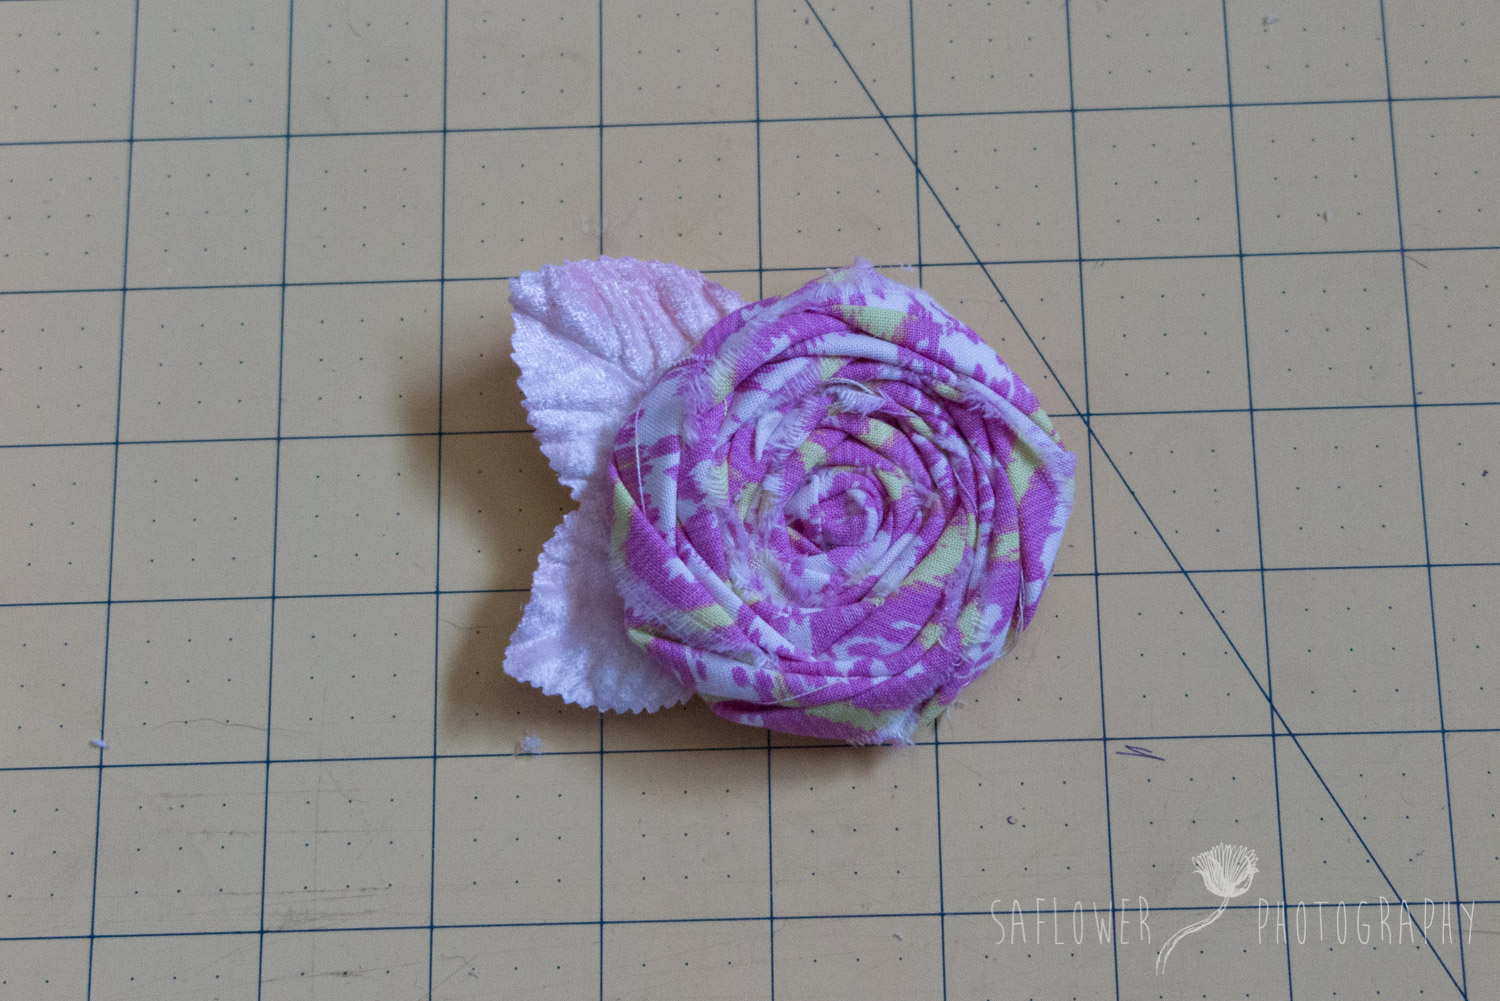
Step 3:
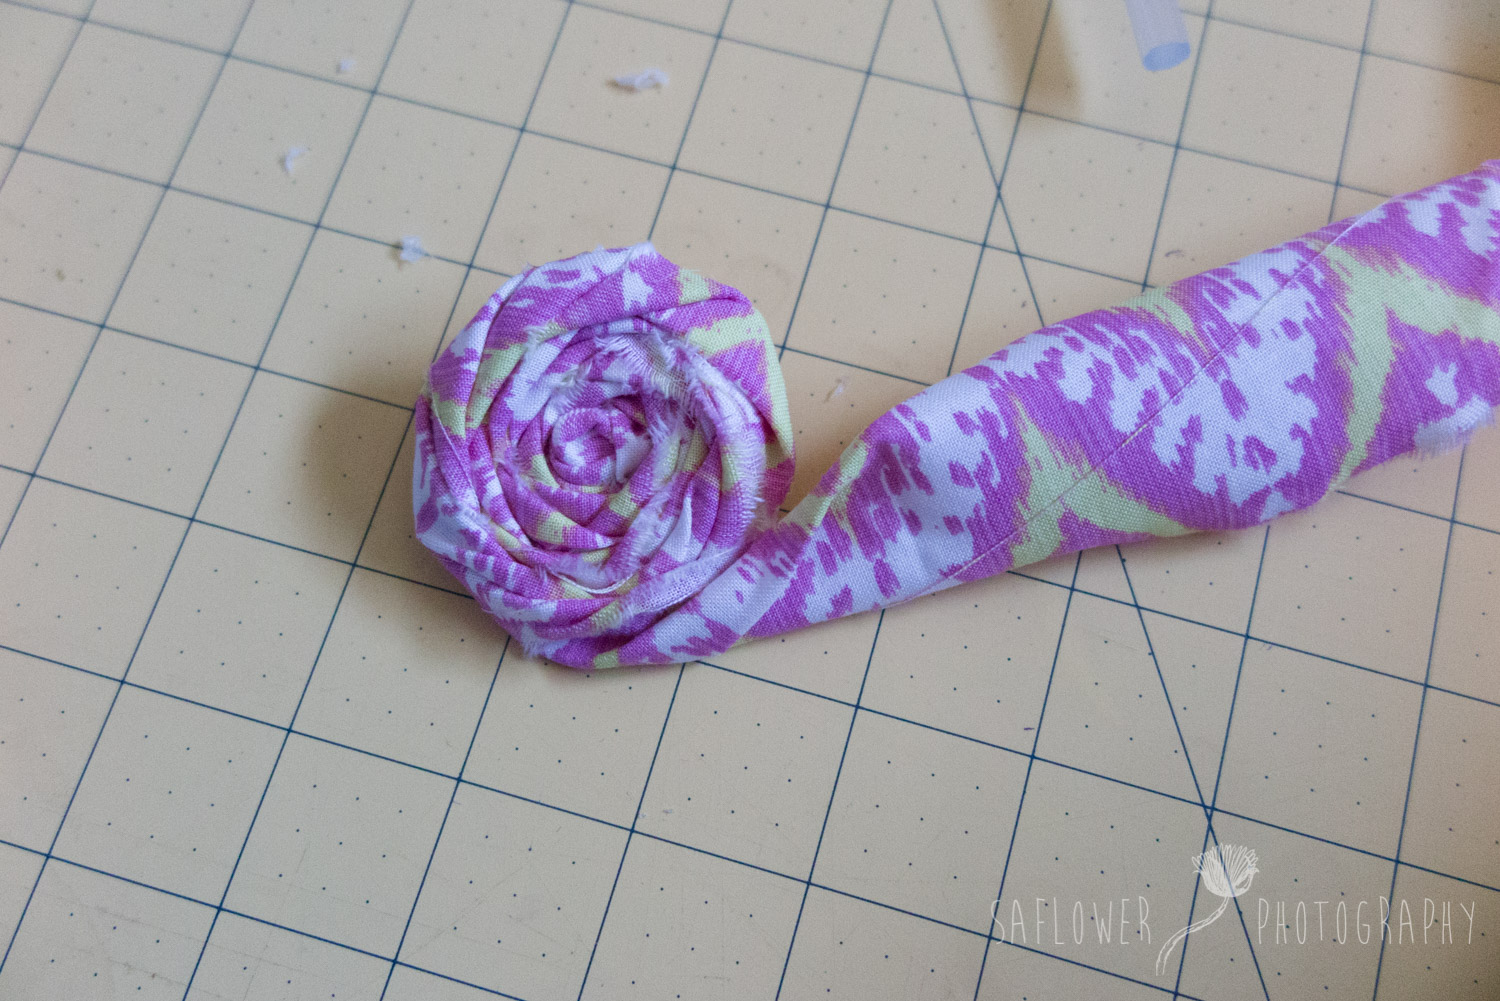
When you get to the end, just tuck it under the bottom and glue it. Turn it over and you have a nice rosette.

Step 4:
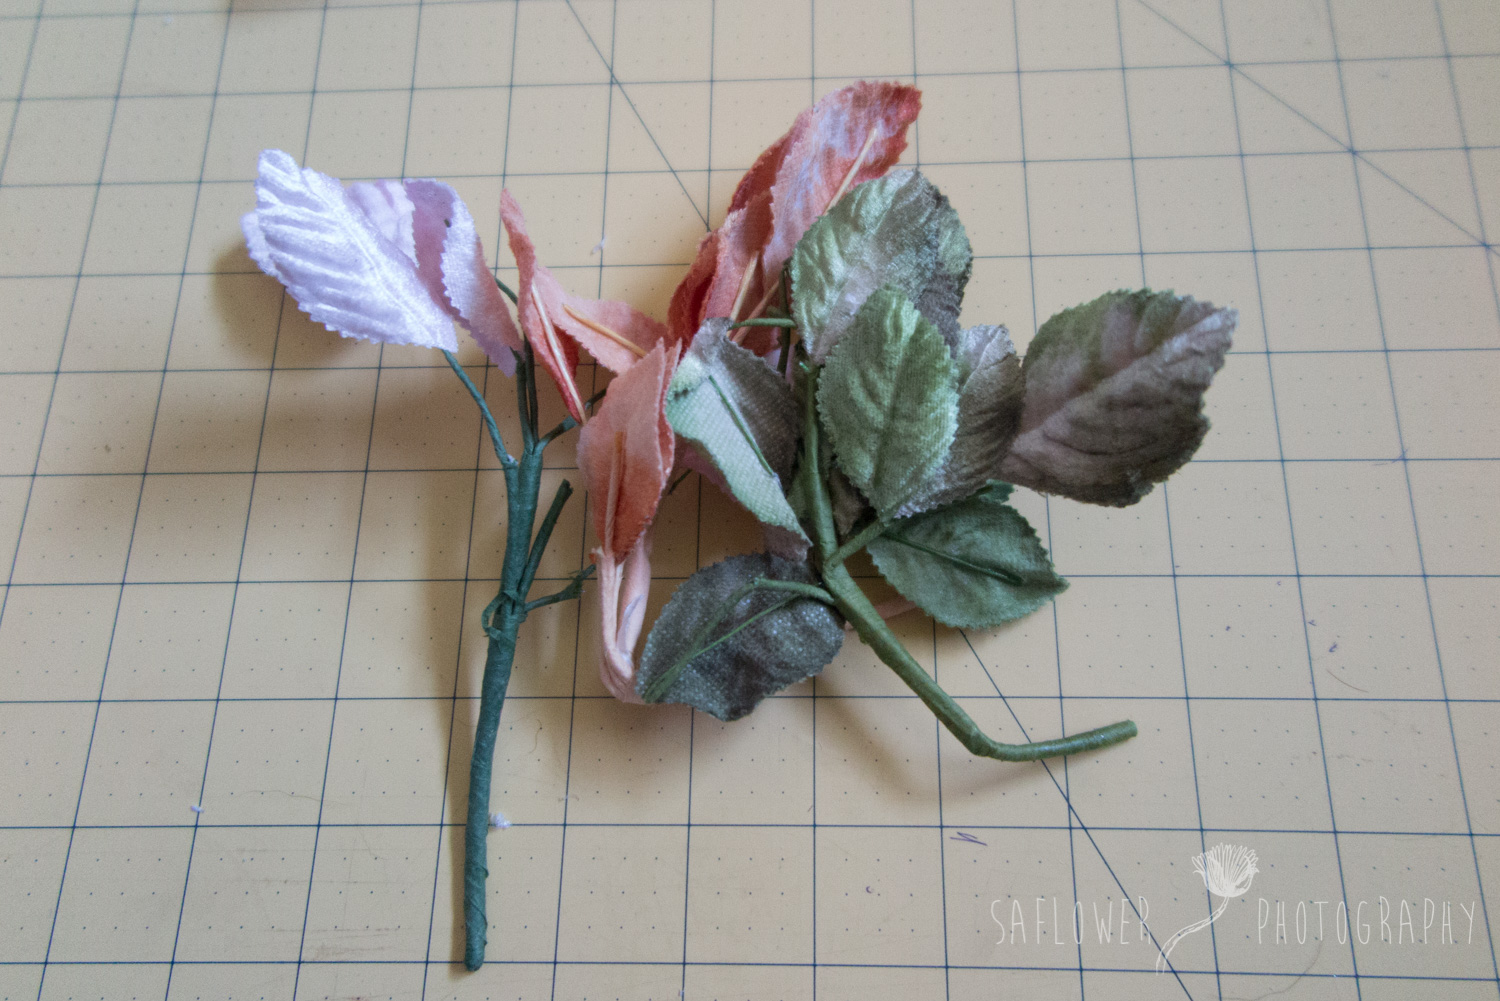
I Like adding Millinery leaves to all my rosettes. You can find them on Etsy. This is also the point where you can add a button or beads or some other little decoration. My daughter picked wooden beads for hers.

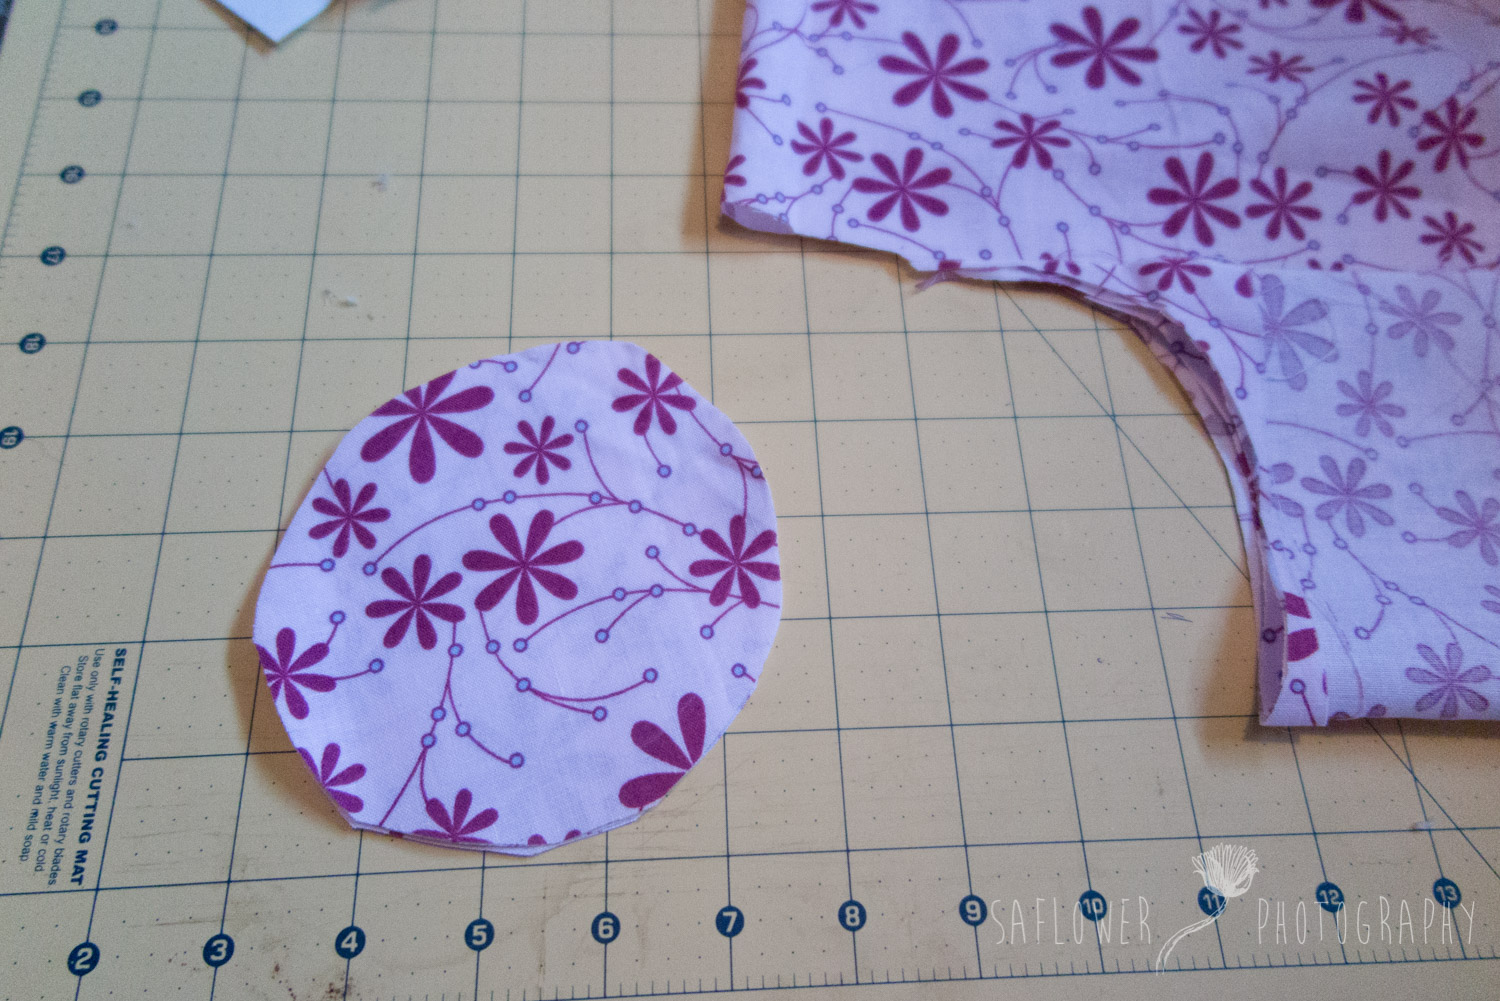
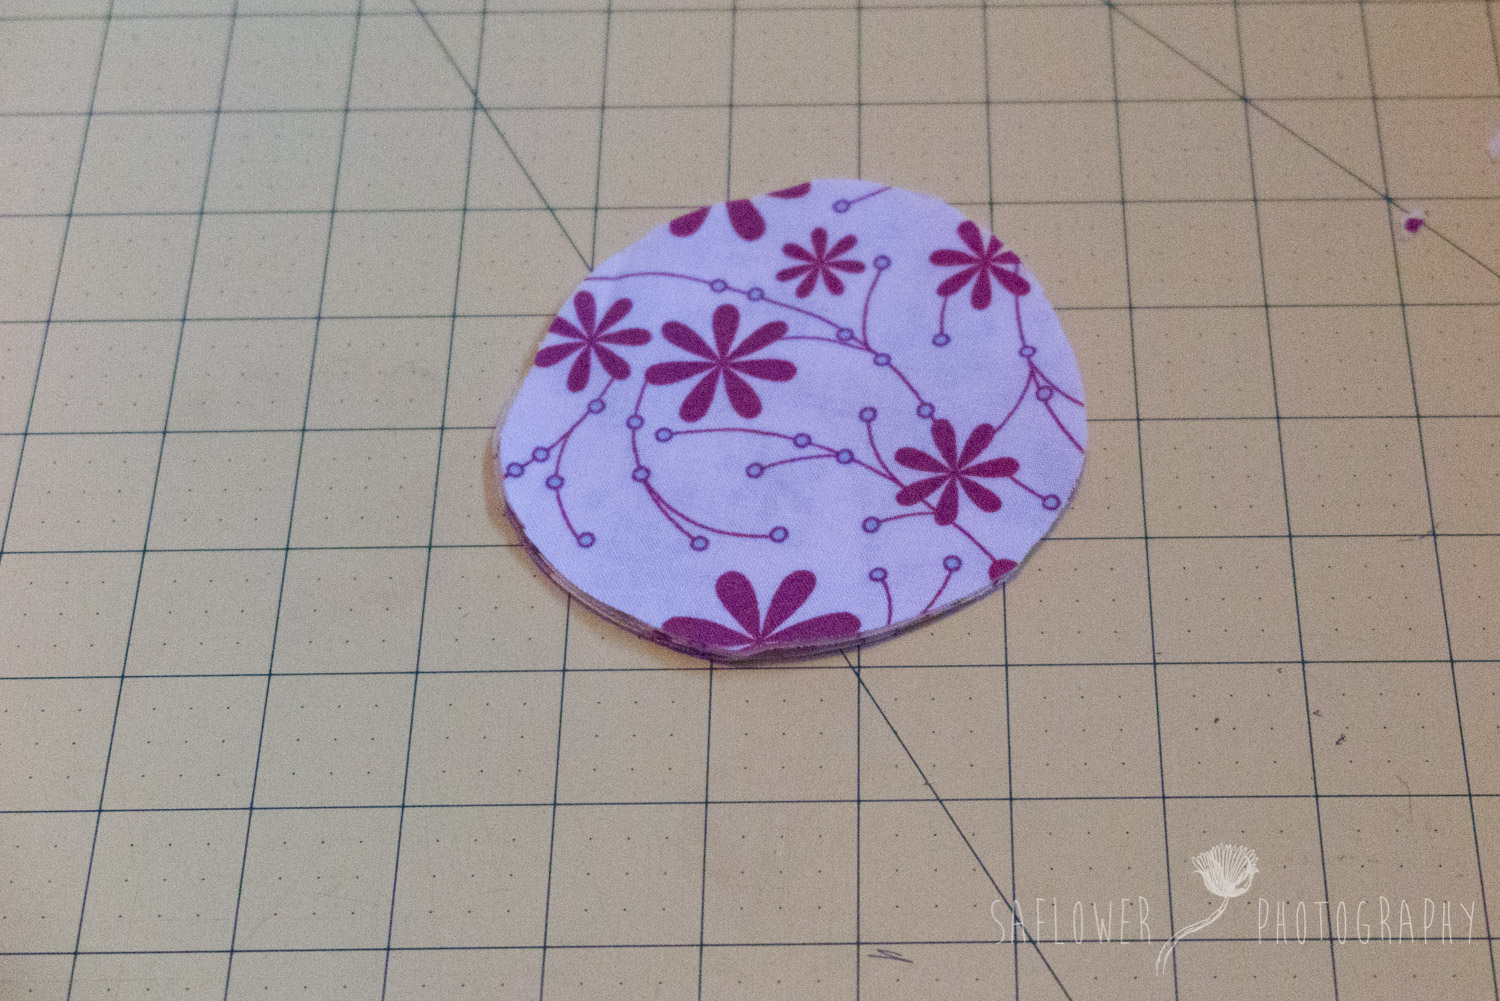
Step 5:
Cut a circle about the size of your rosette.
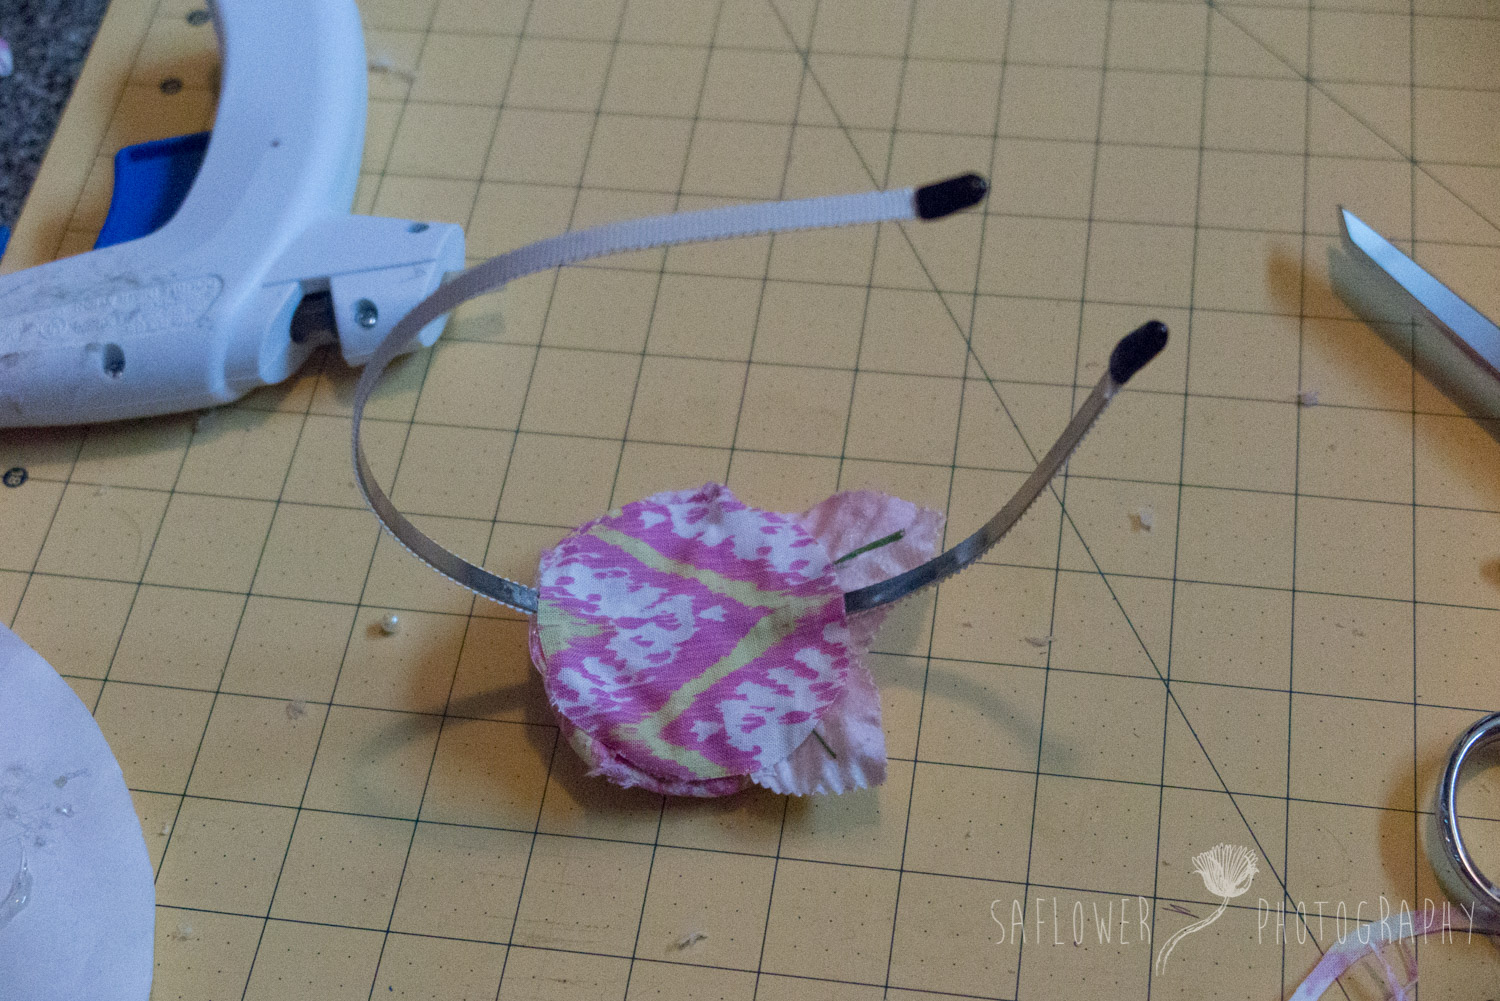
Step 6:
Glue your flower to the headband and then glue the circle to the back to make it nice and neat. Voila!!


Supplies
Scrap fabrics
Tapestry needle and thread
Headband
Glue gun
Button
Step 1:
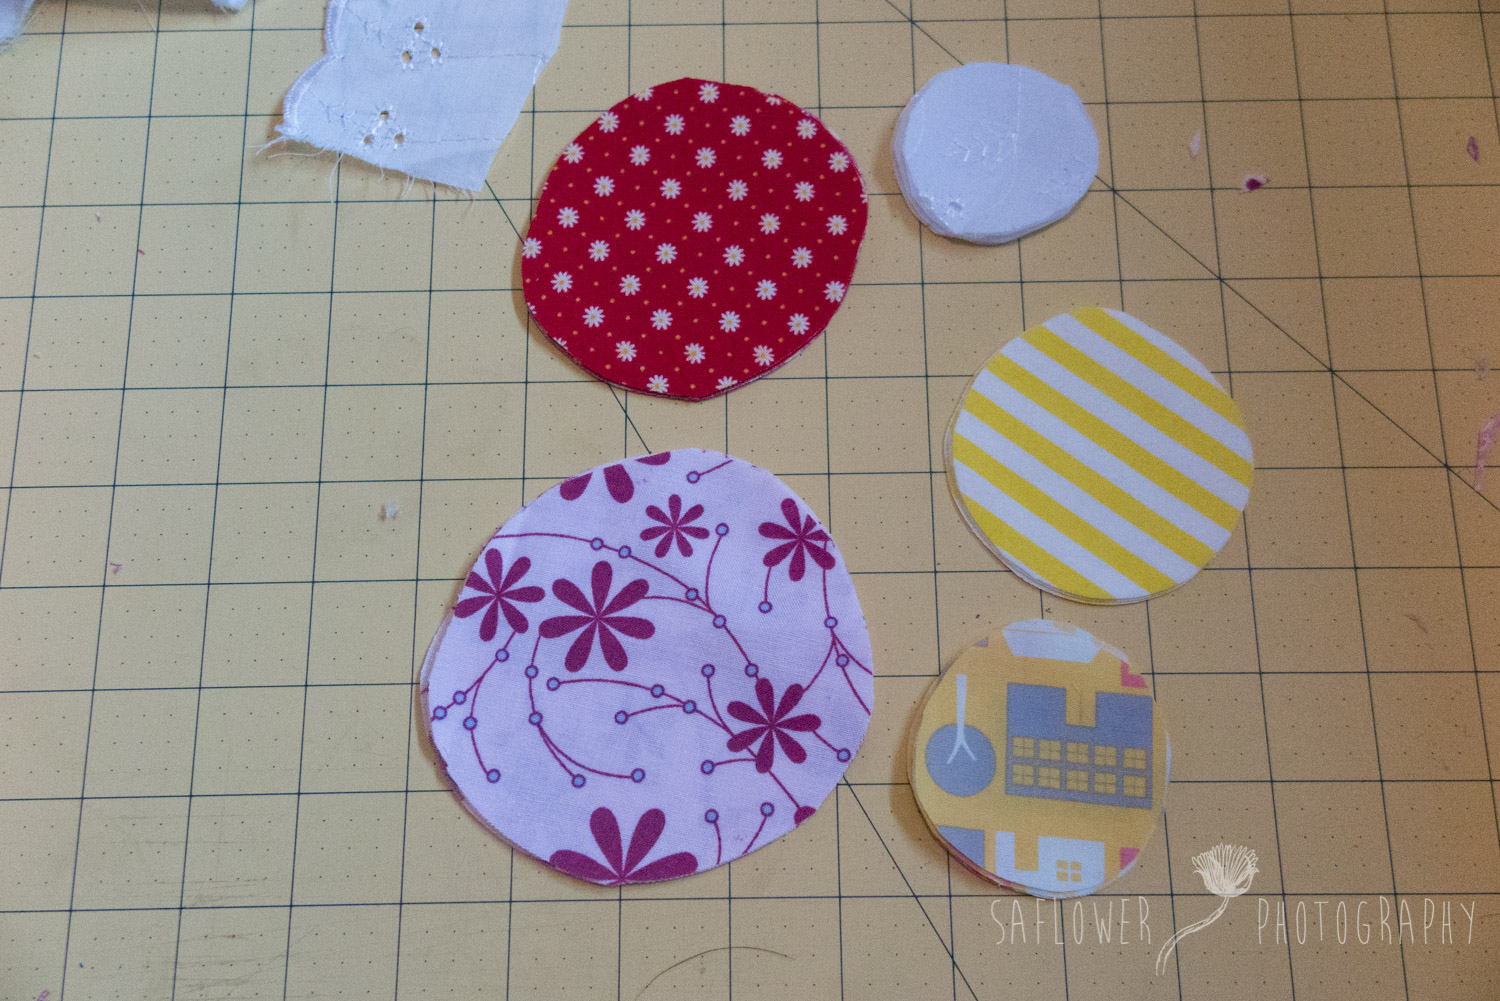
Take your scrap fabrics and cut circles. I like to fold in fourths so I have 4 circle the same size of each fabric. Your circles don’t need to be perfect. Imperfections make them even better! I use anywhere from 3-6 different fabrics. Cut each fabric slightly smaller.
Step 2:
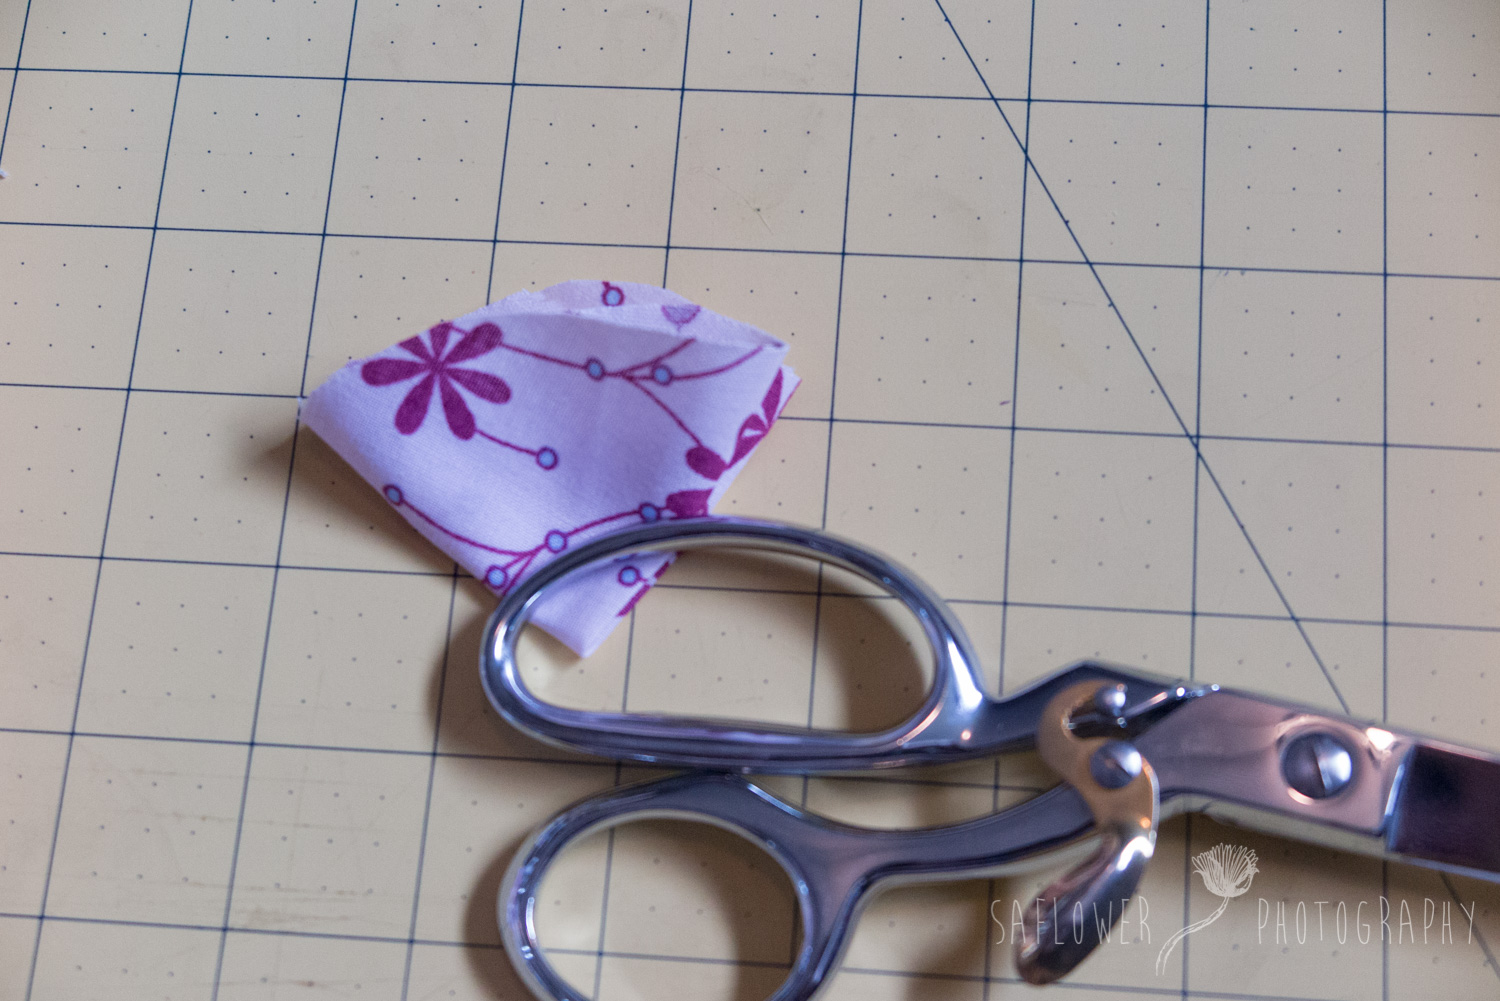
Take the largest circles and fold them in quarter. Overlap the points and put in a few stitches so it resembles a circle.

Step 3:
Following the same steps, add layers of petals. The more you add, the tougher it will be to push the needle through so you may need to use a thimble.
Step 4:
Add a button to the center with the glue gun
Step 5:
I used an old headband that my daughter broke, so before I glue the flower on, I wrap it in coordinating fabric first.
Step 6:
Glue the flower to the headband and add a circle of fabric to the back to cover all the stitches. And there you have a fun little headband to add to your daughter’s wardrobe!


Follow along with tutorial to make your own vintage inspired spool wreath. Perfect use of those scraps you love and would make an amazing keepsake or gift.
Read MoreFollow this tutorial to make your own Memory Match Game from your fabric scraps.
Read MoreFollow along with this tutorial to make a scrappy, reverse appliqué pillow cover. This project is perfect for using up your scraps or even commemorating special fabrics into a fun project!
Read MoreToday we are showing you how to use your scraps with a kid friendly project: friendship bracelets! This fun tutorial shows you how to make this quick and kid friendly, no-sew project.
Read MoreToday we are looking at an embellishment that is taking the sewing world by storm - Free Motion applique, or FMA, gives your creative outlet a new lease on life as you essentially get to 'sketch' on fabric with your sewing machine. This is fun and free form, and has few rules; so you really get to create in your style to end up with unique garments for your children's clothing and your own!
Read MoreToday we are going to look at how awesome scraps can be for adding some new creations to your and your kiddos' wardrobes. Check out Jeanine, Larissa, Nicole, and Sarah's creations....
Read MoreWelcome to Pattern Revolution! We're a collective of women focused on encouraging and educating the modern sewist. Our team is made up of moms, shop owners, hobbyists, and masters of the trade. Our skill levels and project interests may vary, but our love of electronic PDF patterns are the same. Read more about the future of sewing patterns, or dive right in and let our posts inspire you

Disclosure of Material Connection: Some of the links in the posts on this site are “affiliate links.” This means if you click on the link and purchase the item, Pattern Revolution will receive a small affiliate commission. These commissions help keep the lights on at Pattern Revolution and we appreciate all of our readers for using them to purchase when possible. A complete list of our affiliates can be found on the "Sponsors and Affiliates" page. Pattern Revolution also receives a copy of the patterns featured on this blog free of charge. All reviews and options are the those of the reviewer alone and they receive no compensation for their review. Pattern Revolution only recommends products or services we use and believe will add value to our readers. Pattern Revolution is disclosing this in accordance with the Federal Trade Commission’s 16 CFR, Part 255: “Guides Concerning the Use of Endorsements and Testimonials in Advertising.”


Learn how to use your scraps to make these eco-friendly and fun fabric reversible bowl covers.