
Mad About Buffalo Plaid: 5 Out Of 4 Holiday Blog Tour
/
Today we are hopping on the 5 out of 4 Holiday Blog Tour with a Mad About Buffalo Plaid Aspen Vest and a recipe for Coconut Oil Salt Scrub, plus a fun idea for how to wrap and gift it to that special someone on your gift list!
Read More


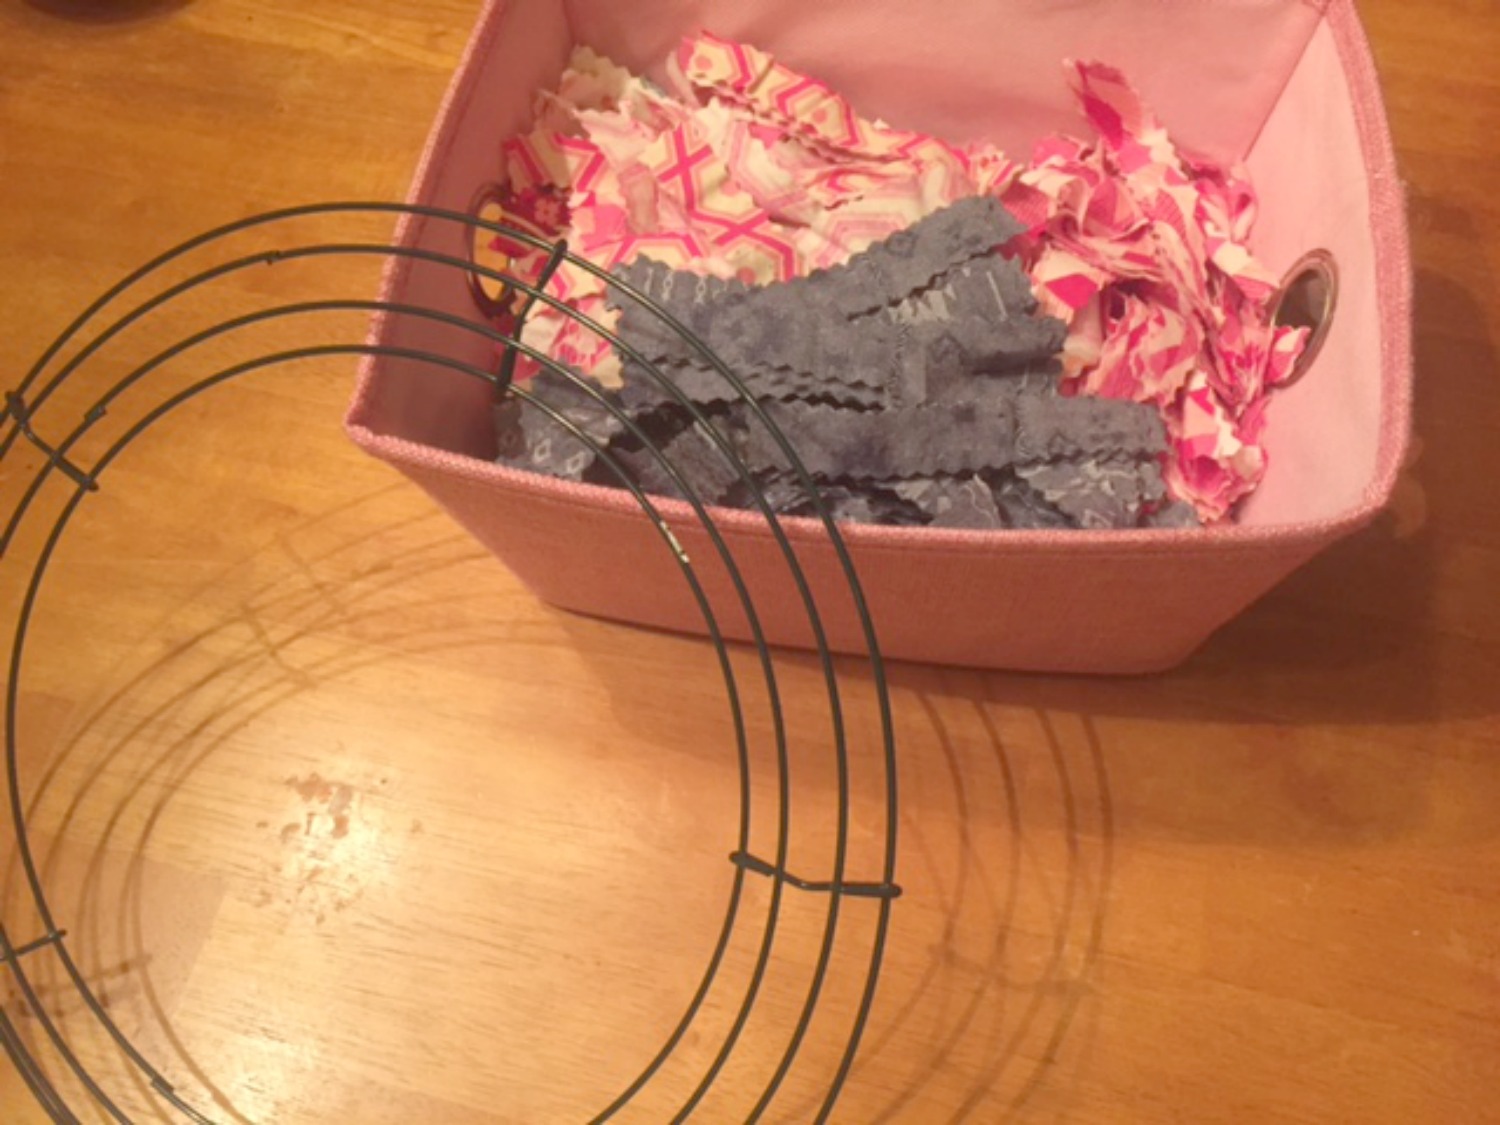
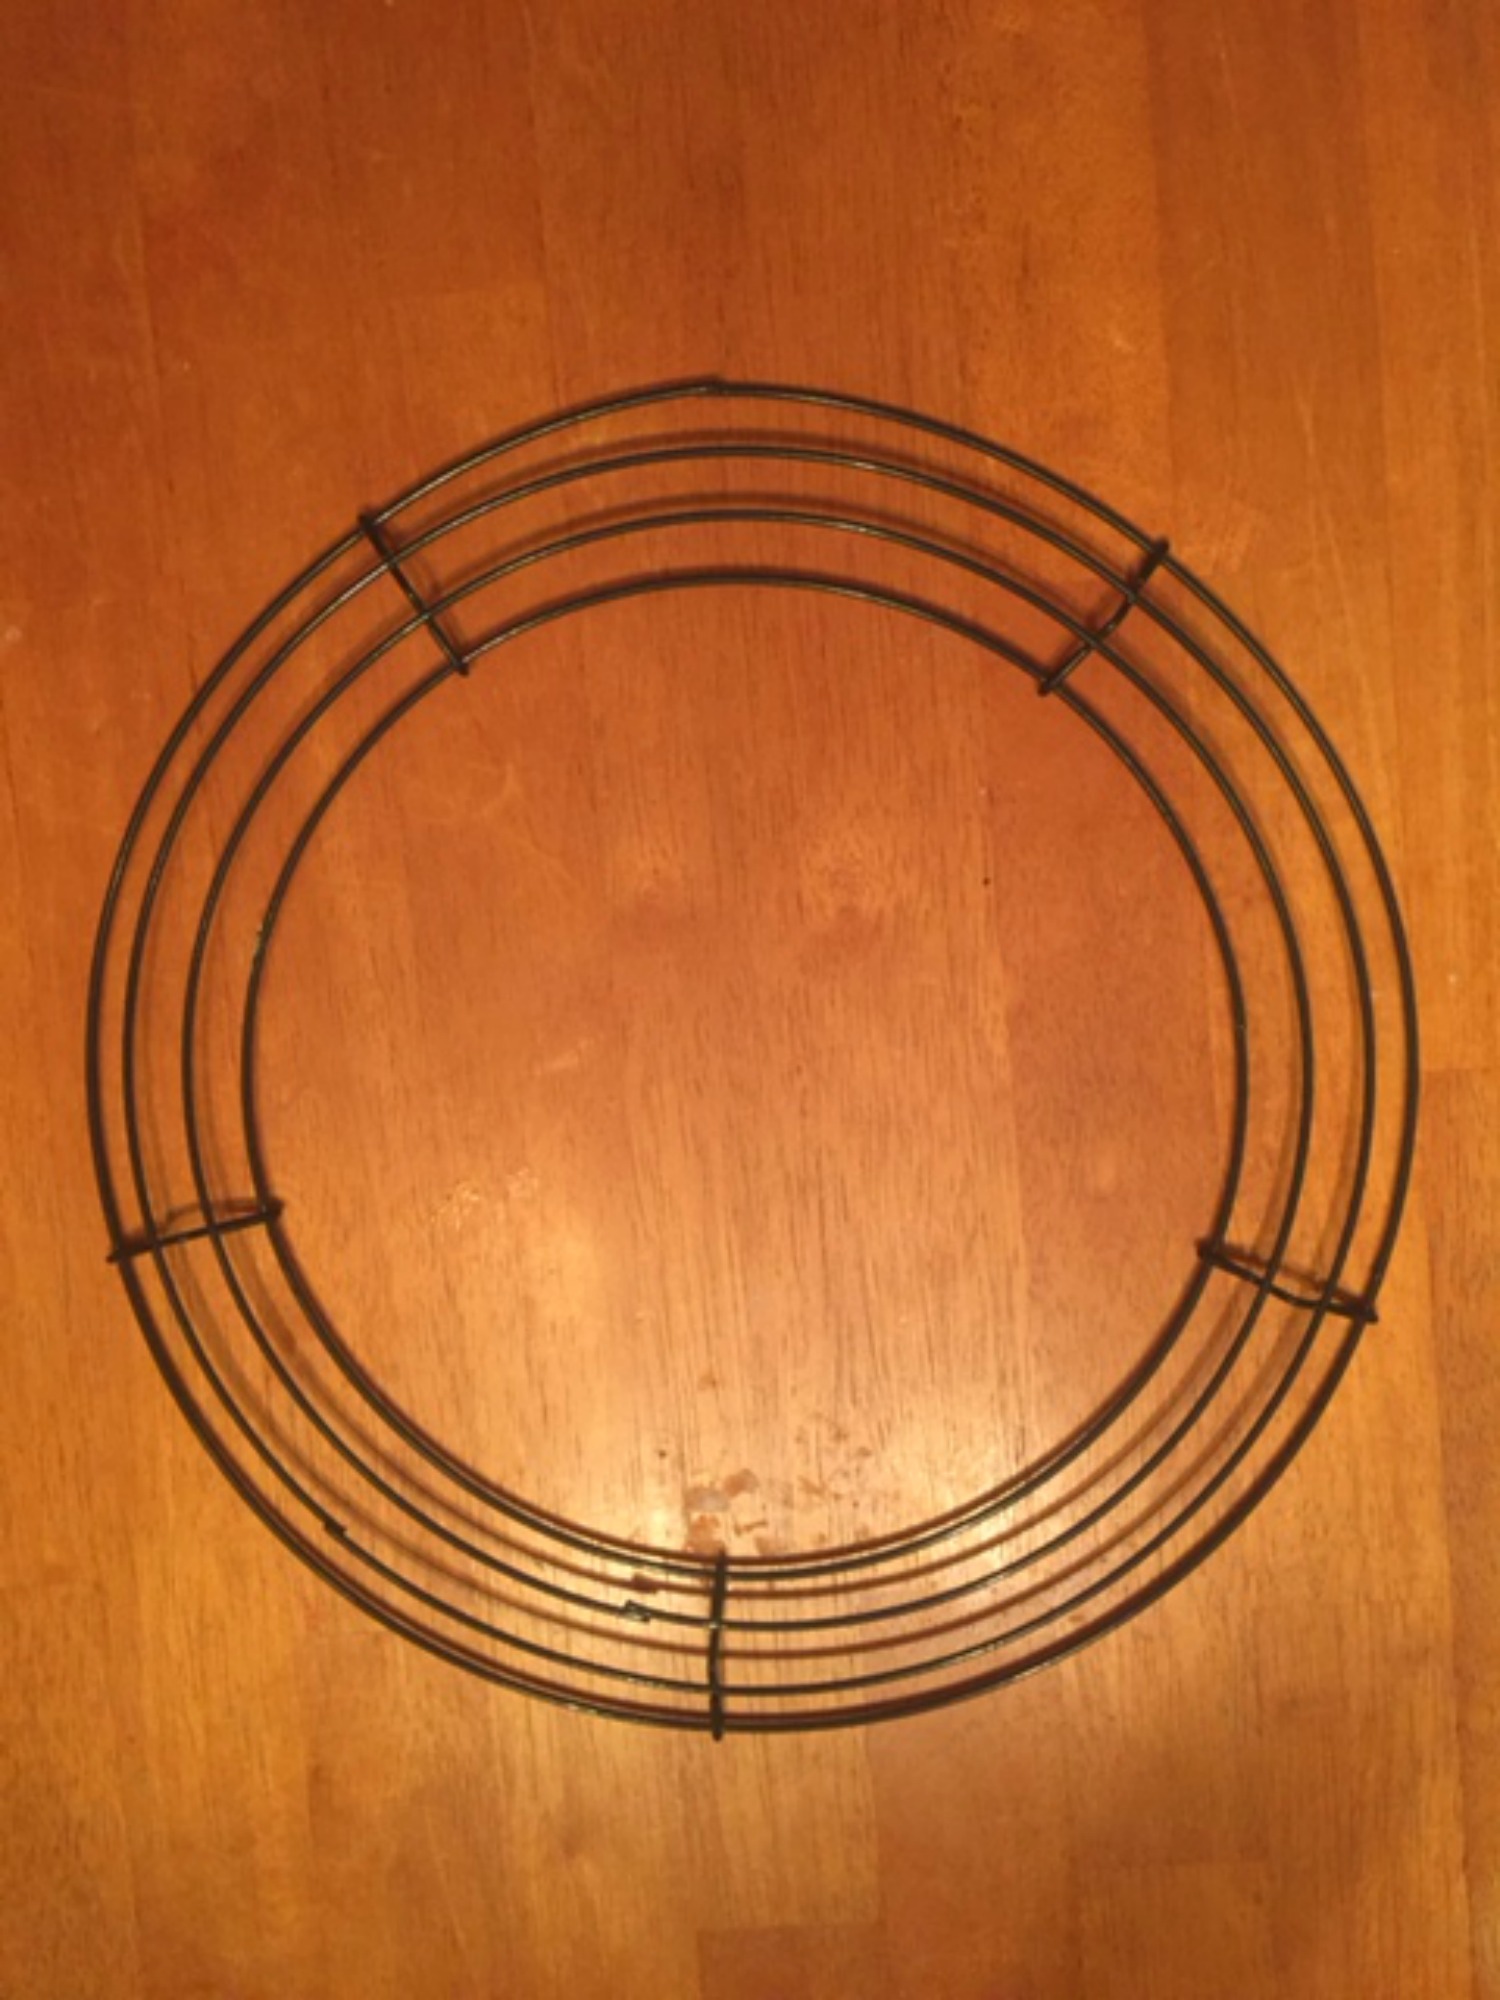
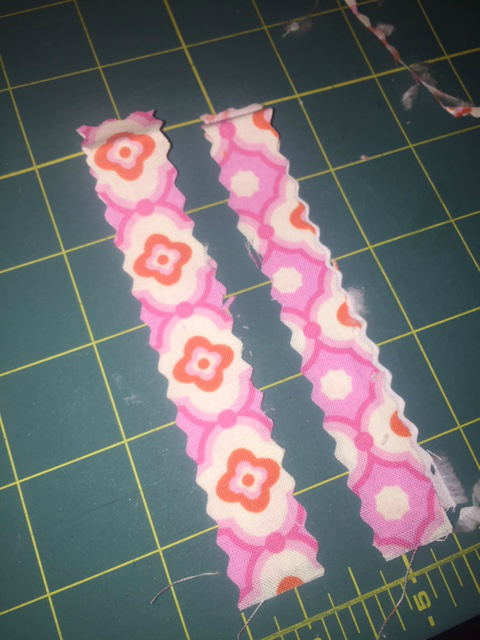
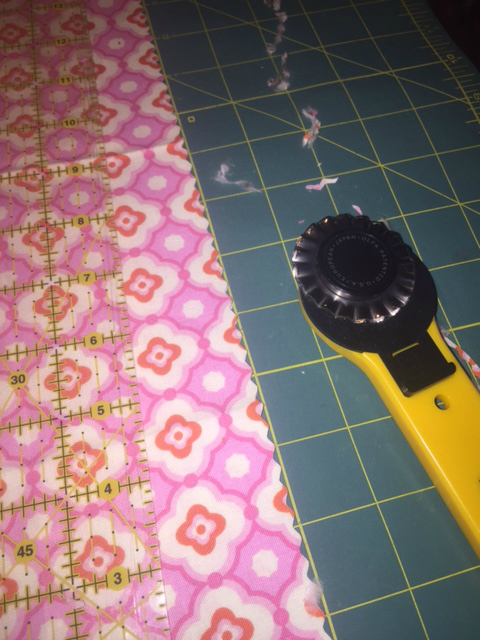


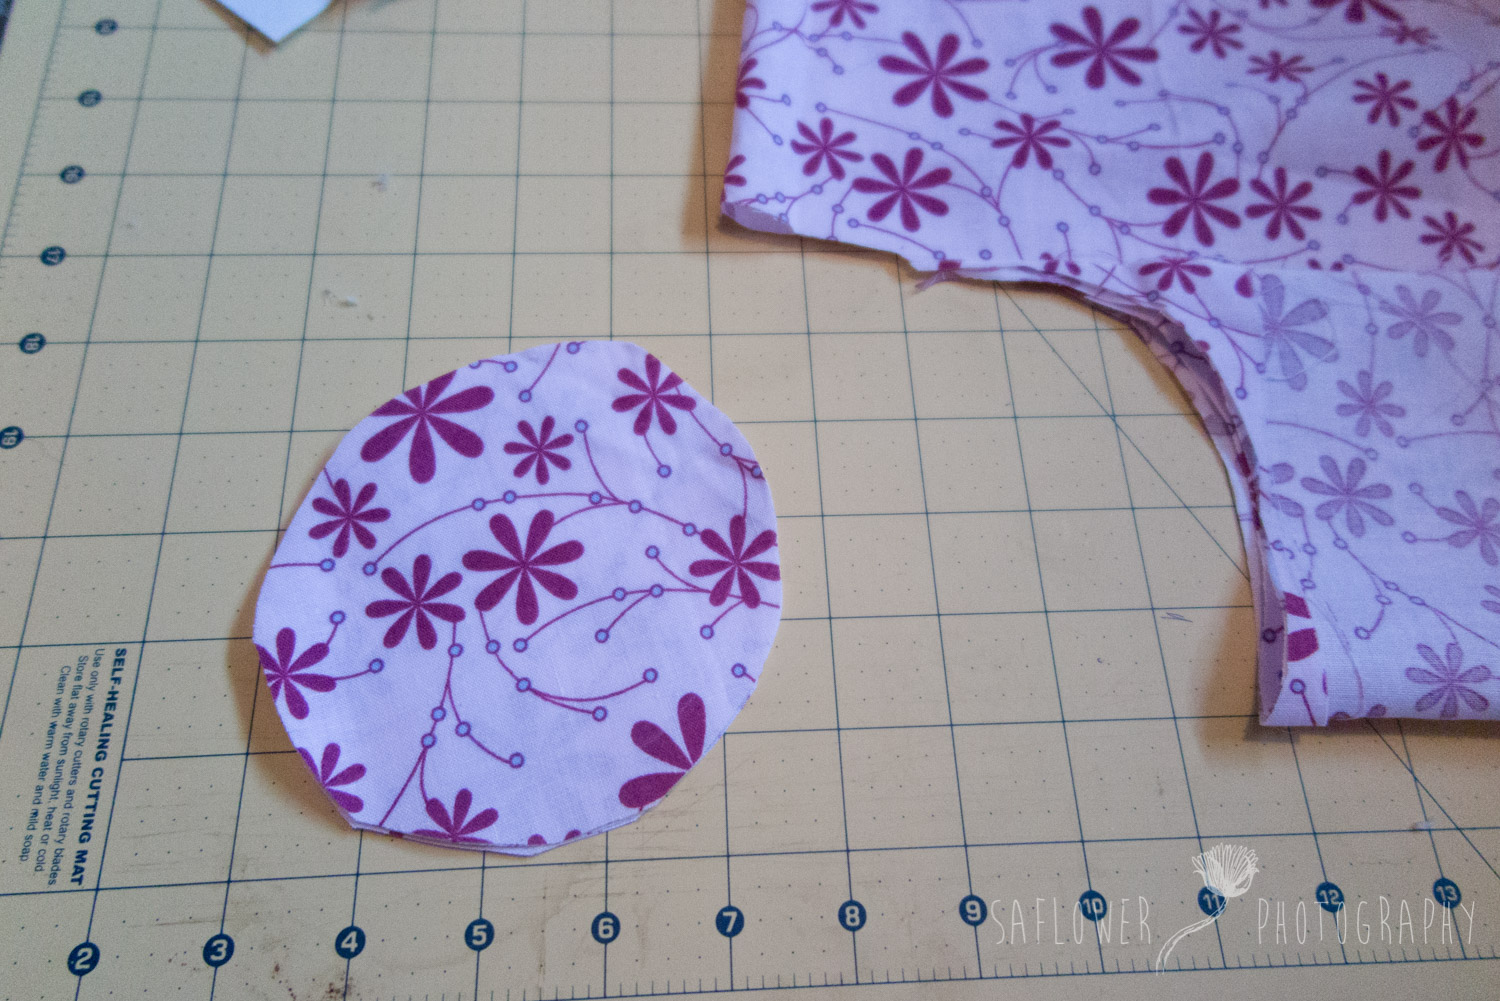
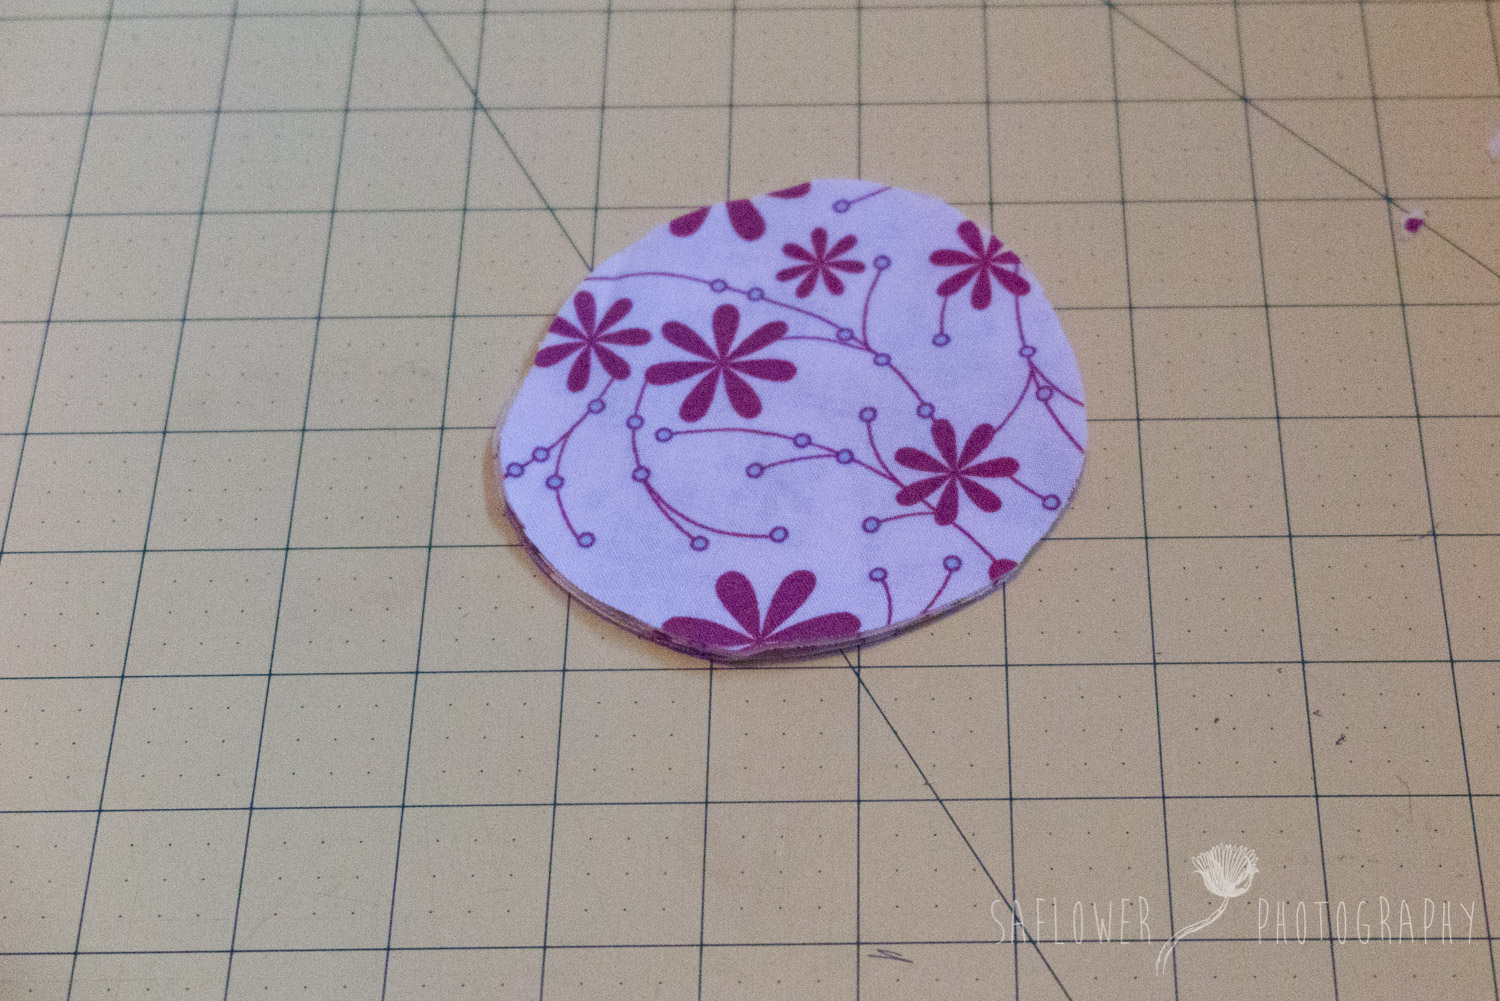
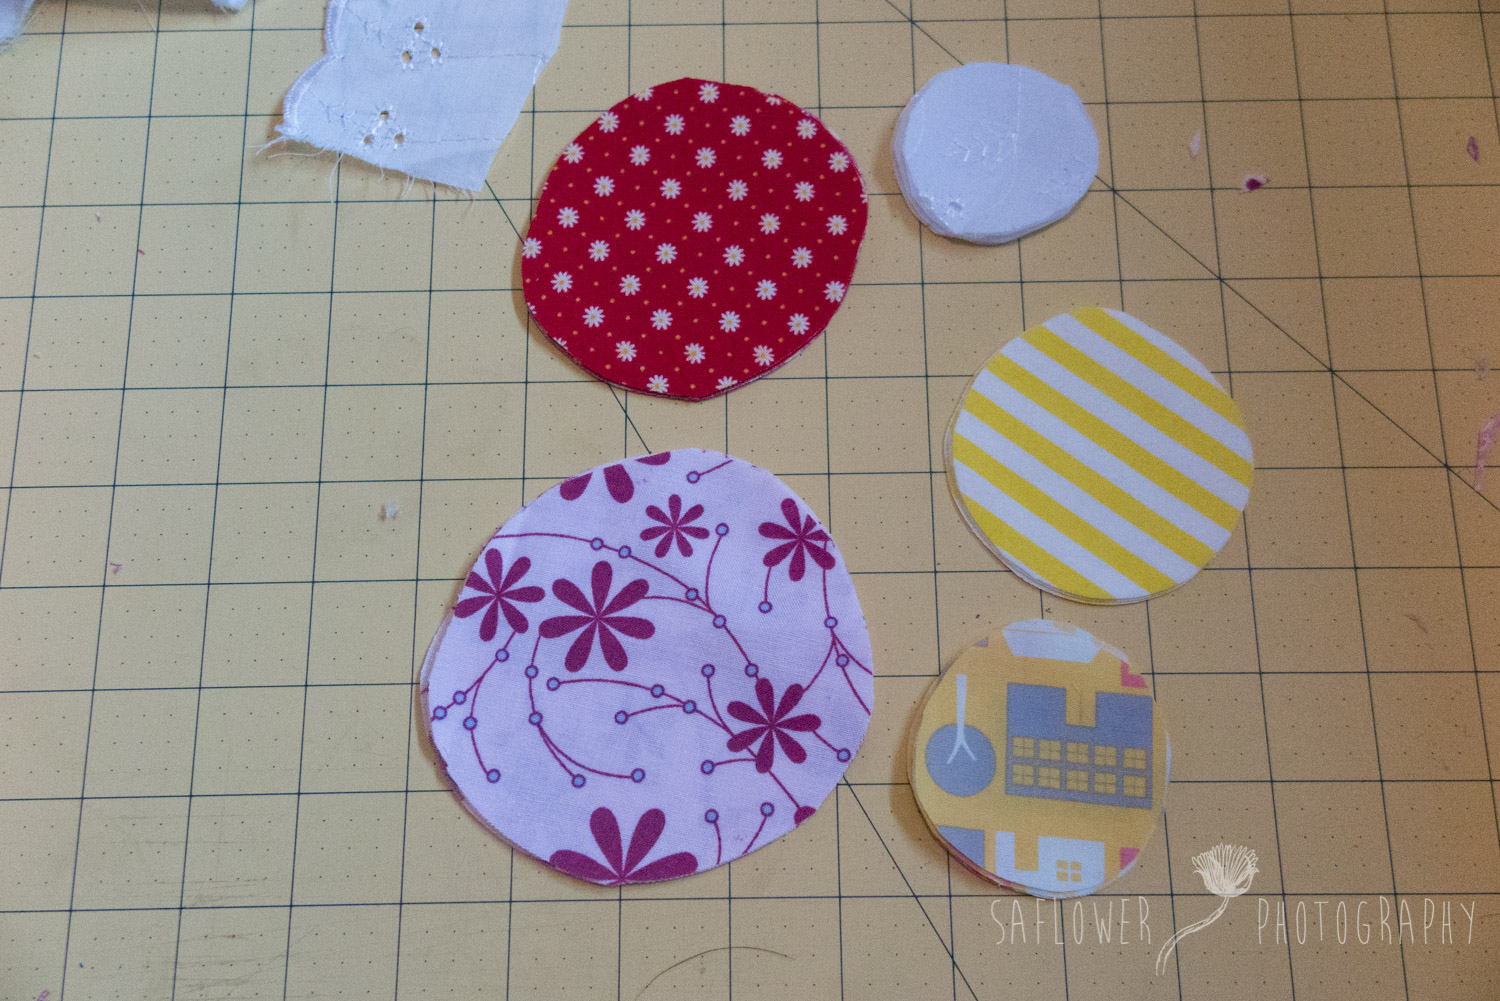
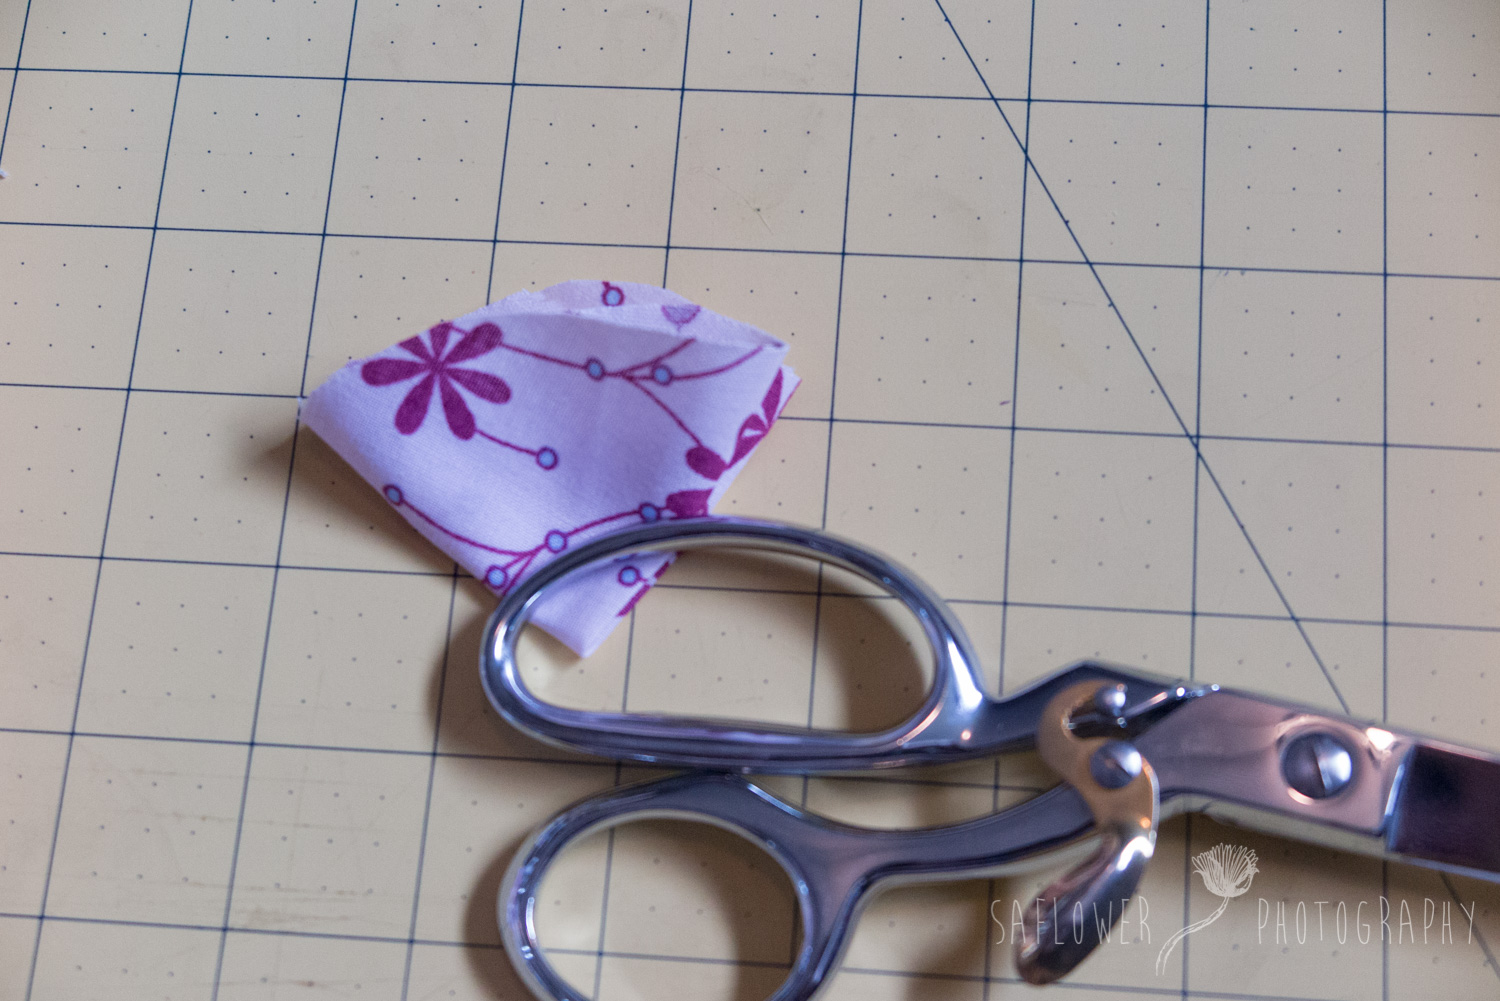


Learn how to use your scraps to make these eco-friendly and fun fabric reversible bowl covers.