
Scrap Swap 2017: How to Make a Memory Matching Game
/Today, Rebekah has worked up a tutorial on how to use your scraps to make a fun matching game! This fun game is great for all ages and has so many possibilities for using your scraps. Follow along with the rest of our Scrap Swap posts here and the tutorial below to find some creative and fun ways to use up your scrap stash!
Hey Everyone! Rebekah from Rebekah Sews here! Almost everyone who sews has scraps. If you’re anything like me you probably have more than you can ever use. Every little piece that “could be an applique or something”, is put into a box or bin for future good intention use. Now what are we really going to do with those scraps? Well today I have an idea!! And this one you can even use those little scraps with too!
Who doesn’t love games? I know my kids and I do! So I put my scraps to use and made a match memory game for them. I won’t lie, this is a little time consuming because you are making and sewing a bunch of squares, but the effort is well worth it! This could also make a perfect Christmas or birthday gift too! So let’s get started!
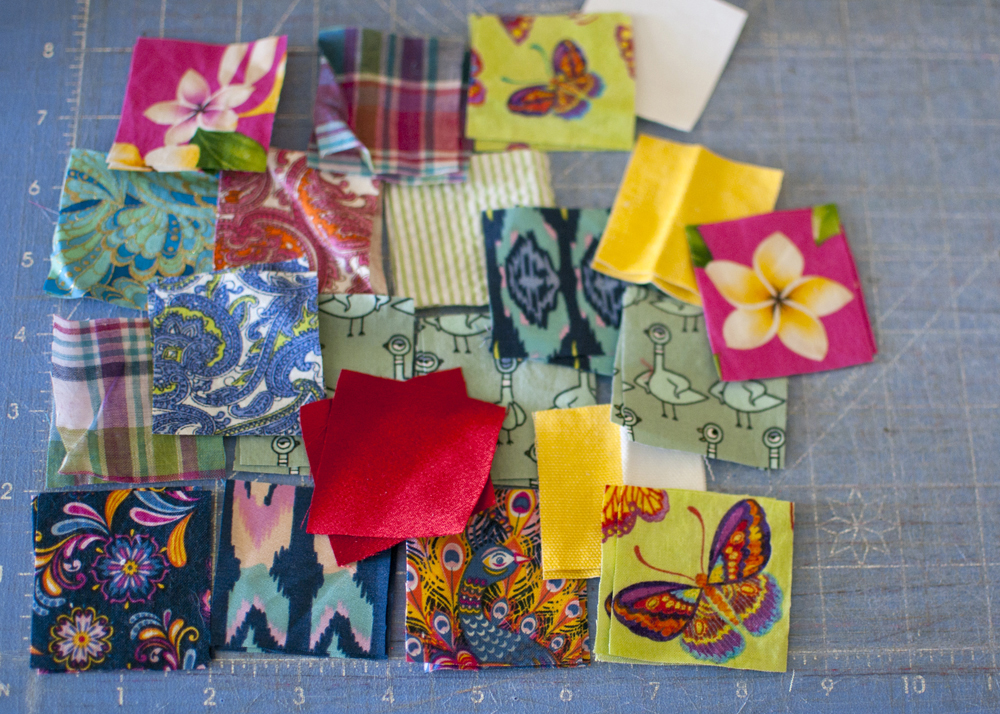
1. Gather your scraps!!!
2. Cut your front and back squares. You can cut 10 pairs for 10 matches (20 total), 20 pairs for 20 matches (40 total), and so on. These will be the base of your squares. The back can be anything you have that will accommodate the amount of matches you are making. The front I like a neutral color so it is easy to see the featured match fabric. I cut these at 3.5in x 3.5in.
3. Now time to cut your match fabric. You will need 2 of each pair. I cut these at 2in x 2in. I made myself a little template out of paper to make it easier to get a piece out of the middle of a larger scrap. You can make this part harder by cutting different variations out of the same fabric too!

4. Now take your front square and lay it right side up. Take one match square and lay it on the center of your front square. You can pin this in place or use my little cheat and glue stick it in place! Do this for all your other matches.
5. Time to head to your sewing machine! Sew with a zig zag stitch around your match fabric square making sure your stitch is wide enough to catch the match fabric and your front fabric. Do this for all your other matches.
6. Lay your front piece right side up. Now take your back piece and lay it right side down on top of the front piece so that right sides are together.
8. Head back to your sewing machine and sew ¼” from the edge with a straight stitch around your square making sure you leave the middle of one of the sides open in order to turn your square right side out. Then cut your corners making sure you don’t cut your stitching.
9. Turn your square right side out. Use something pointy to get those corners turned out! Then press the square making sure your opening is folded towards the inside.
10. Head back to the sewing machine one last time and topstitch your match squares! (photo 10)
11. Now have fun and play!!!
Hope you enjoyed this tutorial. But even more I hope you enjoy playing!!


Today we continue our feature on Halloween with this super cute Candy Corn tutorial by Laura. Not only is this a cute holiday craft its also a great scrap buster!